
Connecting FortiData to FortiGate
On FortiData 7.6.1 or later, configure a fabric connector for FortiGate, identify a TLS certificate, and configure the HTTP2 service. Add FortiGate as an allowed device in FortiData.
After configuring the fabric connector in FortiData and adding FortiGate as an allowed device, go to FortiGate and complete the connection. See Connecting to FortiData.
To configure FortiData in the GUI:
-
In FortiData on the Fabric > Connector page, enable security fabric, specify the details of the FortiGate, and click SAVE.
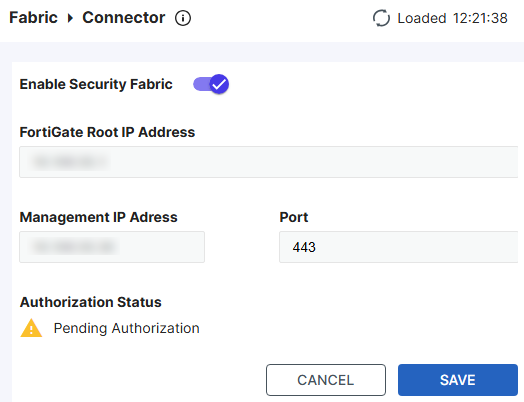
The authorization status is shown as Pending Authorized at this point as the FortiGate configuration is not complete yet.
-
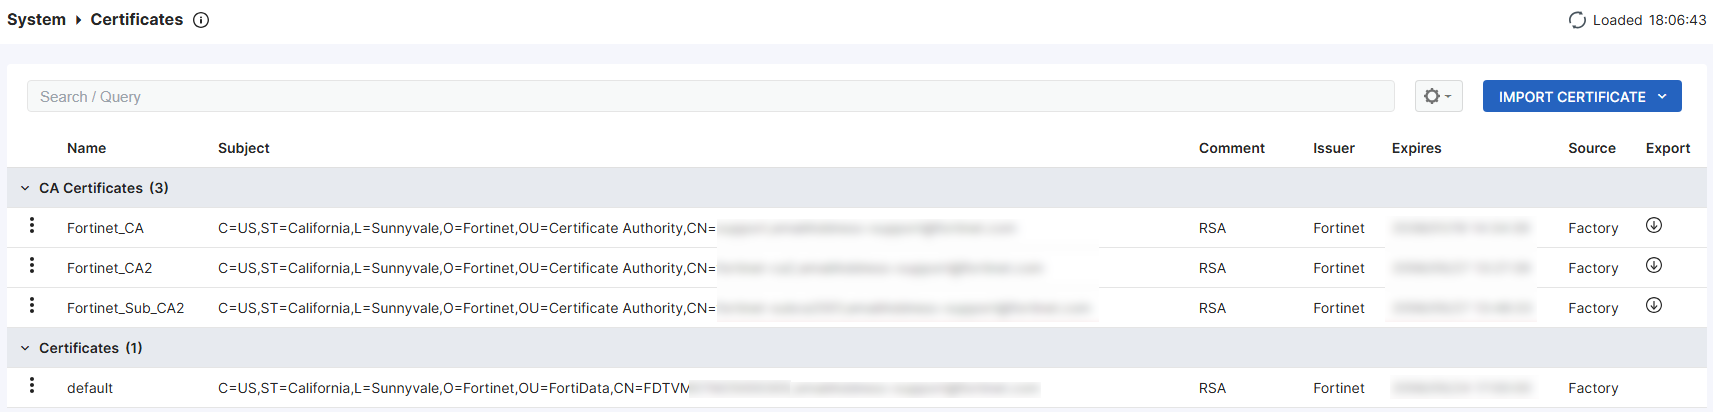
On the System > Certificates page, verify that at least one TLS certificate is listed. FortiData includes a default certificate that you can use.
-
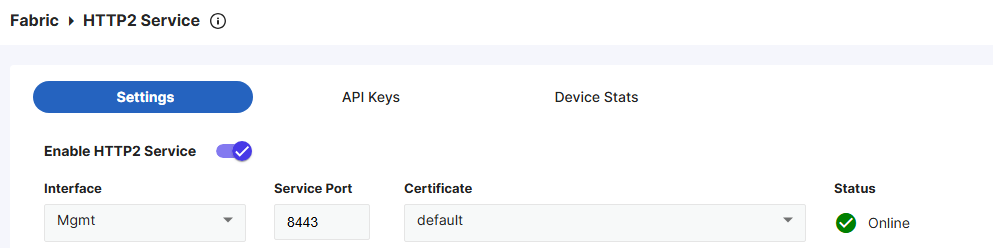
On the Fabric > HTTP2 Service page, ensure you have selected a valid certificate, which is required for the HTTPS connection between the FortiGate and FortiData. The default certificate will be used if you do not have any custom ones imported.
To add FortiGate as an allowed device in the GUI:
-
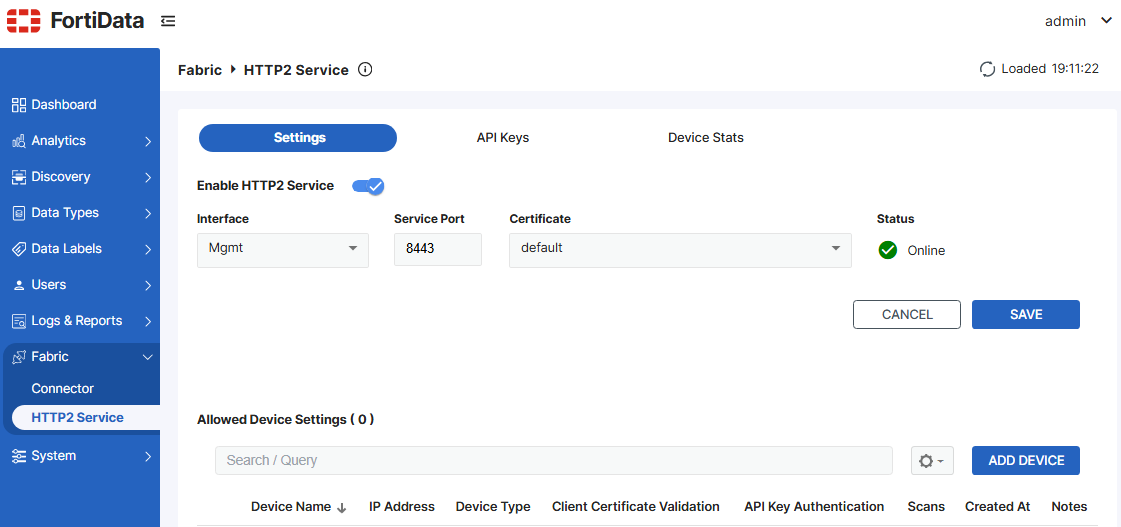
Go to Fabric > HTTP2 Service.
-
Under Settings, click ADD DEVICE.
-
From the Device Type dropdown list, select FortiGate.
-
In the IPv4 Address / Ranges field, enter
0.0.0.0/0to allow all IP addresses, or enter a specific IP or IP range for the FortiGate to restrict access for security reasons.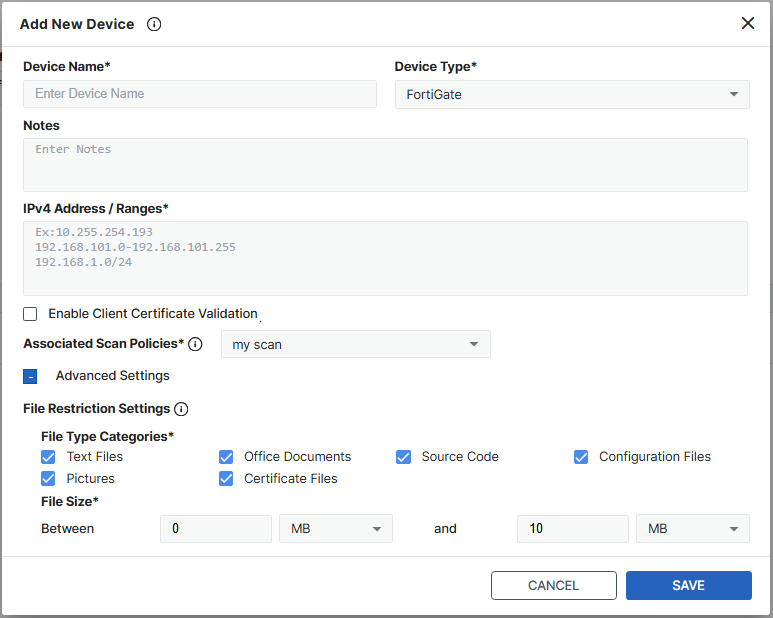
-
From the Associated Scan Policies dropdown list, select the desired scan policy, or create a new one.
-
Configure any advanced settings as needed to narrow down the file types and size to scan.
-
Click Save.