
Members and zones
First, SD-WAN must be enabled and member interfaces must be selected and added to a zone. The selected FortiGate interfaces can be of any type (physical, aggregate, VLAN, IPsec, and others), but must be removed from any other configurations on the FortiGate.
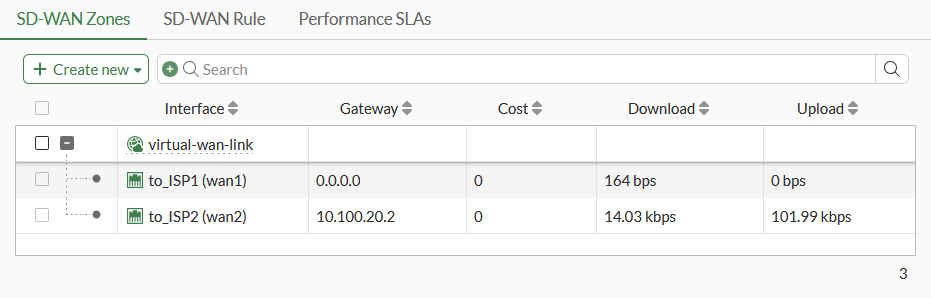
In this step, two interfaces are configured and added to the default SD-WAN zone (virtual-wan-link) as SD-WAN member interfaces. This example uses a mix of static and dynamic IP addresses; your deployment could also use only one or the other.
Once the SD-WAN members are created and added to a zone, the zone can be used in firewall policies, and the whole SD-WAN can be used in static routes.
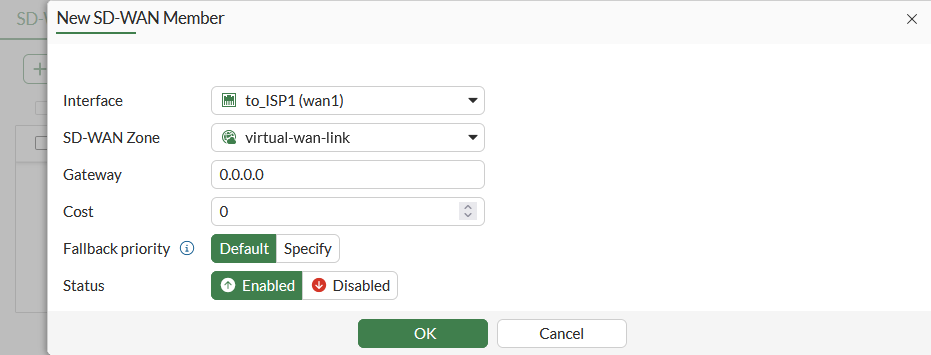
To configure SD-WAN members:
-
Set the Interface to wan1.
-
Leave SD-WAN Zone as virtual-wan-link.
-
As wan1 uses DHCP, leave Gateway set to 0.0.0.0.
If IPv6 visibility is enabled in the GUI, an IPv6 gateway can also be added for each member. See Feature visibility for details.
-
Leave Cost as 0.
The Cost field is used by the Lowest Cost (SLA) strategy. The link with the lowest cost is chosen to pass traffic. The lowest possible Cost is 0.
-
Set Status to Enable, and click OK.
-
Repeat the above steps for wan2, setting Gateway to the ISP's gateway: 10.100.20.2.
Next: Routing