
Telemetry policy
This topic applies only to a FortiGate acting as a FortiTelemetry Controller with FortiTelemetry enabled on the System > Feature Visibility page. For a summary of FortiTelemetry-related tasks that you can do in FortiOS, see FortiTelemetry. See also FortiTelemetry Administration Guide.
A telemetry type of firewall policy must be created on the FortiTelemetry Controller to send monitoring tasks to the agents.
The telemetry firewall policy has type set to Telemetry, source set to telemetry addresses or telemetry address groups, and a telemetry profile selected. FortiTelemetry Controller uses the following firewall policy configuration elements to automatically create a monitor task for agents:
-
FortiTelemetry agent from the policy source
-
Applications to monitor from the telemetry profile
FortiOS automatically places the telemetry policy at the top of the policy table for you. This position allows the policy to function correctly.
You must also allow the monitor traffic from FortiGate.
To configure a telemetry policy in the GUI:
-
Go to Policy & Objects > Firewall Policy.
-
Click Create New to create a new firewall policy.
-
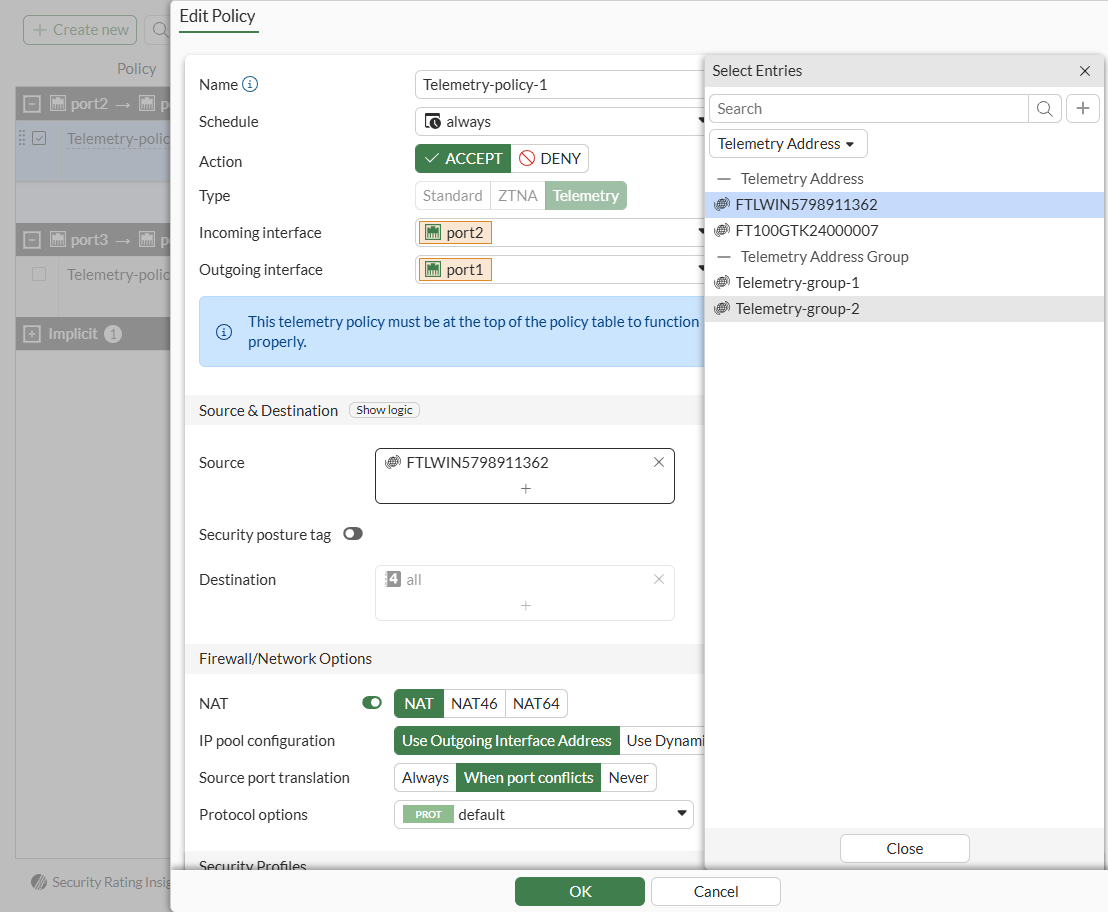
Configure the following settings:
Name
Enter a name for the policy.
Action
Set the action to Accept to send monitoring tasks to the agents.
Type
Select Telemetry as the policy type.
Incoming Interface
Choose the FortiGate port that is used to connect to the FortiTelemetry agent(s).
Outgoing Interface
Select the outgoing interface.
-
Set Source to one or more telemetry addresses or address groups.
See Telemetry addresses and address groups for more information.
-
Click Source, and select Telemetry Address to display a list of telemetry addresses and telemetry address groups.
-
Select one or more addresses or address groups.
-
Click Close when done.
-
-
Set Telemetry to a telemetry security profile configured on the FortiGate.
See Telemetry profile for more information.
-
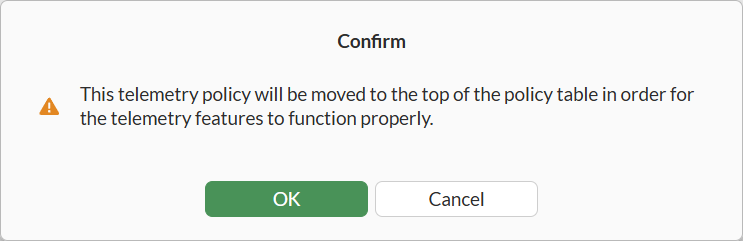
Click OK to save the policy. A message is displayed:
-
Click OK to continue. The policy is saved and displayed at the top of the policy table.
The Type column displays Telemetry.
To configure a FortiTelemetry policy in the CLI:
-
Use the following commands to configure a telemetry policy in the CLI:
config firewall policy
  edit "3"
    show
      config firewall policy
        edit 3
          set name "FTLPolicyWin136"
          set uuid 2a86e78c-d9c9-51ef-33d5-6ddd81cfcc63
          set srcintf "port3"
          set dstintf "port1"
          set action accept
          set srcaddr "FTLWIN4665500001"
          set dstaddr "all"
          set schedule "always"
          set service "ALL"
          set telemetry-profile "default"
          set logtraffic all
          set nat enable
          set comments "FTLPolicyWin136"
        next
      end