
Implementing VRF
VRFs are always enabled and, by default, all routing is done in VRF 0. To use additional VRFs, assign a VRF ID to an interface. All routes relating to that interface are isolated to that VRF specific routing table. Interfaces in one VRF cannot reach interfaces in a different VRF.
If some traffic does have to pass between VRFs, route leaking can be used. See Route leaking between VRFs with BGP.
|
|
VRF 0 is a special VRF, by default, all routing is done in VRF 0, so all routes in different VRFs will all be included in VRF 0. VRF 0 cannot be used in the cross-VRF case. For local-in/out traffic, all routes relating to one VRF are isolated from other VRFs so interfaces in one VRF cannot reach interfaces in a different VRF except VRF 0. |
|
|
Enable Advanced Routing in System > Feature Visibility to configure VRFs. |
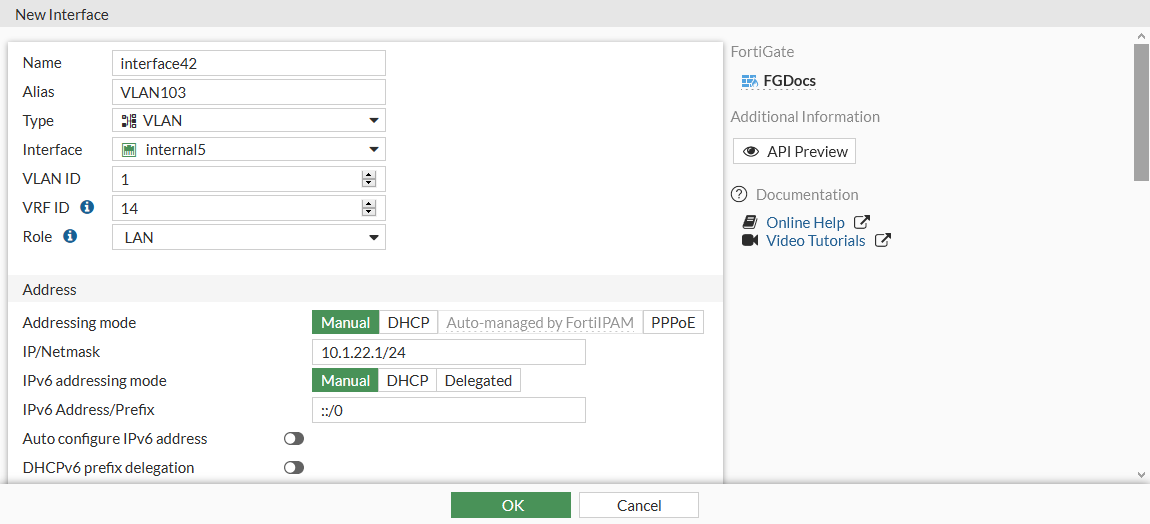
To configure a VRF ID on an interface in the GUI:
-
Go to Network > Interfaces and click Create New > Interface.
-
Enter a value in the VRF ID field.
-
Configure the other settings as needed.
-
Click OK.
-
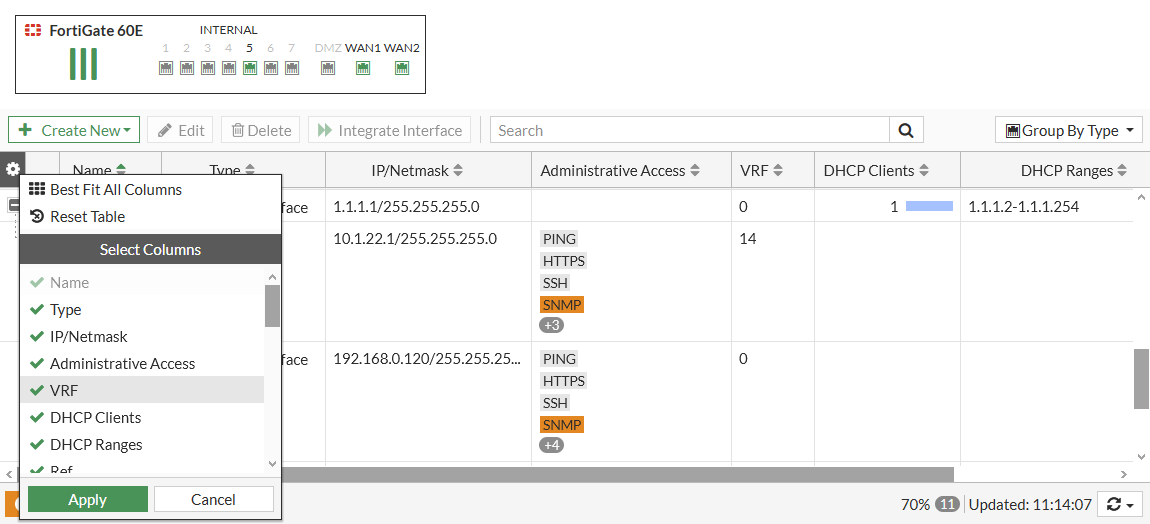
To add the VRF column in the interface table, click the gear icon, select VRF, and click Apply.
To configure a VRF ID on an interface in the CLI:
config system interface
    edit interface42
        ...
        set vrf 14
    next
end