
Configure FTM push with dynamic IP handling in the GUI
A new GUI-based configuration page for FTM push has been added to complement the existing CLI setup. Previously, users had to manually enter the IPv4 address or domain name of the FortiToken Mobile push services server, which required updates when the IP address changed. The new option allows users to select an interface instead. The system will automatically use the current IP address of the selected interface, making it ideal for environments where the WAN IP is dynamically assigned.
To configure FTM push dynamic IP handling in the GUI:
-
Go to User & Authentication > FortiTokens and select the Local token settings tab.
-
Set Push notifications to Enabled.
-
By default, Direct push responses to in set to Interface. The IP address of the selected interface is used. This is useful if your WAN IP is dynamically assigned.
-
Set Interface to a physical interface.
-
Optionally, change the default listening Port.
-
Click Apply.
-
If FortiToken mobile administrative access is not enabled on the selected interface, a pop-up message will ask to enable it. Click Enable.
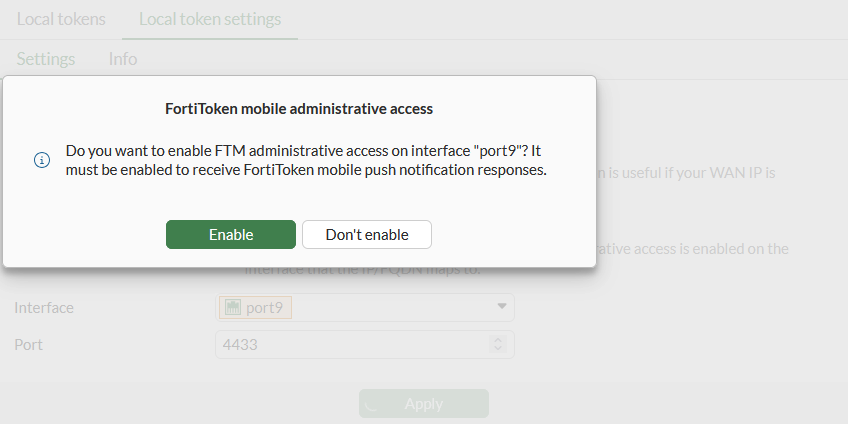
FortiToken mobile administrative access can also be configured in the interface settings; see Configure administrative access to interfaces.
When an interface is configured in the GUI, the server option is empty in the CLI:
config system ftm-push
    set proxy enable
    set interface "port9"
    set server ''
    set server-port 4433
    set server-cert "Fortinet_GUI_Server"
    set status enable
end
If the IP/FQDN is configured in the GUI, after upgrading from previous FortiOS version, the interface option (server-ip in previous versions) will be empty and the server options will contain the static IP address or FQDN:
config system ftm-push
    set proxy enable
    set interface ''
    set server "172.18.60.184"
    set server-port 4433
    set server-cert "Fortinet_GUI_Server"
    set status enable
end