
Add or edit subnets
The Subnets page lists all internal IP address ranges for the account. Admin users can add, edit or delete subnets in an account.
To add a subnet:
-
Click the gear icon in the top navigation and select Account Management.
-
If you have access to one account, the account page will appear.
-
If you have access to multiple accounts, select an account.
-
- Click the Subnets tab and click Add Subnet. The Add a Subnet dialog opens.
- Configure the subnet and click Add Subnet.
Subnet Enter the IP address for the subnet. Description (Optional) Enter a description of the subnet. Exteral Select if this is an internal subnet that will be treated as external by Suricata. 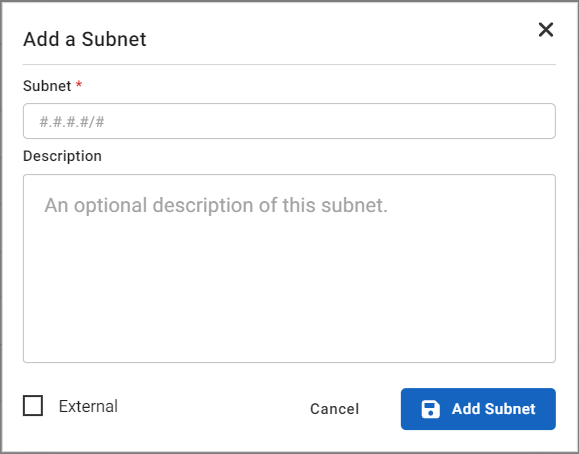
To edit a subnet:
-
Click the gear icon in the top navigation and select Account Management.
- Click the Subnets tab.
- In the Actions column, click the dropdown and select Edit. The Update Subnet dialog opens.
- Edit the subnet and click Update Subnet.
To delete a subnet:
-
Click the gear icon in the top navigation and select Account Management.
- Click the Subnets tab.
- In the Actions column, click the dropdown and select Delete. The Delete xx.xx.xxx.x/xx? dialog opens.
- Click Confirm.
To perform a bulk import:
- Click the CSV button to download the current subnets.
- Add or remove entries in the file and save it.
- Click the Import Subnets button and upload the file. and re-upload the file.
- Click the Reset to Default button to delete all subnets except the default.