
Bulk Upload
The Bulk Upload feature allows you to add tags and attributes to a large number of instances during or after the onboarding process. To do so, a template in XLSX format is available for download. You can use this template to assign tags, attributes, or both to your instances. After completing the template, you can upload the file directly to FortiMonitor.
Once uploaded, FortiMonitor will automatically validate the file. If the file is valid and contains no errors, the import process will be performed in the background. Only users with the appropriate permissions to view and edit tags and attributes are able to use this feature.
Note: When using the template, tags and attributes used in the template must already exist in your account. The template does not have the ability to create new ones. Additionally, the template will not generate duplicate tags or attributes.
Template
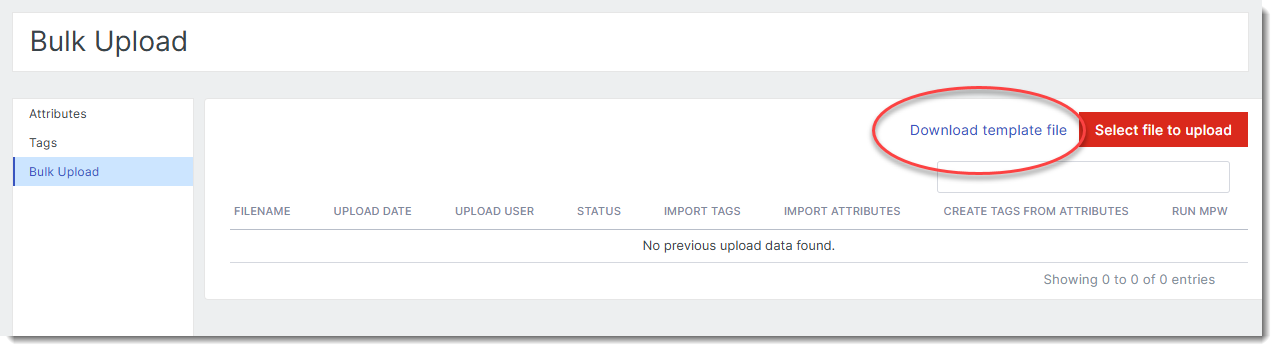
A template file in XLSX format is available for download. To download the file:
-
Go to Monitoring > Attributes & Tags > Bulk Upload.
-
Click Download template file.
Using the template
The following table describes the fields that are available in the template:
|
Field |
Description |
|---|---|
|
FQDN |
Enter the FQDN or IP address of the instance. The instance must match the FQDN in your account. If it does not, this row will be skipped. Ensure that only one entry is filled out per instance in the template to avoid errors. |
|
Name |
(Optional) Enter a name for the instance. |
|
Latitude and Longitude |
(Optional) Enter the coordinates of the instance. For example:
If the location coordinates are valid, the geo-location attributes will be added to the instance. |
|
Tags |
Enter the tags to assign to the instance. To assign multiple tags, see the following section. |
|
Attribute Name 1 |
Attribute key-value pair. For more information, see Attributes. Add additional columns for attributes to the right of the column as needed. Populate the top cell of the column with the attribute key and the cells below with the attribute value for each instance. |
|
Attribute Name 2 |
Assigning multiple tags
To assign multiple tags to an instance, add the tags to the row of the instance in comma-delimited format. For example:

Creating multiple rows with the same instance will result to the file being invalid when uploaded.
Upload the template
To upload the template:
-
Click Select file to upload.
-
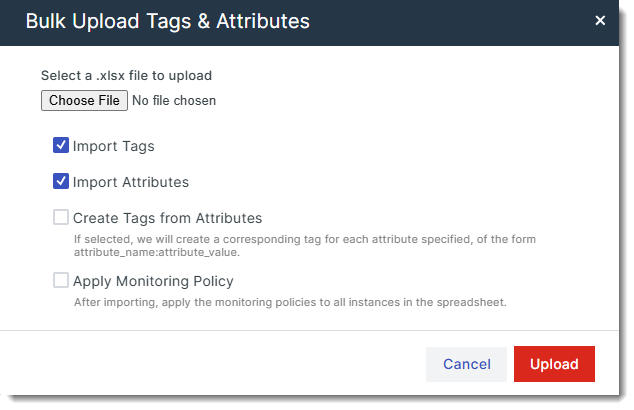
Use the modal that appears to choose the appropriate options for this template.
-
Click Upload.
|
Option |
Description |
|---|---|
|
Choose file |
Select the template file to be uploaded. |
|
Import Tags |
Enable this option to import tags. |
|
Import Attributes |
Enable this option to import attributes. |
|
Create Tags from Attributes |
If enabled, a corresponding tag will be created for each specified attribute, following the format attribute_name:attribute_value. |
|
Apply Monitoring Policy |
If enabled, the monitoring policy is applied to all instances in the template. |