


Subscribing to SOCaaS
To subscribe to SOCaaS, purchase the subscription license for logging Fabric devices (e.g. FortiGates through a licensed reseller) and register them in FortiCloud. After the license is registered, complete the onboarding request from the SOCaaS Portal.
For information about registering products, see Registering products.
To submit an onboarding request:
-
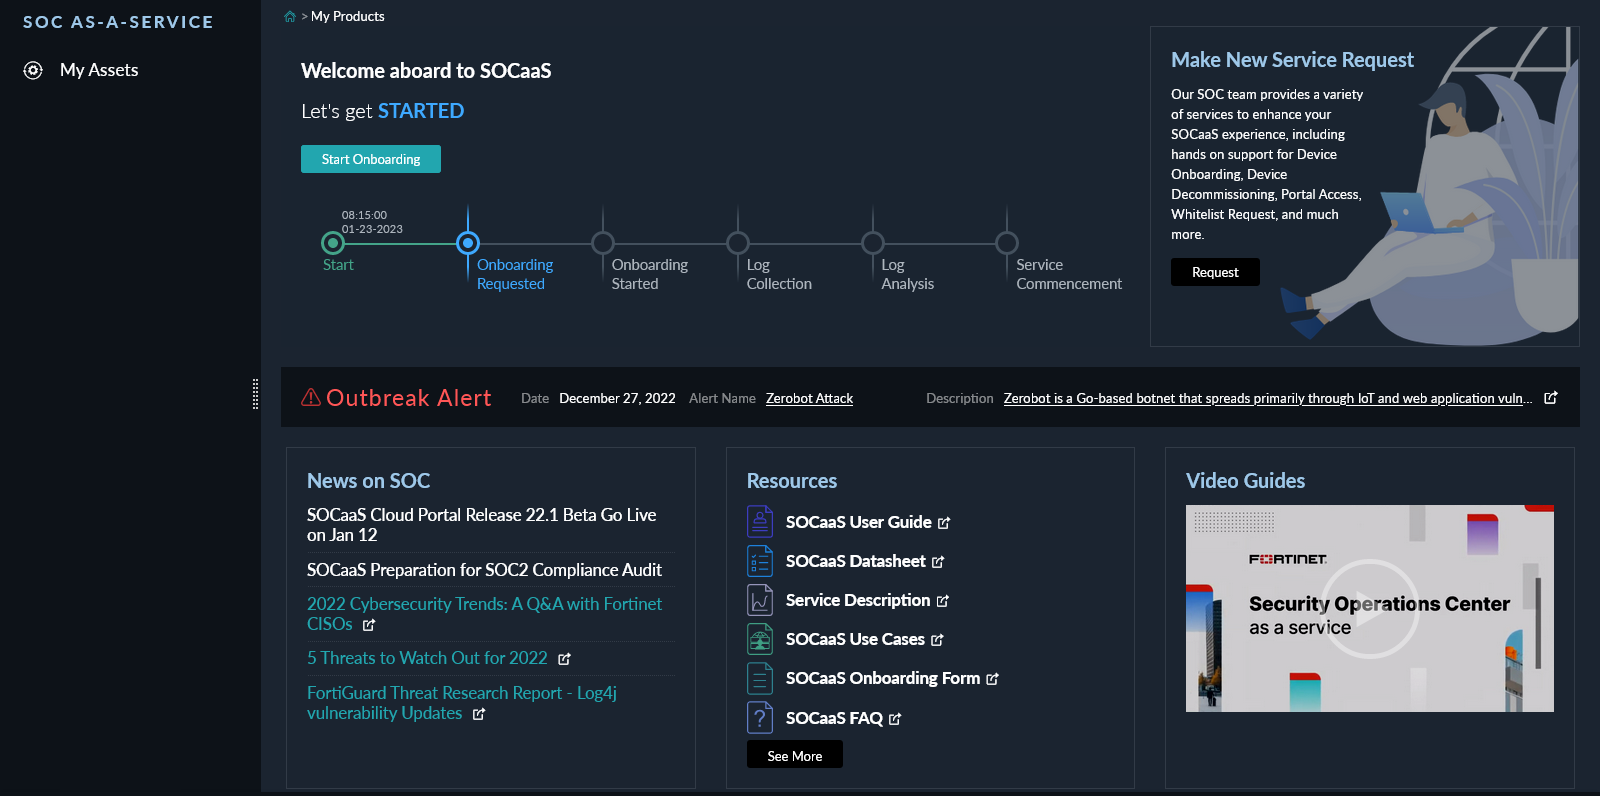
After the Fabric devices are registered, go to Services > Cloud Services > SOCaaS. The SOCaaS welcome page opens.
-
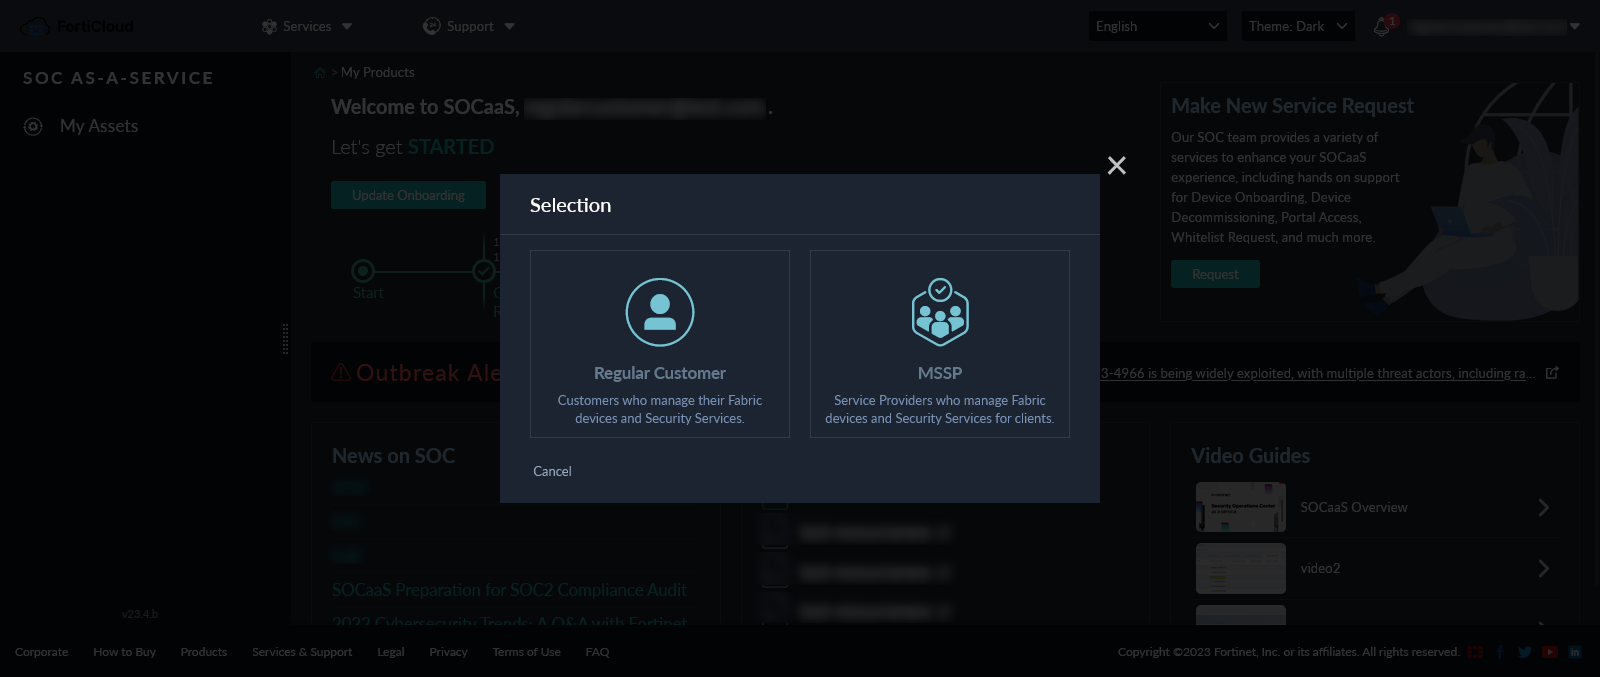
Click the Start Onboarding button. In the Selection dialog, select Regular Customer to launch the SOCaaS Onboarding Wizard.
-
Complete the following onboarding steps in Onboarding wizard:
-
Select how the logs will be collected. You can choose one of the following options:
- On-Premises: Use an on-premise FortiAnalyzer for log collection.
- FortiAnalyzer Cloud: Use FortiAnalyzer Cloud for log collection.
- FortiSASE: Use FortiSASE for log collection.
- Hybrid: Use multiple methods of log collection. At least two methods must be selected, for example On-Premises FortiAnalyzer and FortiSASE.

FortiSASE log collection requires a valid FortiTrust license, and configuration must first be completed on the FortiSASE. Please review the FortiSASE documentation on the Fortinet Document Library for more information on FortiSASE configuration.

-
Select the Fabric devices to be onboarded. Fabric devices entitled to SOCaaS are displayed.

-
(Optional) Enter the device information.
HA Mode Enable this setting for HA devices.
This setting can be enabled on each Secondary device in the HA cluster. When enabled, a text field is displayed where you must provide the HA Primary Serial Number (SN).
Host Name Enter a host name for the device. Description Enter a description for the device. Location
Select the device's location. Locations can be specified by city and country. This location is used to show the devices on the map in the SOCaaS portal.

-
(Optional) Add monitoring subnets. You can define subnets to limit SOC monitoring by including or excluding specified subnets. By default, all subnets are monitored.
Click Add to create a new monitoring subnet, and configure the following information:
Type Select the type as either Include or Exclude.
When set to Include, the subnet or IP range will be monitored. When set to Exclude, the subnet or IP range will not be monitored.
Subnet Enter the subnet (CIDR) or IP range. Name A name is automatically created for the monitoring subnet, however, you can optionally replace it with a custom name. 
-
Add the contacts for SOCaaS. At least one contact must be provided.
Name Enter the contact's name. Emails Enter the contact's email(s). Multiple email addresses can be separated using a comma. Primary Phone Enter the contact's primary phone number including the country code and area code. Secondary Phone
Enter the contact's secondary phone number including the country code and area code.
Default Contact
When multiple contacts are added, one must be selected to be the Default Contact.
A phone number must be provided to receive the benefit of the Phone Call Escalation on Critical Alerts option included with the SOCaaS subscription.

-
(Optional) Add escalation paths.
Escalation paths determine how security alerts are escalated by the SOC team to the contacts defined in the previous step. When no escalation paths are created, the default contact will be contacted.
When multiple escalation paths are created, alerts are escalated to the first escalation path with matching criteria based on their order on the page from top to bottom. You can reorder escalation paths by dragging them to your desired placement in the table.
To create new escalation paths, click Add and configure the following information:
Name Enter the name of the escalation path. Primary Contact and Secondary Contact Select the Primary Contacts and Secondary Contacts that were configured in the previous step. Included Devices or Excluded Devices Optionally, specify which devices are included in this escalation path by selecting them in the Included Devices or Excluded Devices fields. By default, all devices are included. Included Subnets and/or Excluded Subnets
Optionally, specify which subnets are included in this escalation path by selecting them in the Included Subnets or Excluded Subnets fields. By default, all subnets are included.
You can create additional subnets to include or exclude in escalation paths by clicking the + Add button.

-
On the Notes page, add the email address where you want to receive email notifications related to the onboarding process. You can include special requests and/or instructions for the SOCaaS team in the Notes textbox.

-
Review the details in the Summary page.
Once all fields are completed, you can review the summary of your changes before submitting the onboarding request. Click each tab to view the details you provided in the previous steps. Click Back to return to a previous step in the Wizard.

-
-
After the fields are completed, click Submit to send the onboarding request to the Fortinet SOC team. At any time before submitting the request, you can click Save Draft to save your progress and return to it later.
Post-onboarding request submission
-
An onboarding timeline is displayed on the SOCaaS Welcome page which shows the current status of your onboarding request.

-
Wait up to three (3) business days for the Fortinet SOC team to prepare SOCaaS and get back to you. During this time, the Fortinet SOC team uses the information from the Onboarding Wizard to prepare the service.
-
If you are using FortiAnalyzer Cloud, please refer to Configuring FortiAnalyzer Cloud to enable the Managed SOC service.
-
If you are using an on-premise FortiAnalyzer for log collection, the SOC team will reach out to you with instructions to configure log forwarding to SOCaaS cloud.
-
You can continue to use your devices during this time.
-
If you would like to onboard additional devices after the onboarding request has been submitted, you can use the Start New Onboarding wizard. See Onboarding additional devices.