
Amazon Web Services (AWS)
Perform the following steps to deploy FortiAIOps on AWS.
- Download the file FAO_VM64_AWS-v2.0.1-[build01xx]-FORTINET.out.aws.zip from Fortinet
- Install or gain access to the AWS CLI. See Get started with the AWS CLI.
- Configure the AWS CLI as per your access requirements. These are some sample values that you must replace with the relevant ones.
$ aws configure
   AWS Access Key ID [None]: AKIAIOSFODNN7EXAMPLE
   AWS Secret Access Key [None]: YEXAMPLEKEY
   Default region name [None]: us-west-2
Default output format [None]: json - Create vmimport role and attach the policy to the IAM user. This operation requires IAM permissions.
cat <<EOF > trust-policy.json
{
   "Version": "2012-10-17",
   "Statement": [
      {
         "Effect": "Allow",
         "Principal": { "Service": "vmie.amazonaws.com" },
         "Action": "sts:AssumeRole",
         "Condition": {
            "StringEquals":{
               "sts:Externalid": "vmimport"
             }
         }
      }
    ]
}
EOF

aws iam create-role --role-name vmimport --assume-role-policy-document file://trust-policy.json- Create a policy for the Amazon S3 bucket and attach it to the AWS IAM user.
cat <<EOF > role-policy.json
{
   "Version":"2012-10-17",
   "Statement":[
      {
         "Effect":"Allow",
         "Action":[
            "s3:GetBucketLocation",
            "s3:GetObject",
            "s3:ListBucket"
         ],
         "Resource":[
            "arn:aws:s3:::$s3BacketName",
            "arn:aws:s3:::$s3BacketName/*"
         ]
      },
      {
        "Effect":"Allow",
        "Action":[
            "ec2:ModifySnapshotAttribute",
            "ec2:CopySnapshot",
            "ec2:RegisterImage",
            "ec2:Describe*"
        ],
        "Resource":"*"
      }
   ]
}
EOF

aws iam put-role-policy --role-name vmimport --policy-name vmimport --policy-document file://role-policy.json
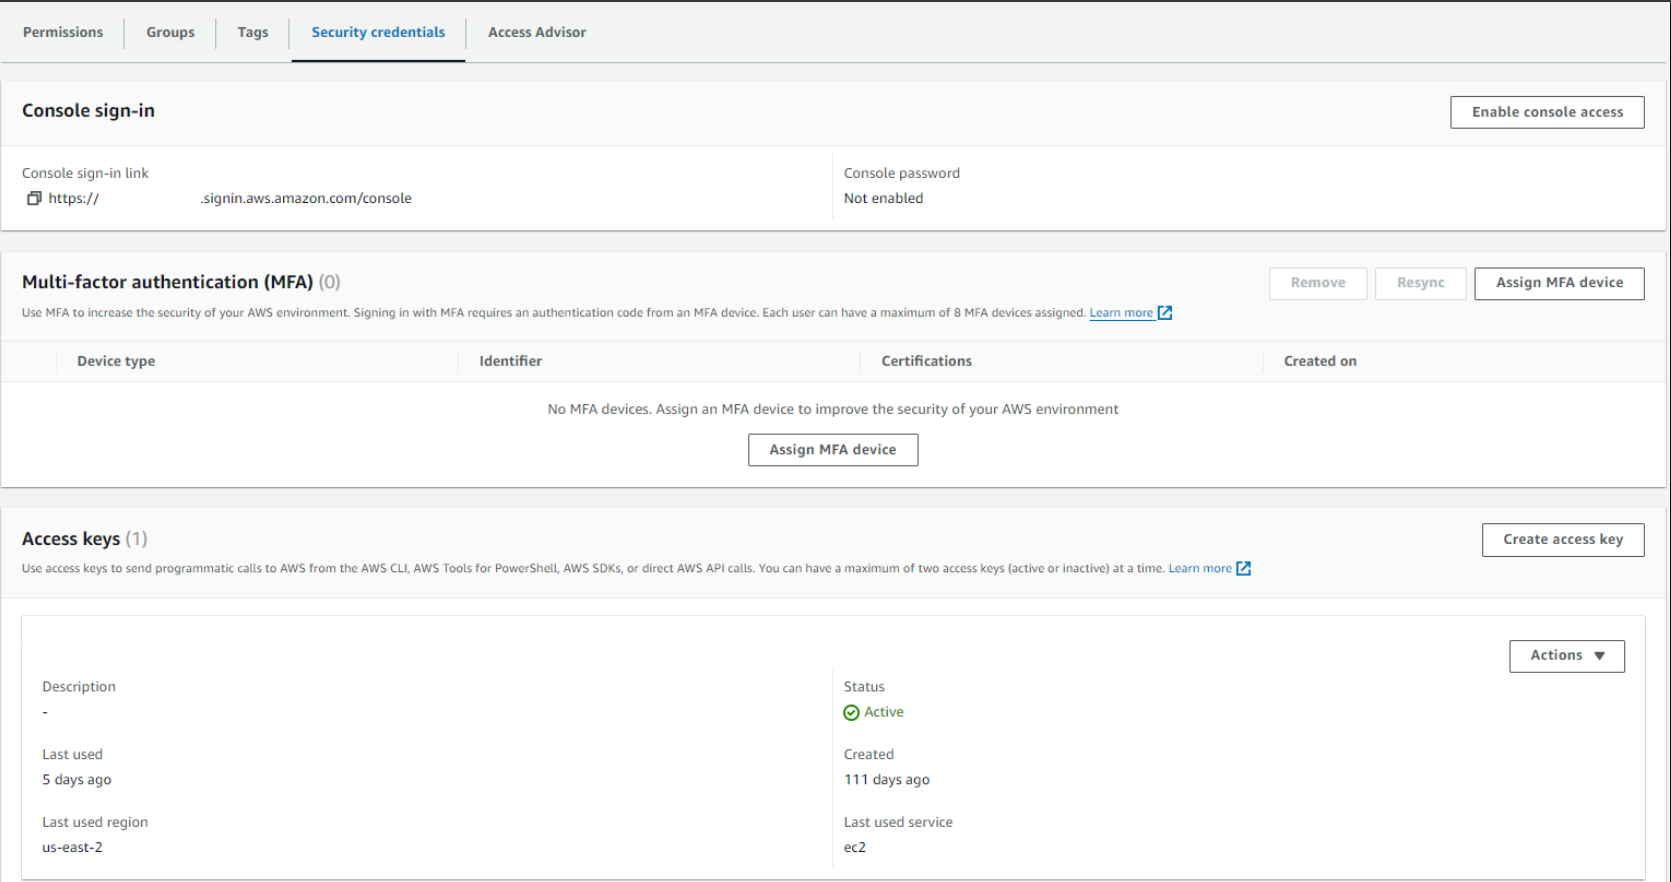
- Create a policy for the Amazon S3 bucket and attach it to the AWS IAM user.
-
Enable Amazon EC2 Full Access and Amazon S3 Full Access permissions.
-
Add permission for create inline policy in Permission policies. Enable write access (CreateRole) and user permission management (PutRolePolicy). Select Any as the policy name in resource selection.

-
For user security credentials, create an access key (CLI) and download the CSV.
-
If you run the
import2awsimg.shmanually, then un-comment the line 209 in Creare_vmimport_role_and_policy.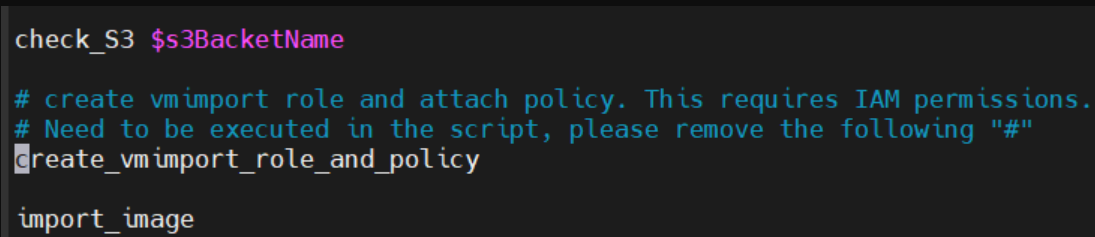
-
Extract the file FAO_VM64_AWS-v2.0.1-[build01xx]-FORTINET.out.aws.zip. Post extraction, you have the VHD file and the import script.
-
VHD - FAO_VM64_AWS-v2.0.1-[build01xx]-FORTINET.out.vhd
-
Import script - import2awsimg.sh
-
Run the import2awsimg.sh script to import the VM.
bash –x import2awsimg.sh <imported_image_file> <s3_bucket_name>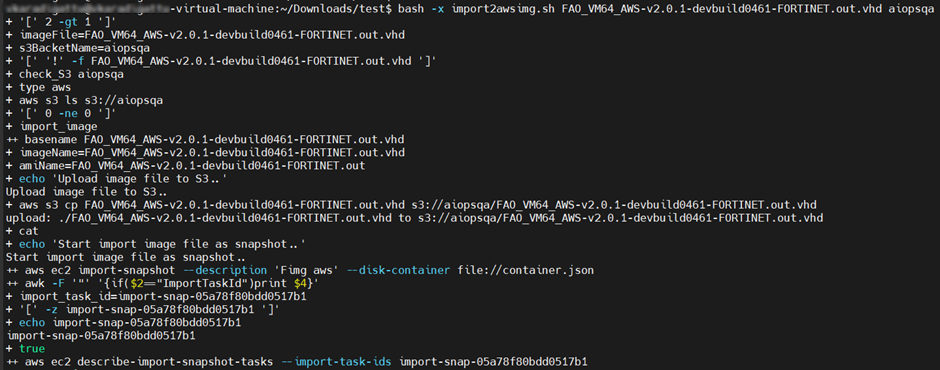

Note:-
To import the VM, you must have read & write permissions to the Amazon bucket, EC2 Snapshot, and image creation, and import permissions.
-
Some AWS regions use
/dev/xvdaas the root device name instead of/dev/sda1. If you are importing an image into a region that uses/dev/xvda, update the script by replacing all instances of/dev/sda1with/dev/xvda. For example, modify theblock_device_mappings.jsonsection of theimport2awsimg.shby replacing/dev/sda1with/dev/xvda.
-
-
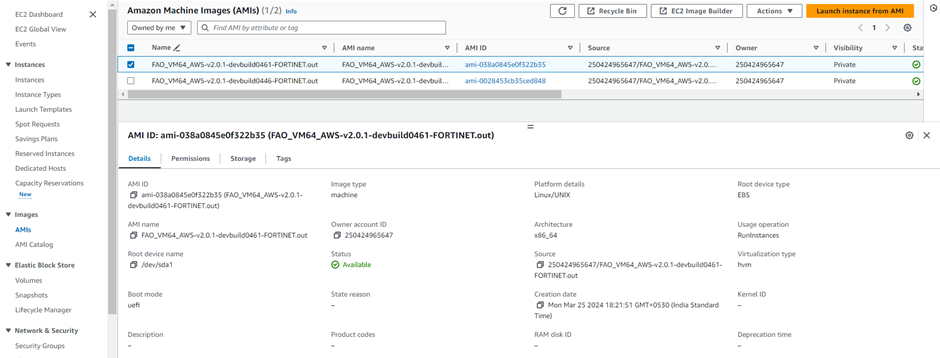
Launch an instance from the Amazon Machine Images (AMI). Select Images > AMI in the EC2 service interface and select the image that you just imported. Click Launch instance from AMI.
-
Add Name and tags for the instance, select the Instance type, set the Key pair, and configure the Network settings based on your requirement. Select the required hard disk size in Configure storage.
The default size of disk storage 2 is10 GB, modify the size as per your requirement. Click Launch instance.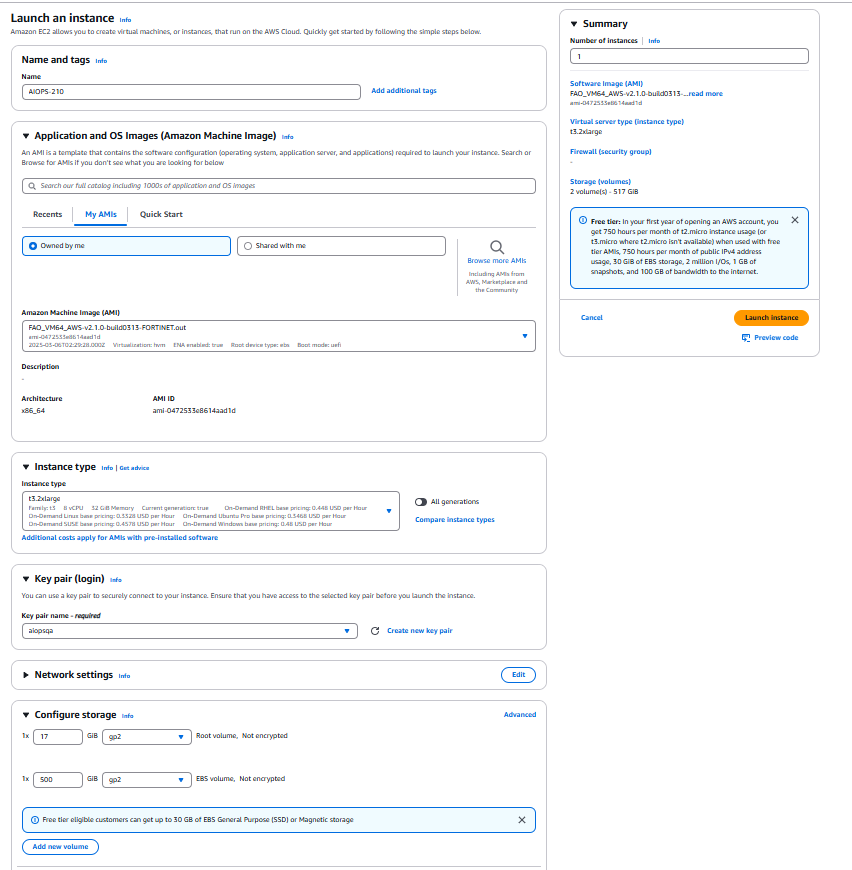
-
Obtain the public IP address of the instance from the EC2 service interface and connect via a private key using SSH.
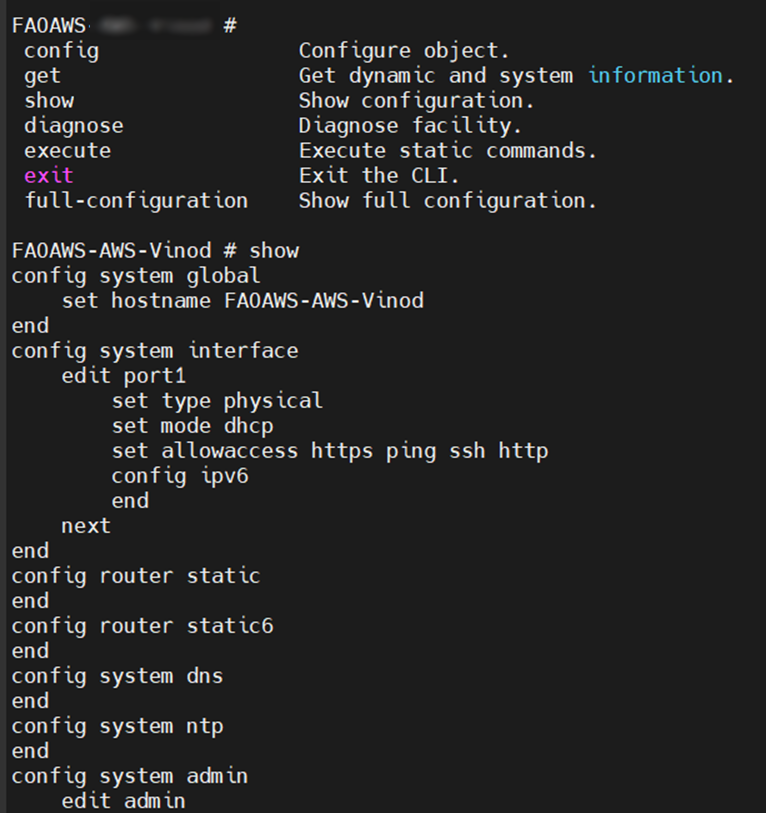
-
From release 3.0.0, by default AWS AIOPS
instance-idwill be the password for the AIOps CLI/GUI. After login through CLI/GUI you will prompt to change the password.