
Google Cloud Platform
Perform the following steps to deploy FortiAIOps on Google Cloud.
-
Download the file FAO_VM64_GCP-v2.0.1-[build0xxx]-FORTINET.out.gcp.zip from Fortinet and extract it to obtain FAO_VM64_GCP-v2.0.1-[build0xxx]-FORTINET.out.gcp.tar.gz.
-
Install and setup gsutil to access Cloud storage from the CLI using HTTPS. To install gsutil, see Install gsutil.
-
Alternatively, run the following command to download the Linux 64-bit archive file.
curl -O https://dl.google.com/dl/cloudsdk/channels/rapid/downloads/google-cloud-cli-389.0.0-linux-x86_64.tar.gz -
Extract the contents of the file to any location on your file system (preferably your Home directory). To replace an existing installation, remove the existing google-cloud-sdk directory and then extract the archive to the same location - tar -xf google-cloud-cli-389.0.0-linux-x86.tar.gz.
-
Run the ./google-cloud-sdk/install.sh script (from the root of the folder you extracted the file to).
-
Run
./google-cloud-sdk/bin/gcloud initto initialize GCP CLI. -
Upload the file FAO_VM64_GCP-v2.0.1-[build0xxx]-FORTINET.out.gcp.tar.gz to the Cloud storage bucket in the GCP CLI.
./google-cloud-sdk/bin/gsutil FAO_VM64_GCP-v2.0.1-[build0xxx]-FORTINET.out.gcp.tar.gz gs://my-some-bucket -
Run the following script to create a secure boot image.
# bash -x import2gcpimg.sh AIOPSBuild FAO_VM64_GCP-v2.0.1-devbuild0448-FORTINET.out.gcp.tar.gz aiops-gcp.
where, IMAGE_NAME =[FortiAIOps build], SOURCE_FILE= [FortiAIOps image file name, and BUCKET_NAME =aiops-gcp.
Note: Make sure to create a storage bucket in the GCP GUI where the FortiAIOps image files are uploaded.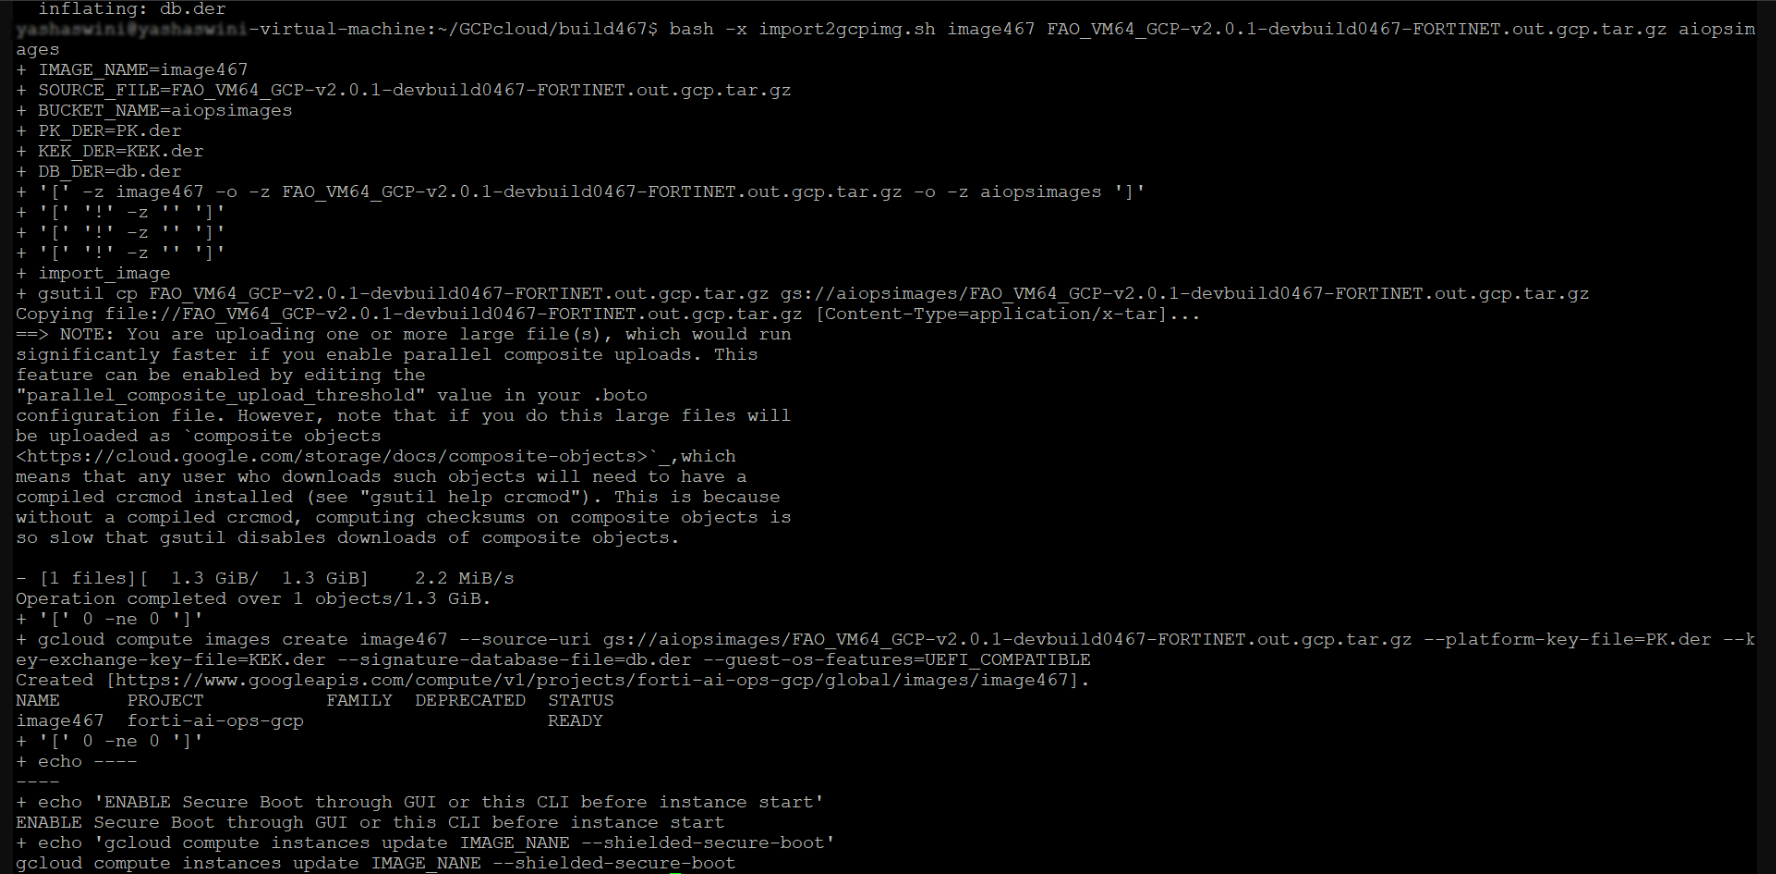
-
In the GCP portal, navigate to Compute Engine > Images and select the uploaded FortiAIOps image file.
-
Click Create instance and update the following configurations. For more information, see Create a VM.
-
Enter a Name for the instance.
-
Select the applicable Region from the list.
-
In the Machine configuration, configure the E2 Standard with 4 VCPUs and 16 GB memory.
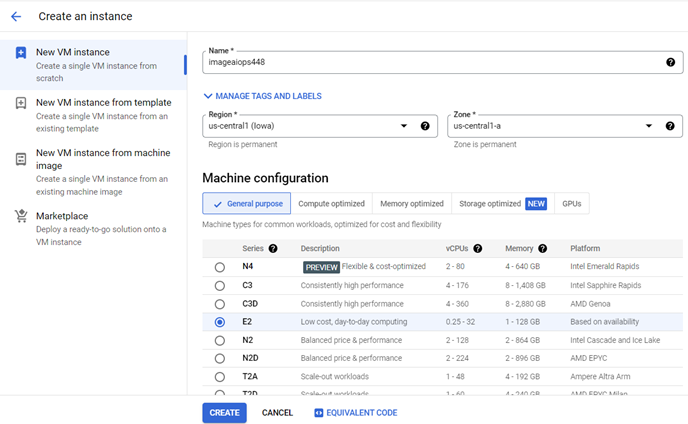
Note: It is recommended to use a minimum of 4 CPUs and a memory of 16 GB with the Intel Broadwell CPU platform.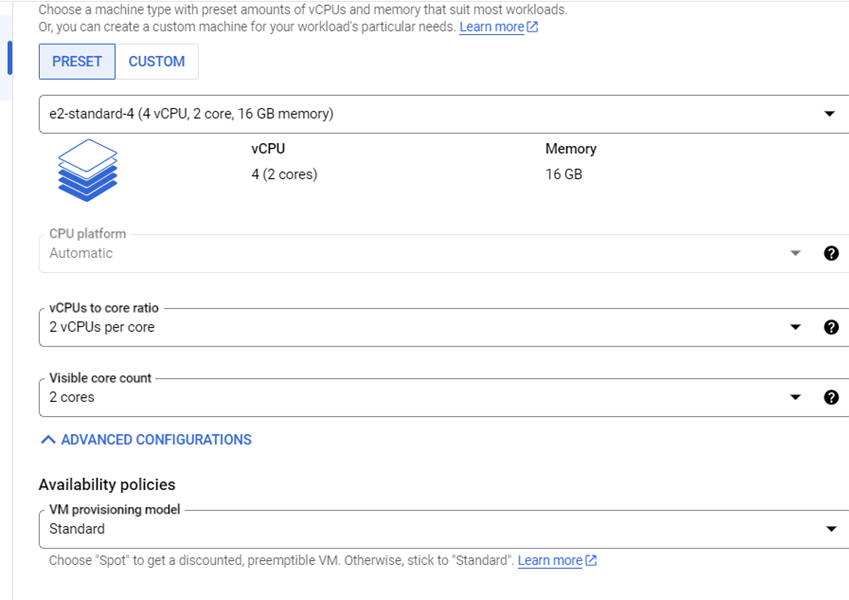
-
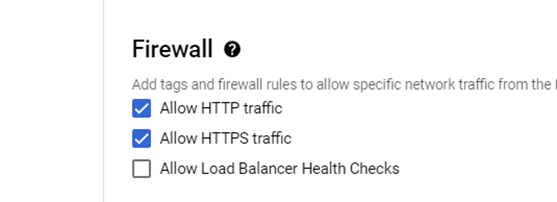
- Enable Allow HTTPS traffic for web access in Firewall.
- Click Advanced options to configure networking, disk and security parameters for the instance.
Set the Network interface card to VirtIO .
Select the Virtual Private Cloud (VPC) in the Network interfaces.
Note:Ensure that you create VPC networks to use as network interfaces for your instance, and provide the IP address from specified subnets. To create and use a VPC network, see Create and manage VPC networks.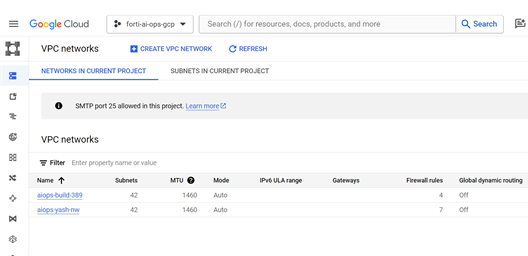
Select other network parameters such as IP stack, primary Internal IPv4 address, and external IPv4 address as depicted in this image.
Note: You can select the external IPv4 address as Ephermal (automatic /dynamic or static IP address. ). To create external IPv4 addresses for GCP, see Reserve a static external IP address.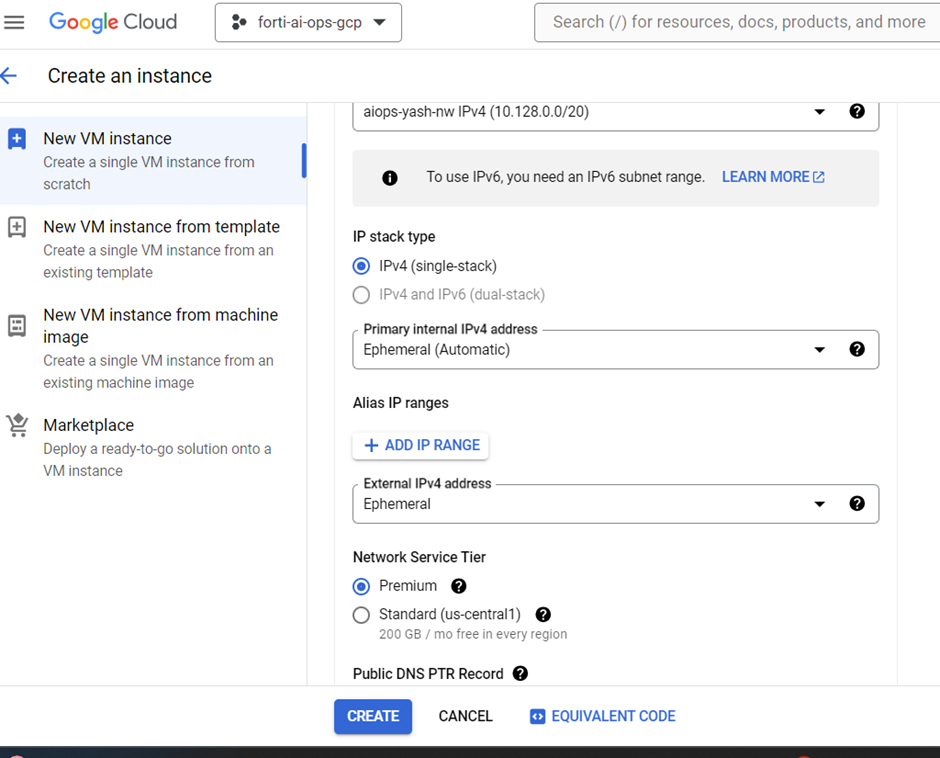
- Add another hard disk. In the Create an instance page, select Add New Disk and configure the following.
Enter a disk Name.
Set the Disk source type to Blank disk.
Set the Disk type to Standard persistent disk.
Set the disk Size to 100 GB
Note: The minimum recommended disk size is 100 GB.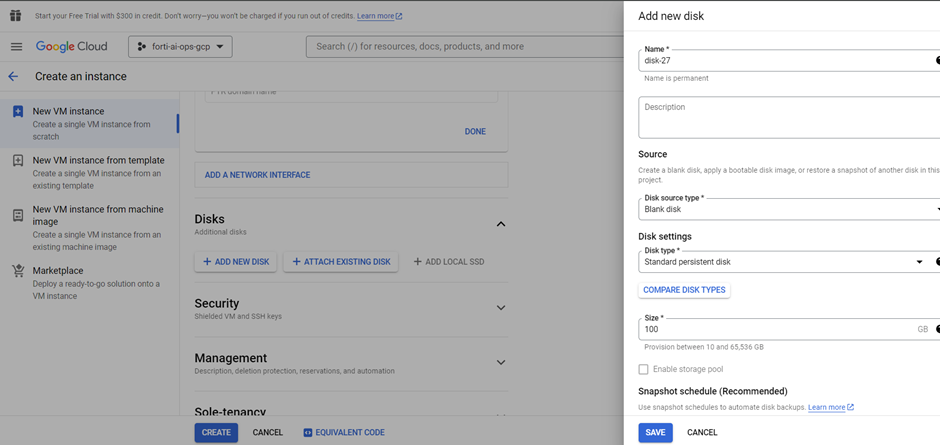
- Click Save.
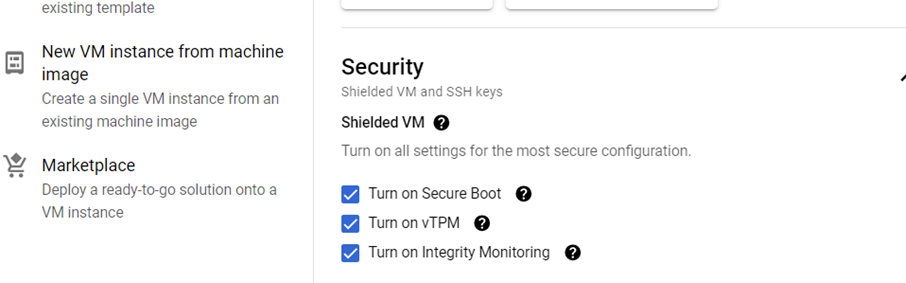
- In the Security section, enable secure boot as depicted in the following image.
- Click Create to complete installation. The newly created instance is listed in the VM instances page.
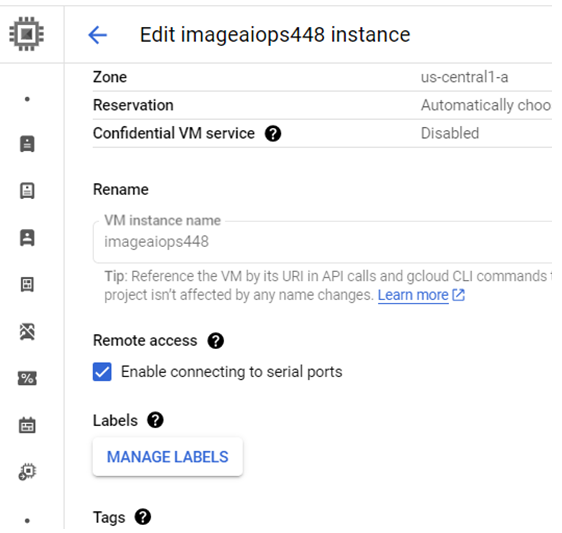
Select the instance and verify that the instance is running with the recommended CPU and machine configurations. - After successful installation, enable the serial console.
Select the instance in the VM instances page.
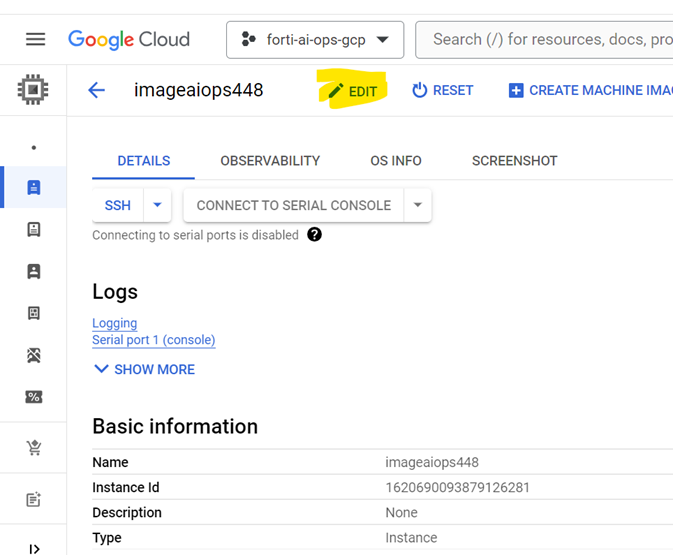
Click Edit to enable the following TCP and UDP ports.
514:514/udp
514:514/tcp
4013:4013/udp
4013:4013/tcp
443:443/tcp
80:80/tcp
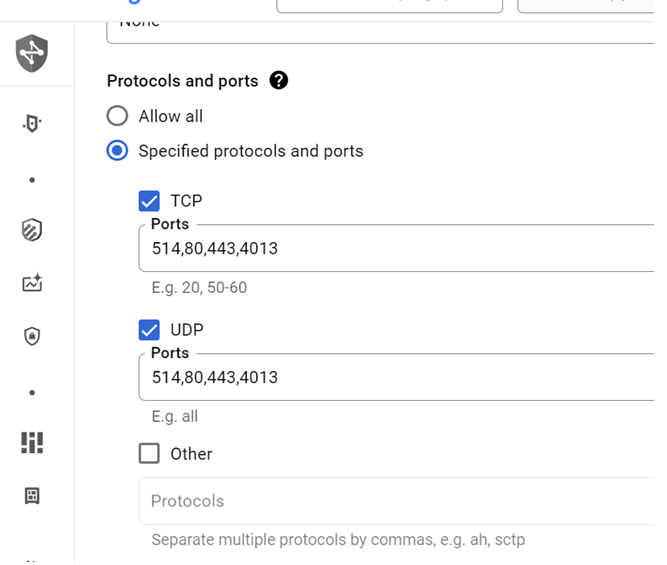
Note: Ensure that all required TCP and UDP ports are enabled.
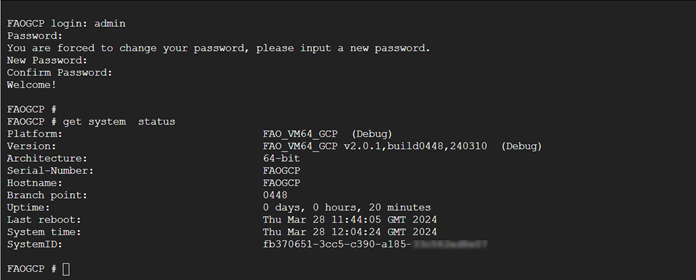
- Connect the VM instance and login.
To connect via the Compute Engine console, click VM Instances and select the VM instance that you want to connect to. Click Connect to Serial Console. See Connect to the Serial Console. In the console interface, login with the user name admin. A password in not required.
To connect via the SSH, obtain the public IP address from the VM Instances interface and connect via SSH. The
get system interfacecommand displays the internal IP address assigned to the instance.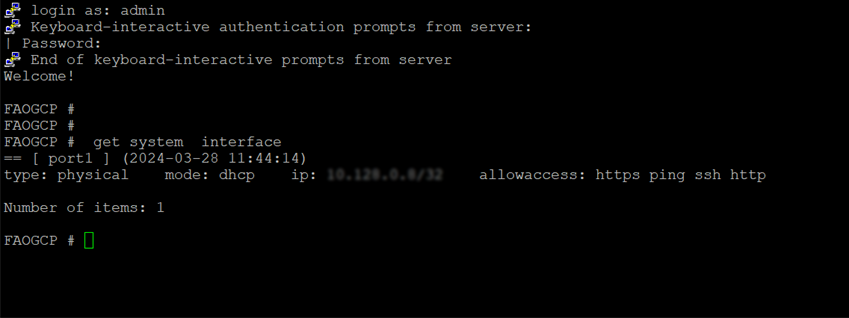
You can use the external IP address to access the FortiAIOps GUI, https: <external_IP_address>.