
Leave Management
Leave management provides the ability to exclude users who are on leave or paid time off (PTO) from being assigned records while using the Queue and Shift Management feature.
|
|
Leave Management works with the 'Round Robin' method of user assignment. |
Permissions Required
- To view leaves, you must have
Readpermission on theLeave Schedulesmodule. - To add or edit leaves you must have
Create,Read, andUpdatepermission on theLeave Schedulesmodule. For fresh installations of FortiSOAR 7.4.1 or later,Create,Read, andUpdatepermissions on theLeave Schedulesmodule are already assigned to the Full App Permissions Role. In cases where you have upgraded FortiSOAR to 7.4.1 or later from a release prior to 7.4.1, you require to assignCreate,Read, andUpdatepermission on theLeave Schedulesmodule to users who would be handling leaves. To delete leaves, you must haveDeletepermission on theLeave Schedulesmodule.
Adding Leaves
Users with appropriate permissions requires to add leaves for themselves or other users so that they get excluded, and record are not assigned to them for the duration of their leave. To add leaves do the following:
- Click Queues & Shift Management in the left navigation bar, then click the Leave Management tab.
- To add leaves, on the
Leave Managementpage, click Add Leave Schedule. - In the
Add New Leave Scheduledialog add the following:- From the Analyst drop-down list, select the user for whom you are applying for leave.
- From the From Date field, select the date and time from when the user will be on leave.
- From the To Date field, select the date and time till when the user will be on leave.
- In the Additional Information field, optionally enter the reason for the leave.
- In the Tags field, optionally enter the tag that you want to associate with this leave schedule, for example
generalShift: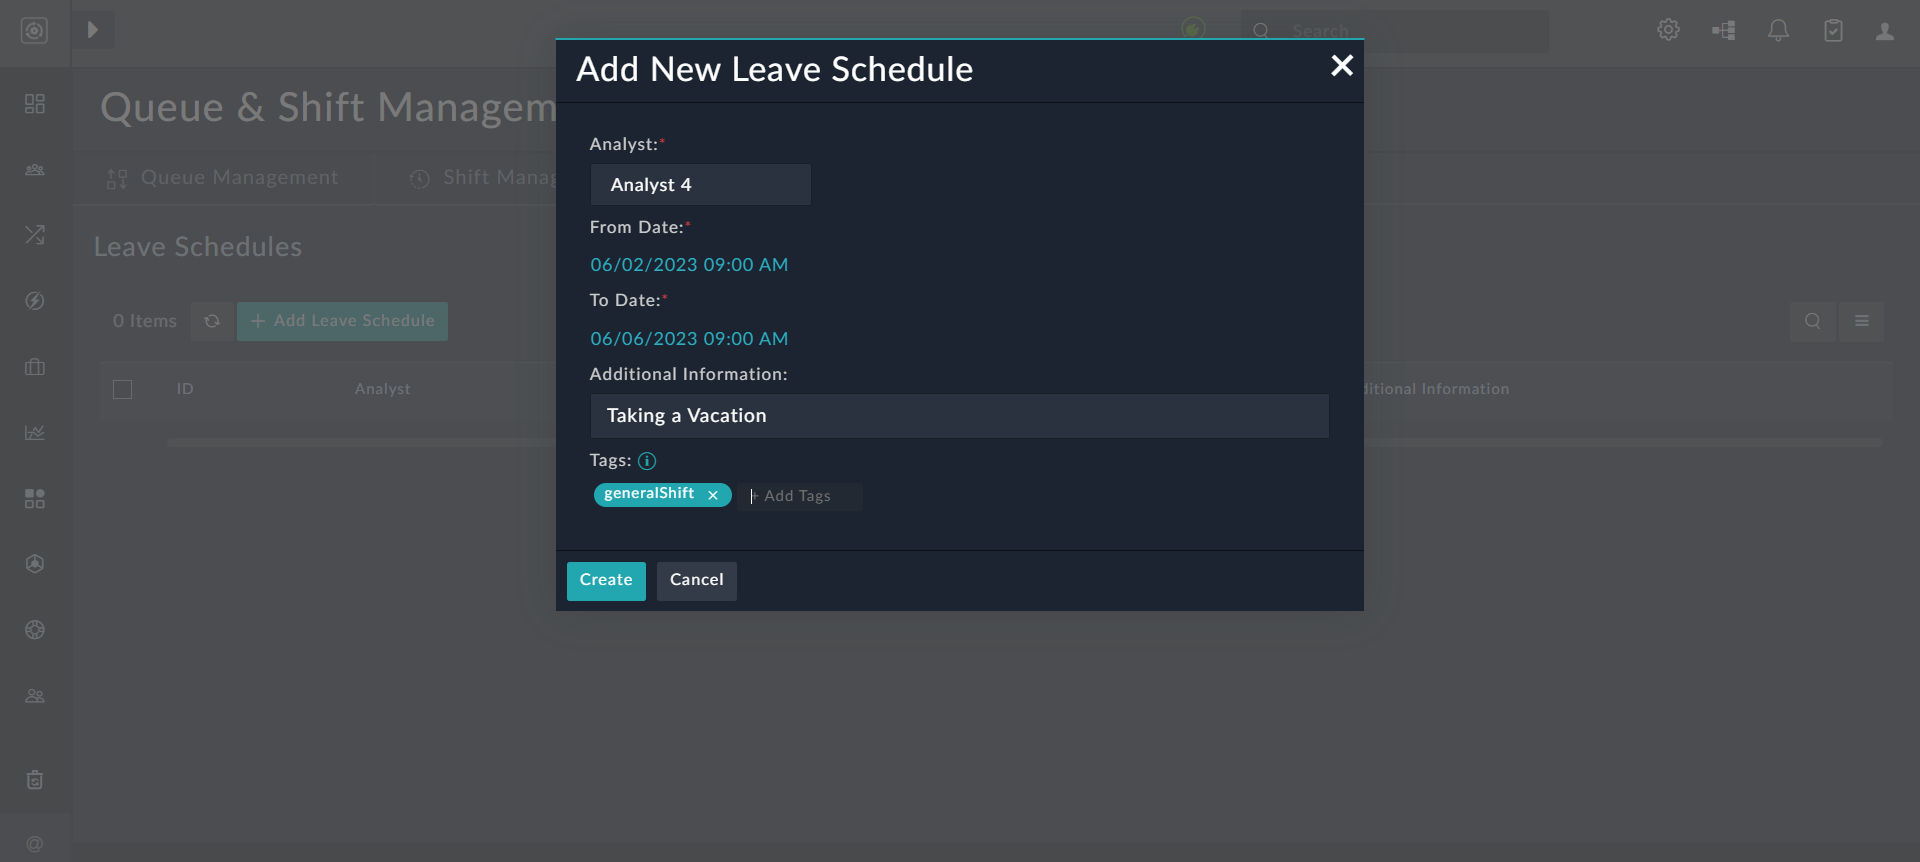
- Click Create to add the leave schedule record:
In our example, we have added the leave schedule for user 'Analyst 4', so when we view the details of the Alerts Queue, you will see that no record is assigned to 'Analyst 4':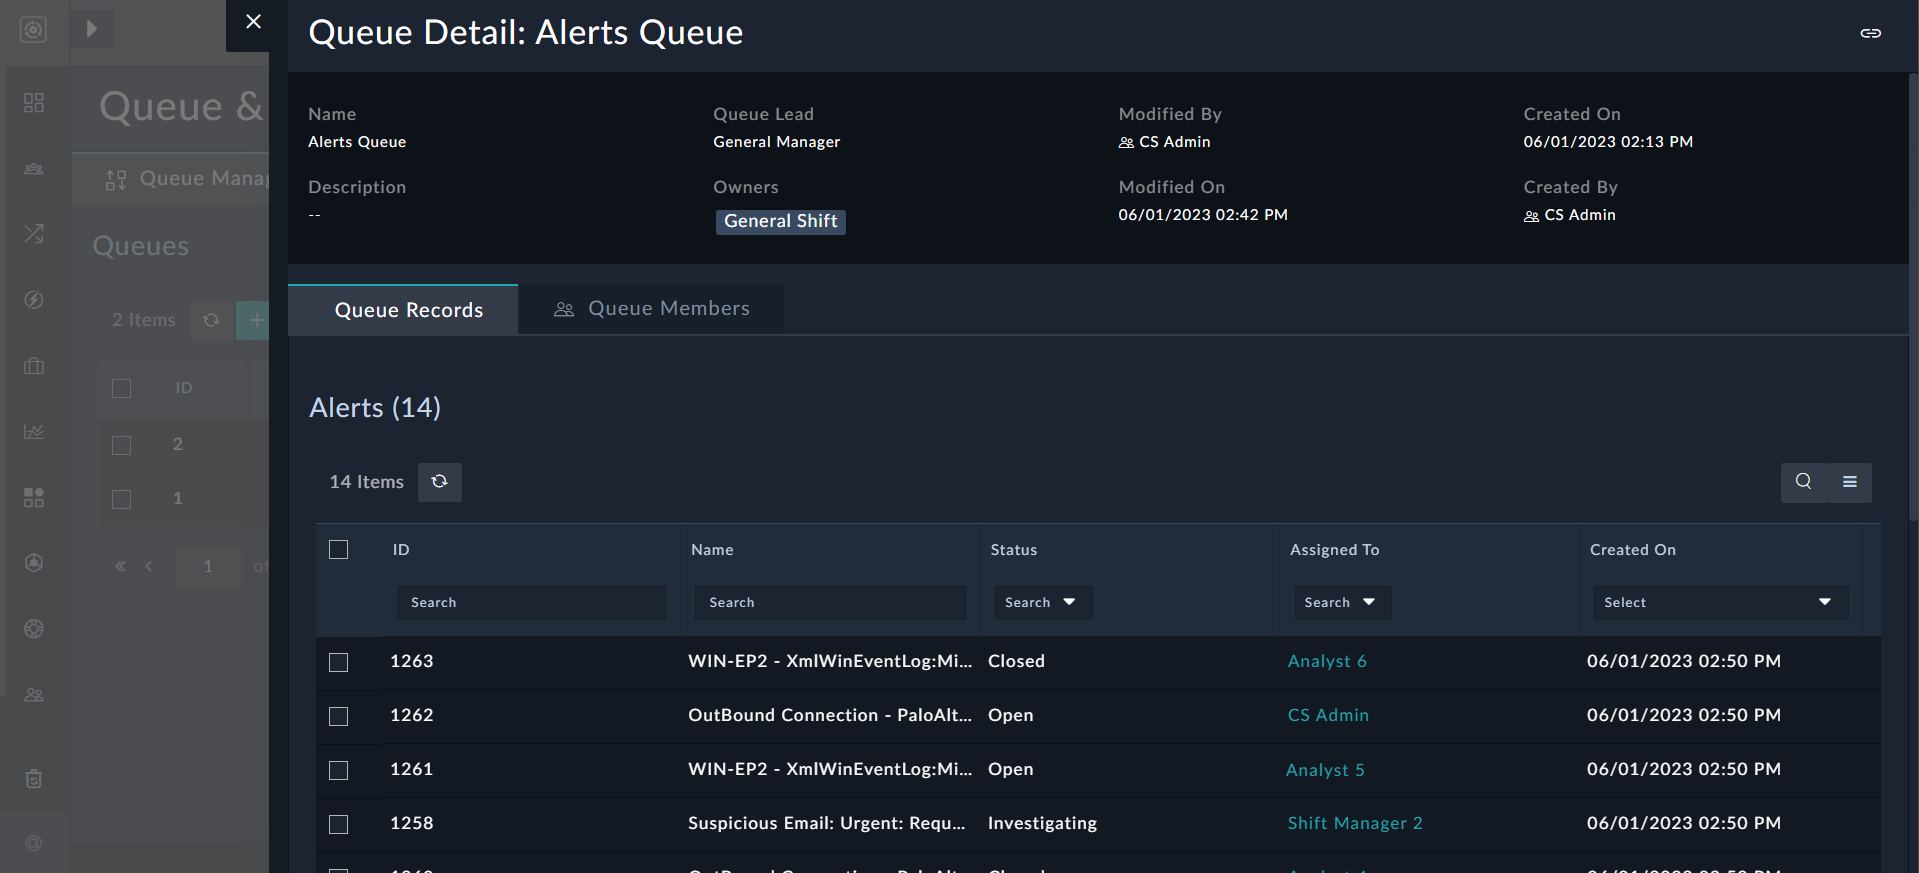
Editing, Exporting, Cloning, or Deleting Leaves
To edit or delete a particular leave, click Queues & Shift Management in the left navigation bar, then click the Leave Management tab to view the Leave Schedules page: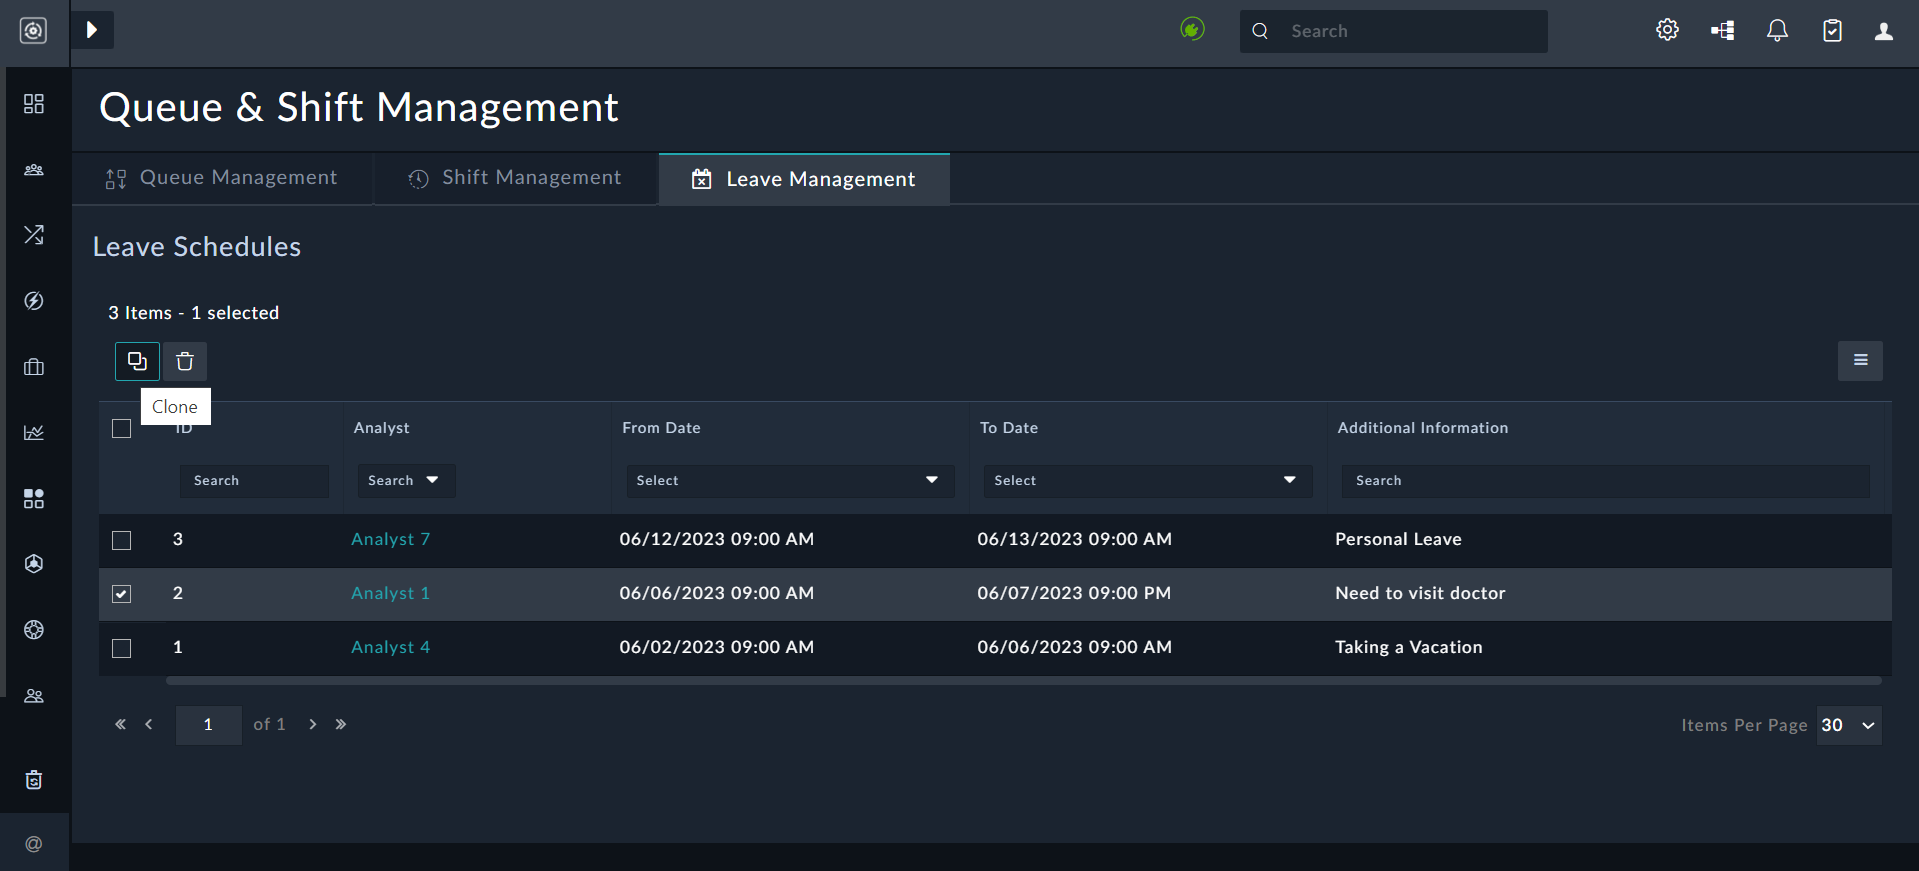
Click the Clone icon to clone a particular leave record, or click the Delete icon to delete a leave record.
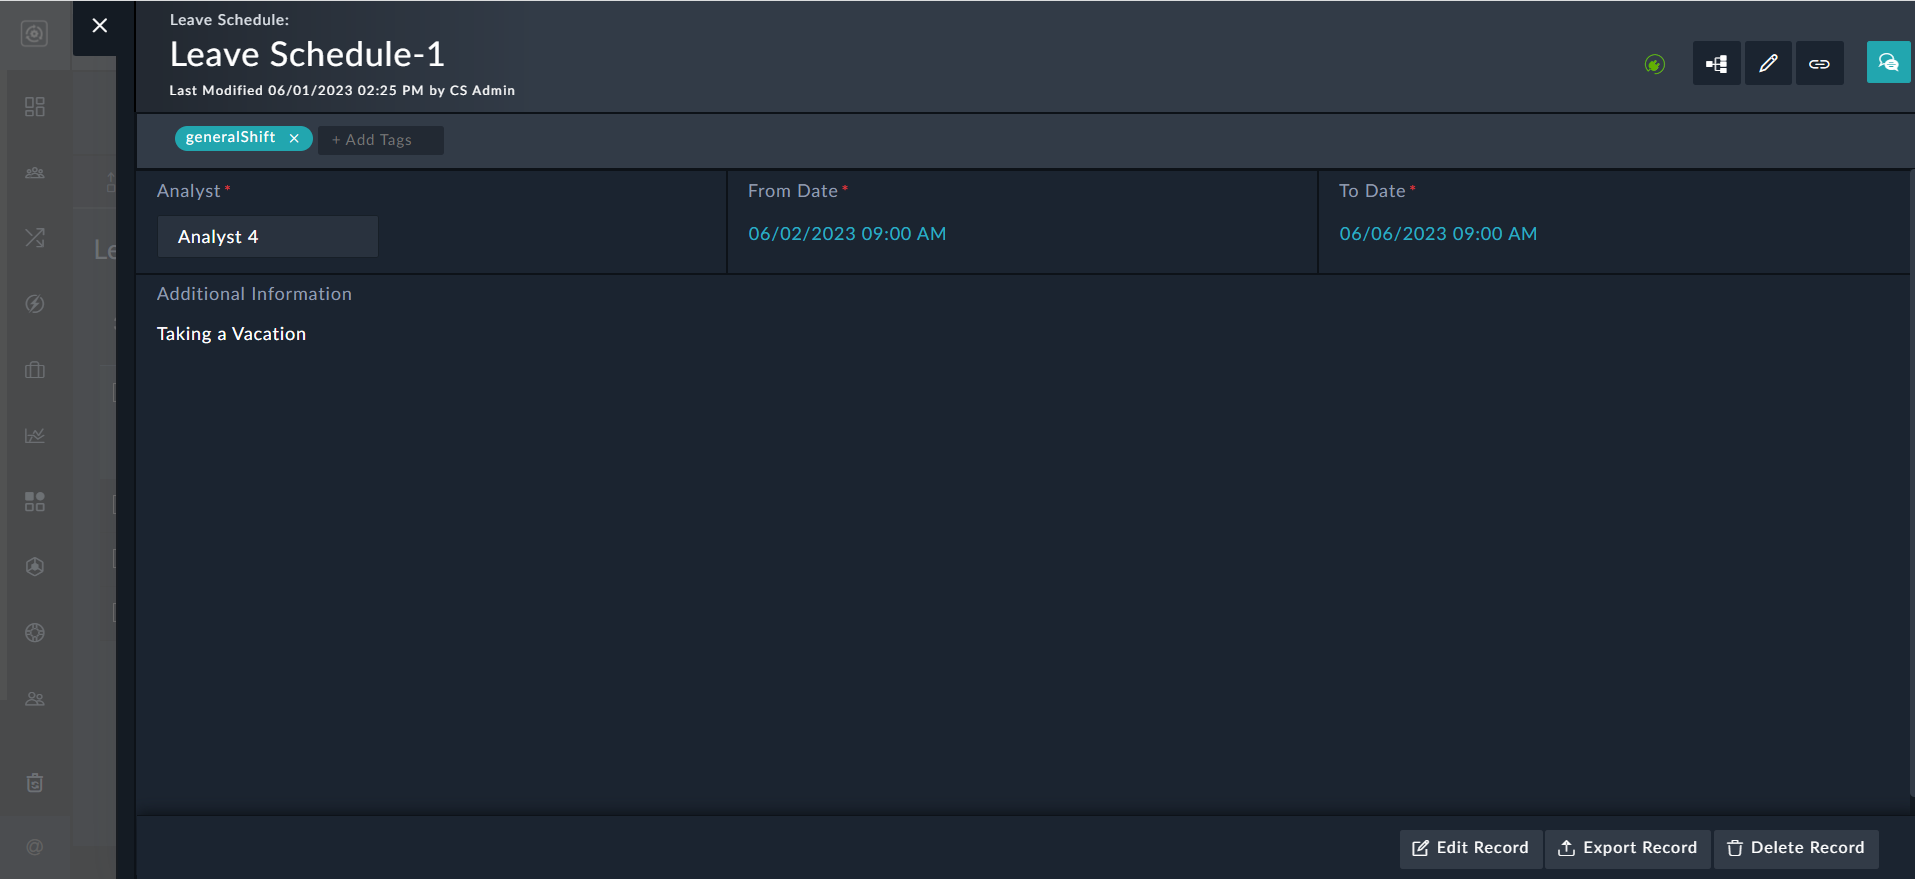
To edit, export, or delete a leave record, on the Leave Schedules page, open the specific record: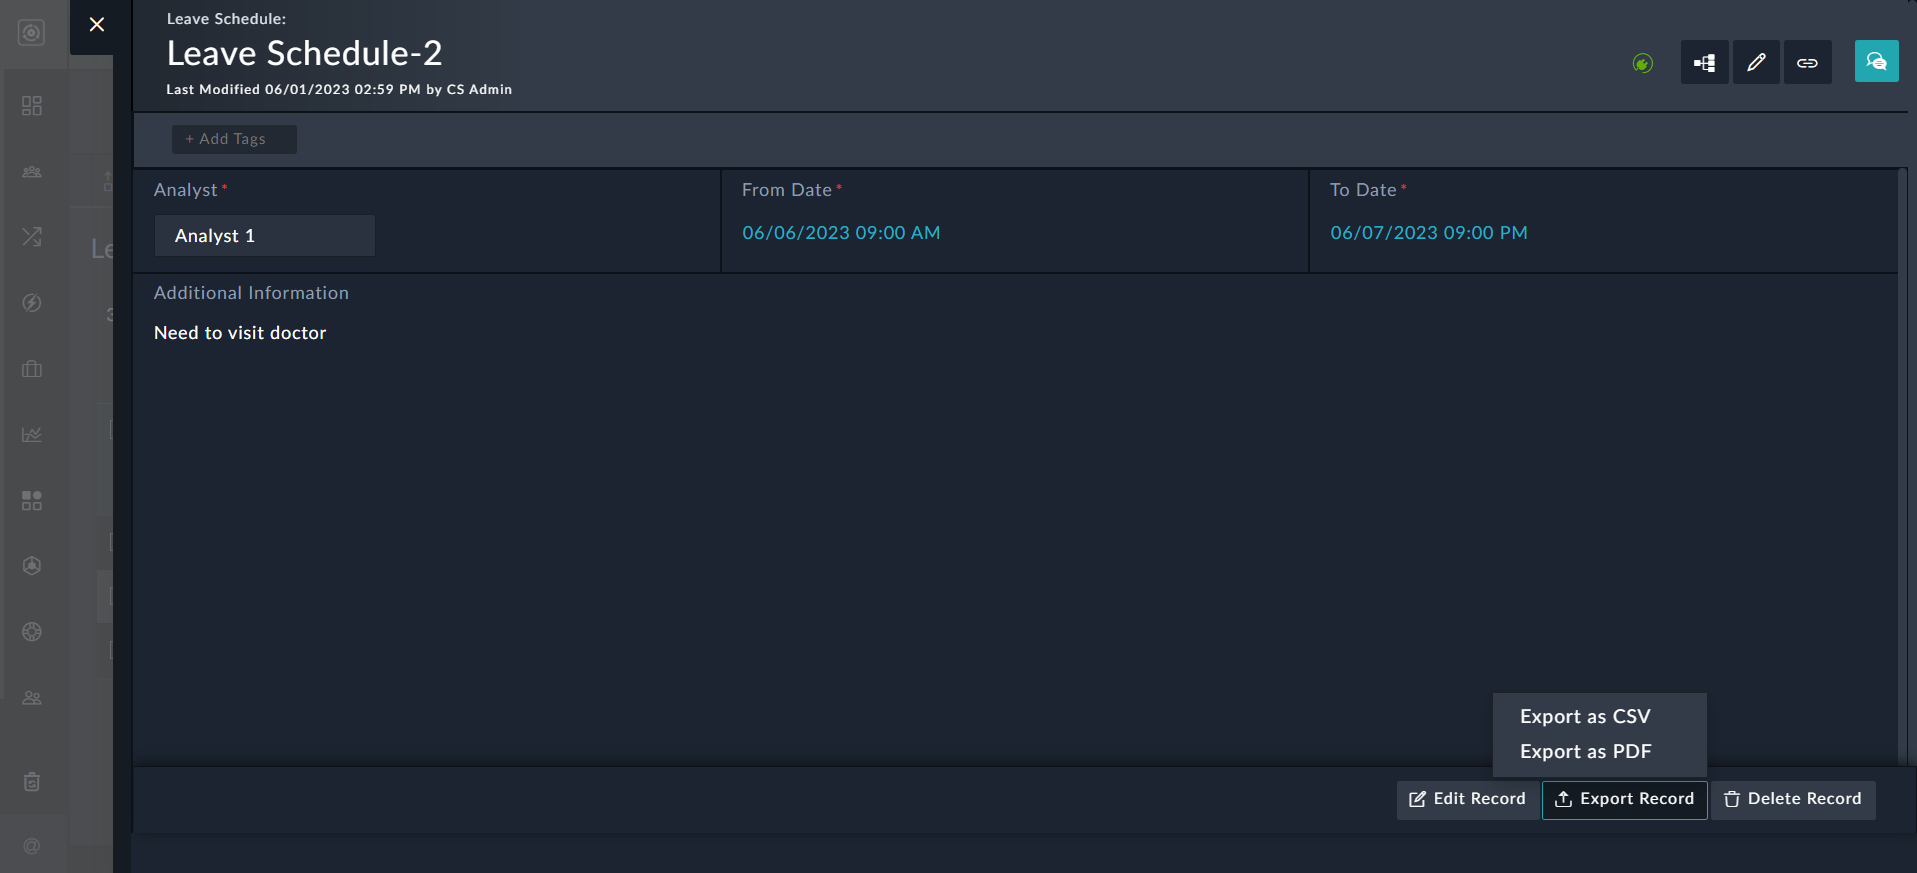
To export a leave record as a .csv or .pdf file, click Export Record and then select Export as CSV or Export as PDF.
Click Edit Record to display the Edit Leave Schedule dialog, where the required changes to the leave such as, changing the duration of the leave, etc., can be made and then click Save to update the leave record.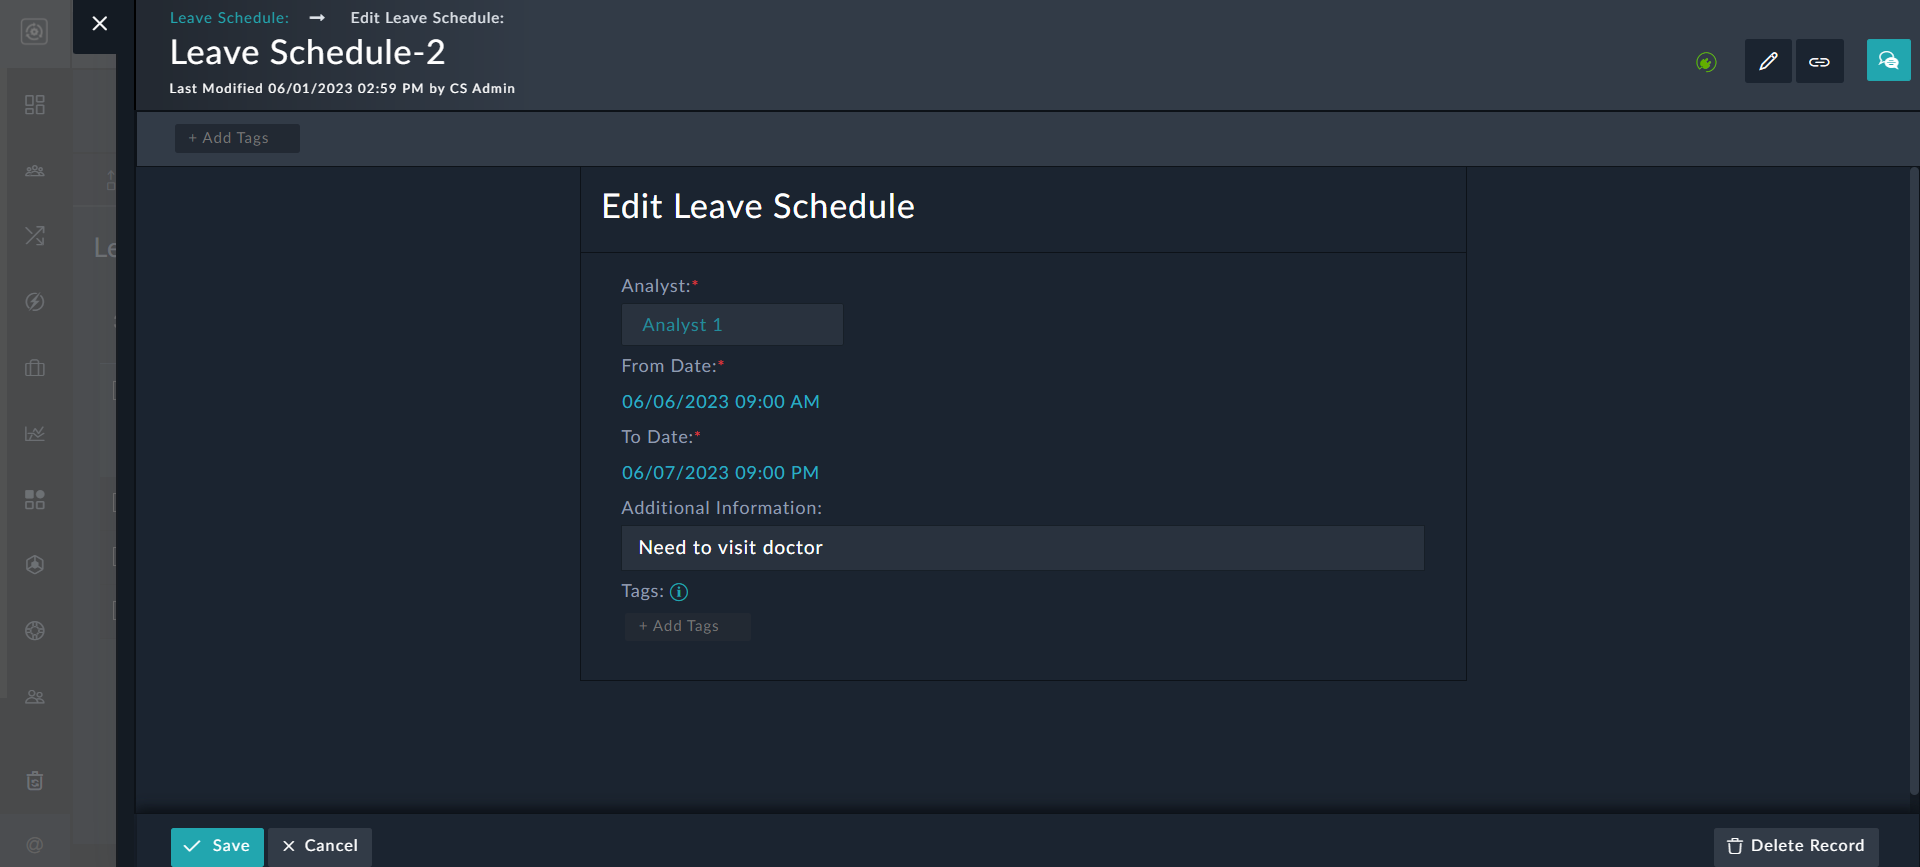
To delete a leave, you can click the Delete icon on the Leave Schedules page, or click Delete Record on the leave schedule record detail page or in the Edit Leave Schedule dialog. Clicking any of these options, displays a confirmation dialog, where you can click Confirm to delete the record.