
Deploy the Windows 10 decoy with Active Directory (AD)
Deploying the Windows 10 decoy within an Active Directory (AD) domain enhances network security through deception technology. This process involves configuring and integrating decoy systems into the network to mimic real assets, attracting and detecting potential cyber threats.
In FortiDeceptor, the deployment of Windows 10v1 decoys is streamlined through the Deployment Wizard. This tool guides you through the necessary steps to configure and deploy decoys effectively. Key configurations include selecting the Windows 10v1 template, specifying domain credentials, and setting network parameters such as the domain IP and address.
By enabling domain users to access Remote Desktop Protocol (RDP) and Server Message Block (SMB) services, the decoys can simulate realistic network interactions. Additionally, the system automatically enables critical security settings such as Anti-Deception Detection to enhance the decoy's effectiveness.
To download the Windows 10 decoy:
Go to Deception OS and down load the win10v1 decoy. Please allow time for the OS to download.
To deploy the win10v1 decoy with AD:
- Go to Deception > Deployment Wizard and click Create a new decoy.
- Configure the OS for Windows 10. From the Available Deception OSes dropdown, select win10v1.
For detailed information about creating a new decoy, see Deployment Wizard.

- In the RDP and SMB decoys, enter valid usernames and passwords for the AD domain users.
Click Next.
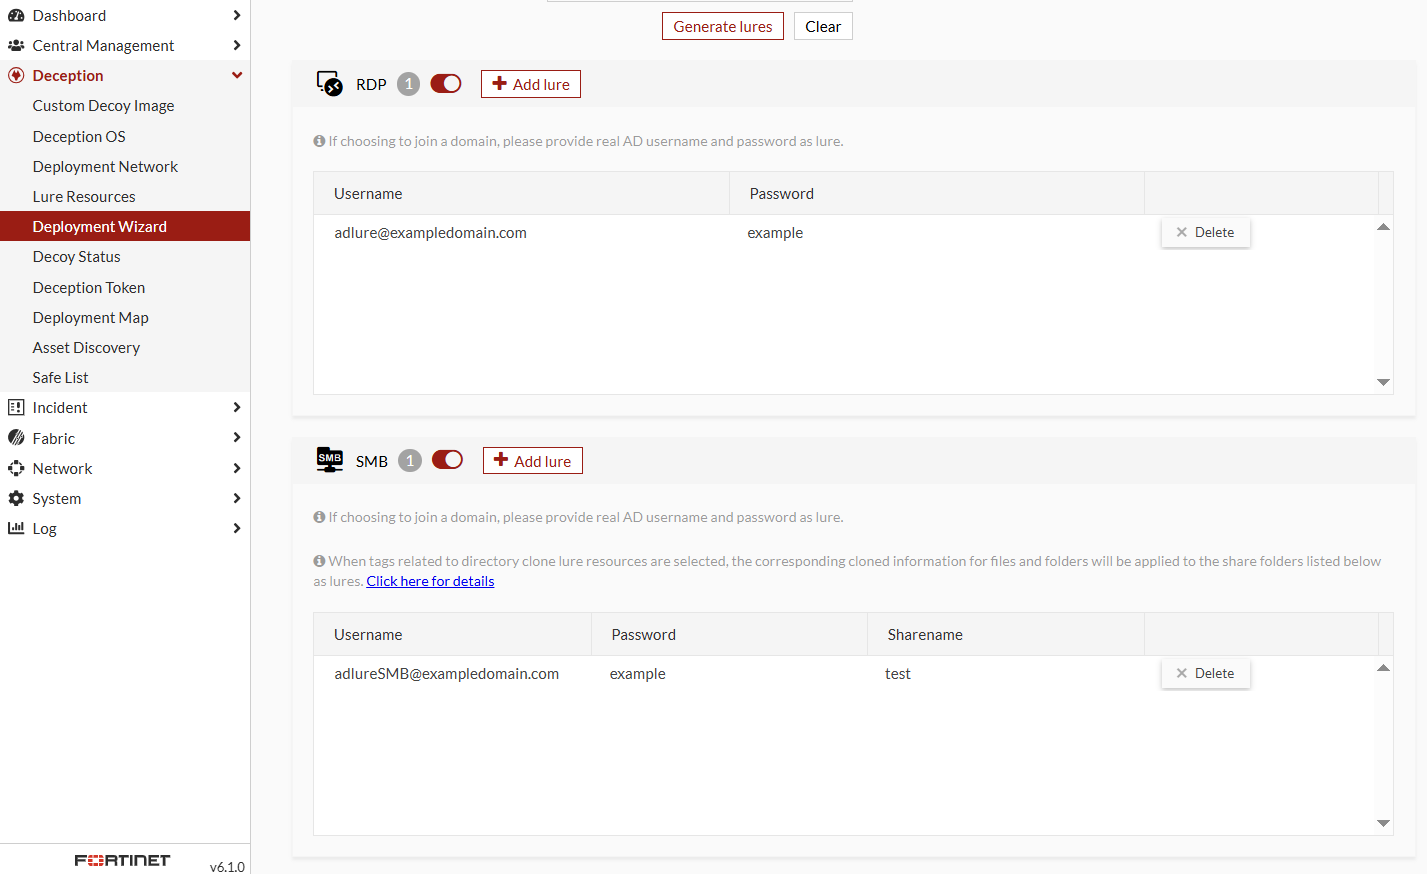

As of version 6.1, the settings for Allow domain users to access SMB/RDP and Anti-Deception Detection have been removed. These features are now automatically enabled when you enter an AD account in the format:
adlure@exampledomain.com. - In the Set Network step, configure the DNS serve settings:
DNS Enter the Domain IP Domain Enter the domain address. The Domain Account, Domain Password, and Organization Unit fields are displayed Hostname
Enter a unique hostname that complies with Windows policy and is different from the original hostname set during the customization stage.
Domain Account Enter the domain account. Domain Password Enter the domain password. Organization Unit
Enter the Organization Unit.
