


Final FortiGate configuration tasks
After you set the method for tunneling back to the FortiAP, the remote user needs to plug the FortiAP into their home router that has DHCP enabled. The FortiAP boots up and attempts to discover the FortiGate using the settings applied in under WTP Configuration. If the discovery attempt is successful, the FortiGate shows the FortiAP on the list of Managed FortiAPs with a status of "Waiting for Authorization on the FortiGate".
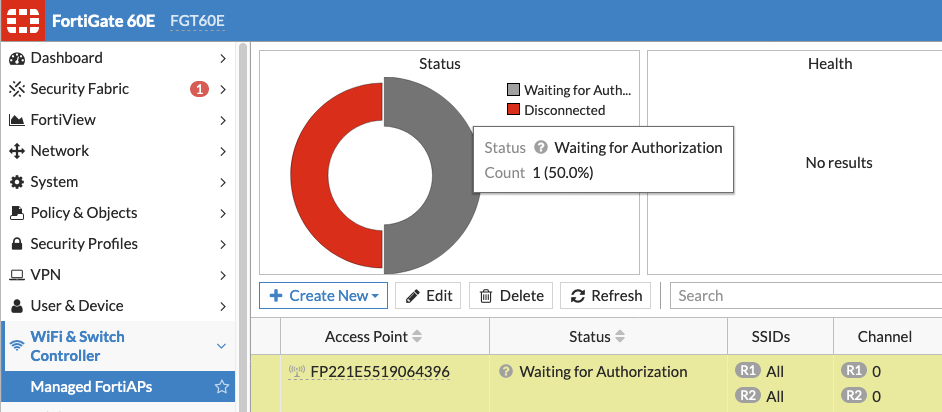
To authorize and complete remote FortiAP setup
- From your FortiGate, navigate to WiFi & Switch Controller > Managed FortiAPs.
-
Locate and right-click the FortiAP and select Authorize.
Note: If you have Security Fabric configured, navigate first to Security Fabric > Settings and the right-click to authorize from the Root FortiGate.

- Once your FortiAP is authorized, right-click and select Assign Profile.
- Assign the profile you created for your remote FortiAPs.
- The FortiAP should come online and your remote users can connect to the wireless network through their AP.
|
|
|