
Installing FortiAIOps on VMware ESXi
Perform the following steps to deploy FortiAIOps.
-
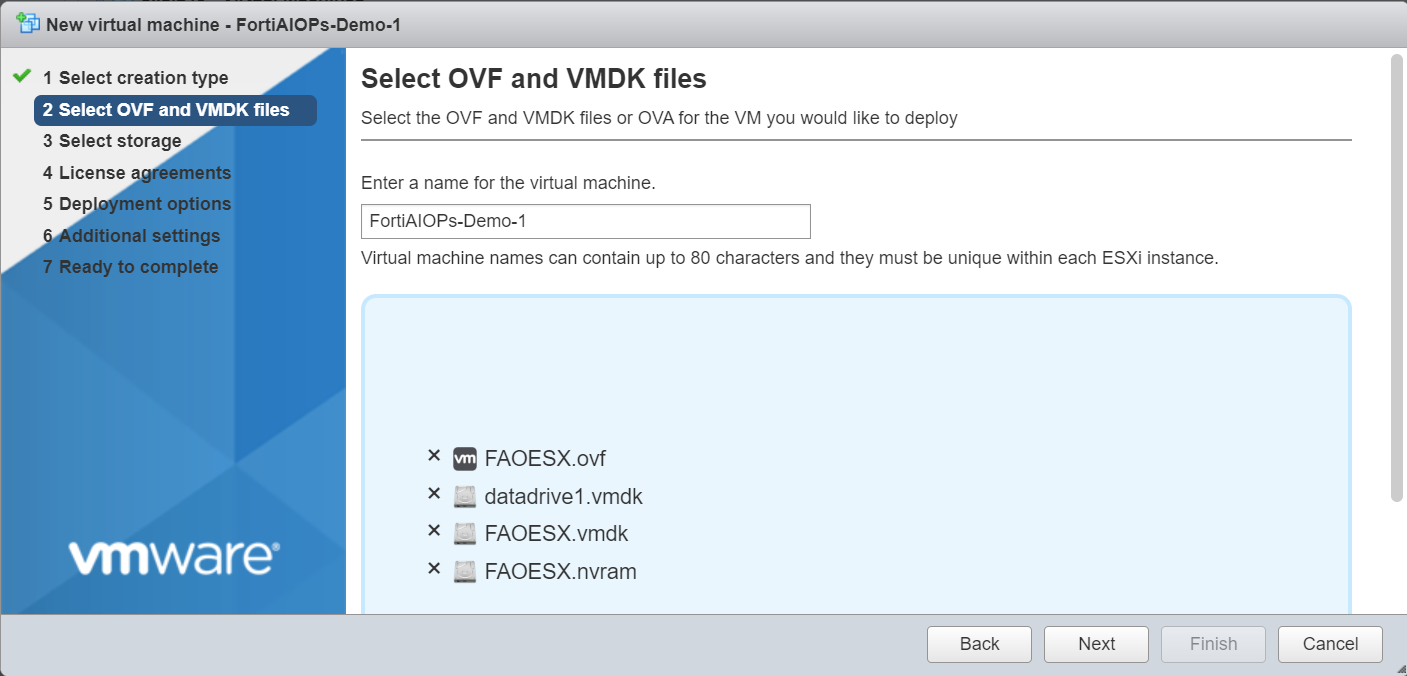
Download the installation file from Fortinet Support portal and unzip the file (FAO_VM64-vx.x.x-devbuildxxxx-FORTINET.out.ovf.zip). This folder contains 4 installation files.

-
Connect and log in to the VMware ESXi host client with administrative rights.
-
Select Create/Register VM in the Host tab.

-
Select Deploy a virtual machine from an OVF or OVA file as the creation type.
-
Browse and select the downloaded installation files and enter a suitable hostname.
-
Select your preferred datastore to store the virtual machine files in the Select storage page.
-
Accept the end user license agreement.
-
In the Deployment options page:
-
Select you preferred VM network
-
Select your preferred disk provisioning method. Thin disk provisioning method is recommended.
-
Ensure Power on automatically option is selected
Note: To modify configurations, it is necessary to edit the VM configuration while the VM is in a powered off state, and then start the VM.
-
-
Review the summary of the deployment settings and click Finish.

-
You can monitor the progress of the deployment in the Recent Tasks pane. When the installation is complete, the virtual machine will be listed in the Inventory pane.
-
Perform post-installation tasks.