


Monitoring Face Clusters
A face cluster is a collection of face screenshots of the same individual captured by AI cameras. Face clusters are split into two categories: Known Faces and New Faces.
Reviewing known faces
Known Face clusters contain screenshots of individuals recognized by the Face Recognition AI module or manually linked to an individual in the user database by an administrator.
To edit known face clusters
- Go to Face Recognition > Face Cluster > Known Faces.
- Select the desired user's face cluster to open their record. For more information on understanding the user's record, see the Searching the user database section.
- Hover the cursor over their profile picture and select the More button. All the face clusters manually linked to the user are displayed.
Reviewing new faces
All unrecognized face screenshots are placed in New Face clusters. New Face clusters can be linked to a user in the database to make the cluster a Known Face cluster.
To link a new face cluster to a user
- Go to Face Recognition > Face Cluster > New Faces.
- Select the desired time range from the dropdown menu to display face clusters captured in that time period.
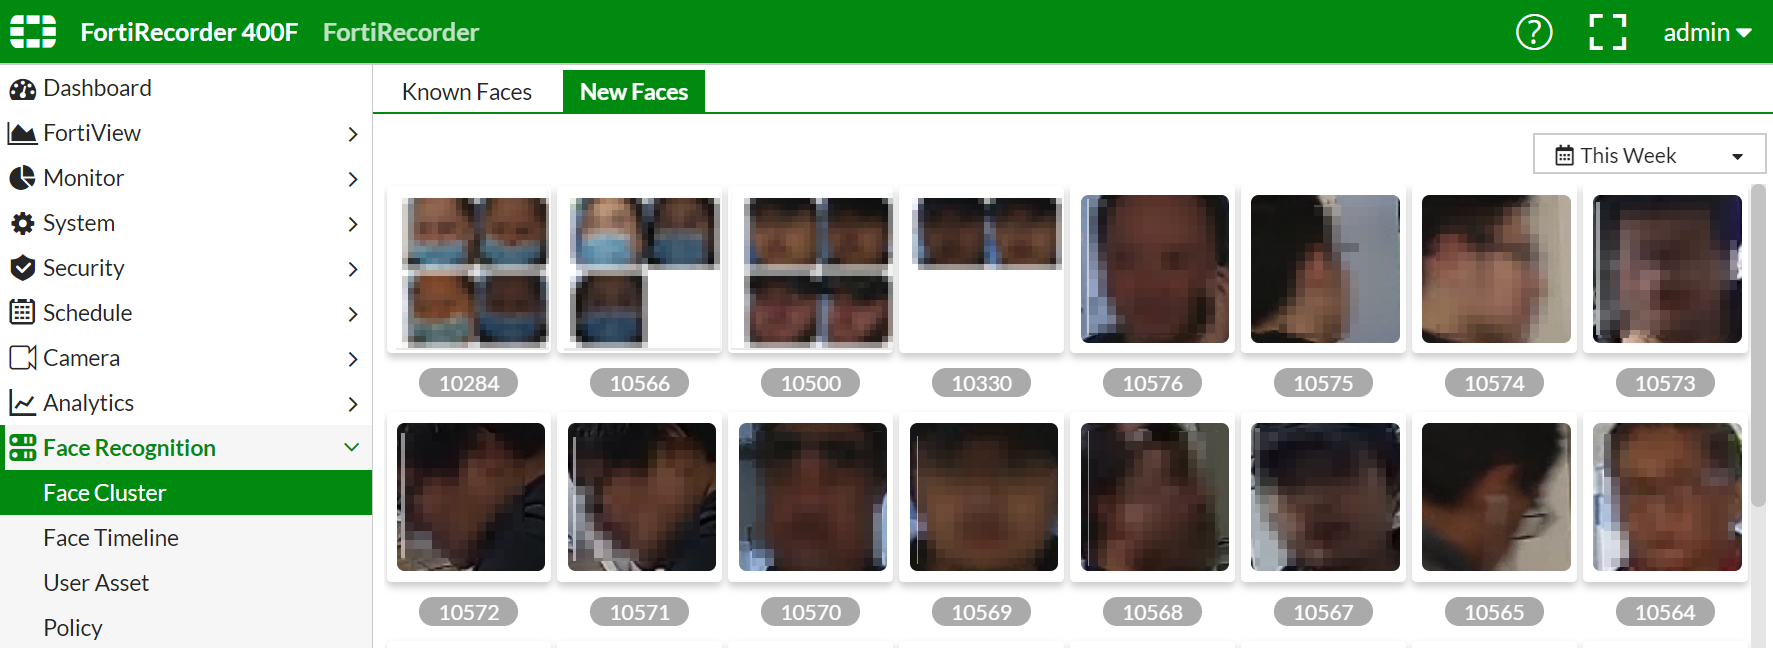
- Select a specific face cluster to open all of the face screenshots that the AI has determined belong to the same individual.
- Confirm that all screenshots contain the same individual. If a screenshot does not contain the same individual, hover over the screenshot and select the trashcan icon.

It is important that every face in the face cluster belongs to the same person for accurate results.
- Select an existing user to whom the face cluster belongs or create a new user by selecting New User.
- If you select an existing user, select the Search User dropdown menu. The top five users who match the cluster display.
- If you create a new user, enter their name, role, and department and then select Save.

Go to Face Recognition > User Assets > UserDB to view a comprehensive list of users. You can add new information about the user by selecting New or edit known face clusters of individual users.
- Select Link all to user. The individual's face cluster is now a Known Face. All future face screenshots are analyzed by the AI camera and categorized to their face cluster.