


Landing page
You can create a custom landing page with the text editor or by uploading a Zip file. Custom landing pages support variables to create more convincing campaigns.
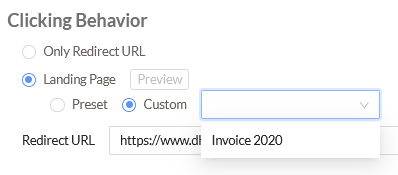
Custom landing pages appear in the Clicking Behavior section of the campaign wizard for both global and custom templates. See Creating campaigns .
|
|
FortiPhish does not save the data entered by the user in the landing page. |
Creating custom landing pages with the editor
To create a custom landing page with the editor:
- Go to Custom > Landing Page.

- Click Add Landing Page. The Landing Page editor opens.
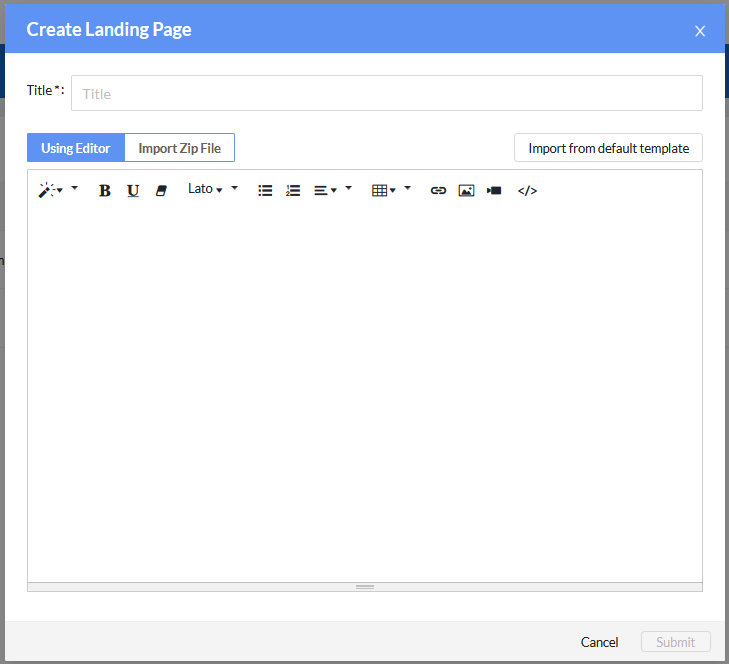
- In the Title field, enter a name for the landing page.
- In the text editor, compose the body of the landing page. See Landing page variables .
- Click Submit. The new page is added to the Landing Page view in the navigation menu.
Creating a custom landing page with a Zip file
Requirements:
The Zip file should contain an index.html file that must include the following:
- A hidden tag with dynamic value used to track the recipient:
<input name="recp_uuid" type="hidden" value="{{.recp_uuid}}"> - A submit form action with dynamic value set to
"{{.submit_url}}"
This is required for redirection of the recipient from landing page to configured redirect URL.
To create a custom landing page with a Zip file:
- Go to Custom > Landing page.
- Click Add Landing Page. The Landing Page editor opens.
- In the Title field, enter a name for the landing page.
- Click Import Zip File.
- Click the upload icon to navigate to the Zip file on you computer. Alternatively, you can drag the file onto the field.

- Click Submit. The landing page is imported and added to the Landing Page list.
Landing page variables
You can add variables to the landing page to generate dynamic data when the campaign is running.
Supported variables for custom landing pages:
|
Variable |
Syntax |
|---|---|
submit url
|
{{.submit_url}}
|
email
|
{{.recipient_email}}
|
username
|
{{.email_username}}
|
domain
|
{{.email_domain}}
|
fname
|
{{.recipient_firstname}}
|
lname
|
{{.recipient_lastname}}
|
position
|
{{.recipient_position}}
|
date
|
{{.date}}
|
time
|
{{.time}}
|