


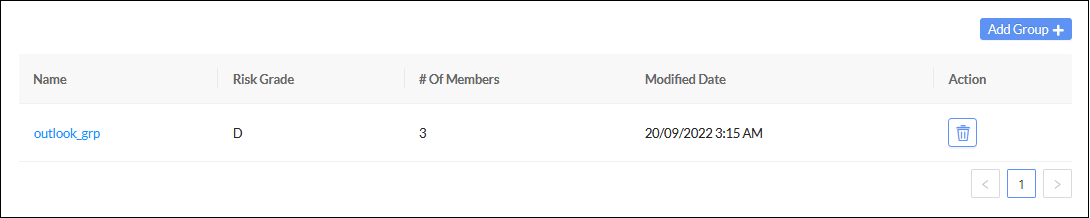
Group List
Group Lists are distribution lists for your campaigns. A Group List is required even if you are sending an email to only one user. Group Lists allow you to compare responses across segments within your organization. Users can be added to a group one at a time, or using the CSV template to perform a bulk user import. Each user in the group must have a unique email address.
Use the Group List page to:
To create a group list:
- Go to Recipients and click Add Group. The Recipients- Create page opens.
- In the Group name field, enter a name for the group.
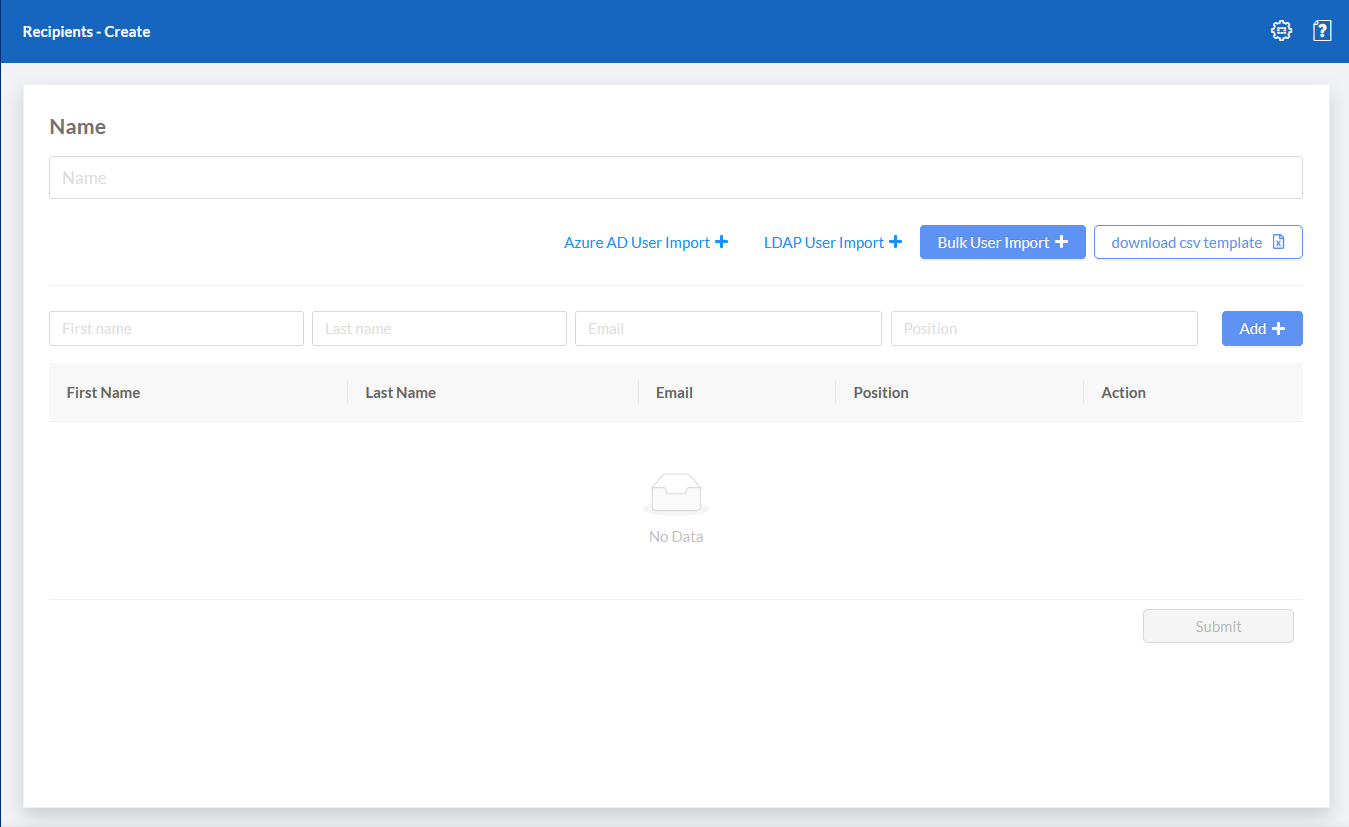
- Enter the user's First name, Last name, Email, and Position.
- Click Add. The user is added to the group. A warning appears if there is a duplicate email.
- (Optional) Click the trash button to remove a user.
- Click Submit, and then click OK. The group is added to the Users & Groups page.
To perform a bulk user import:
- Click Add Group.
- Click download csv template. The user group template is downloaded to your computer.
- Enter the user's First name, Last name, Email, and Position in the template, and save the file.
- In the Recipients- Create page, click Bulk User Import. The Upload csv dialog opens.
- Upload the csv file. The users are added to the group.

- In the Group name field, enter the name of the group.
- Click Submit.
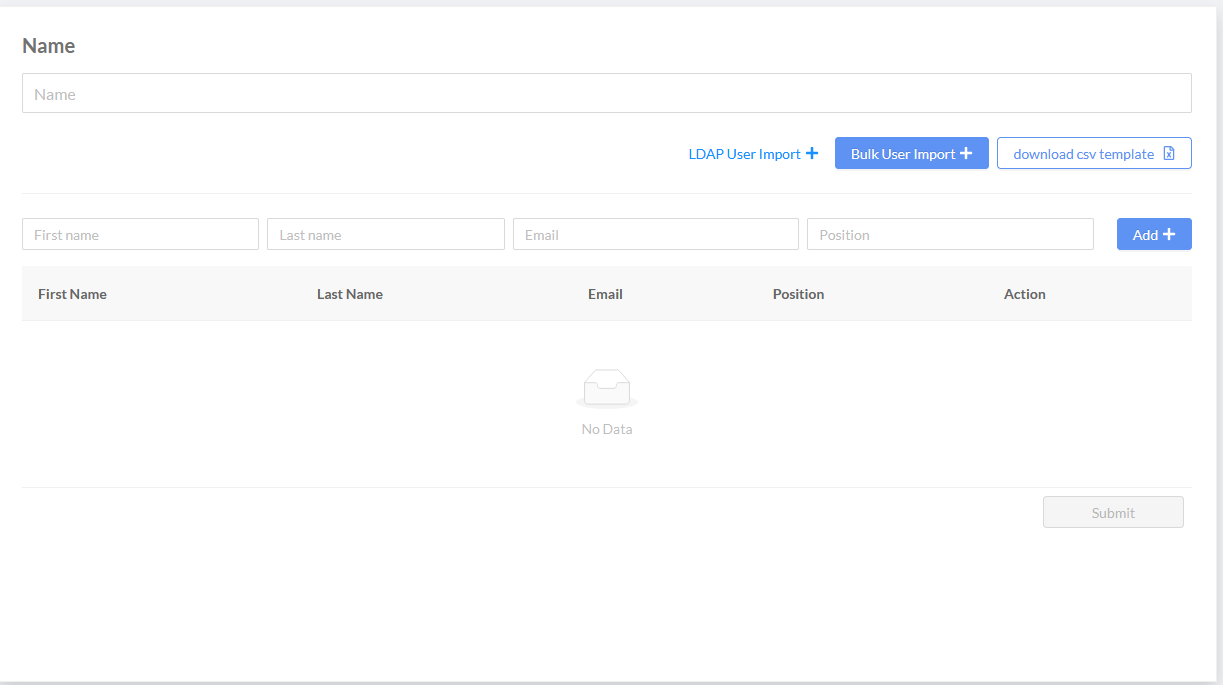
To import an LDAP user group:
- Configure the LDAP server. See LDAP server
- Go to Recipients > Group List.
- Click Add Group. The Recipients- Create page opens.
- Click LDAP User Import. The LDAP User Import dialog opens.
- From the Server dropdown, select a server, and then enter the User Name and Password.

- Click Submit. The LDAP users are added to the group.
- In the Group name field, enter the name of the group.
- Click Submit.
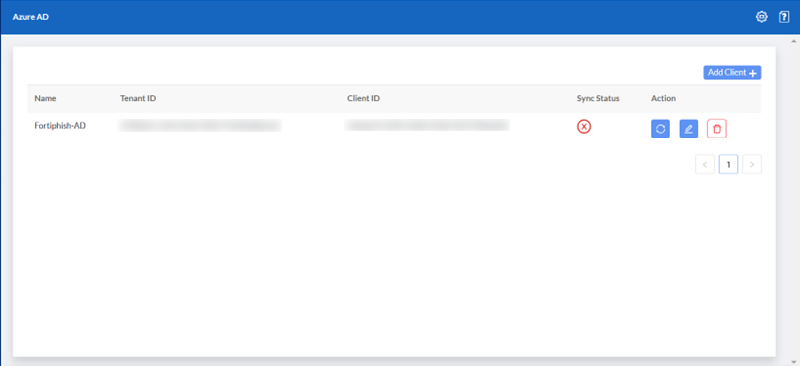
To import an Azure AD user group:
- In FortiPhish, go to Recipients > Azure AD Server.
- Click Add Client.
- Enter the Client Name, Tenant ID, Client ID and Client Secret you generated in Azure AD.
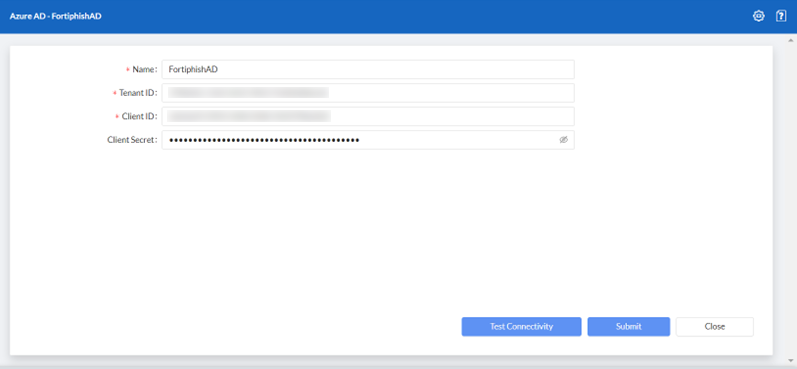
- (Recommended) Click Test Connectivity to verify the authentication details provided. A success or failure pop-up will appear.
- Click Submit. The server details are displayed in the Azure AD Server page.
To update a user's details:
- Go to Recipients > Group List, and select a group in the list.
- Click the Edit button next to the username.

- Update the details, and click Submit.
- (Optional) Click the Trash button to remove the user from the group.