
Example 7: Secure authentication for LDAP user source via ZTNA server
When a customer LDAP or Active Directory (AD) resides on premises, FIC requires a secure connection to access it for user authentication. This connection is established through a FortiGate (FGT) acting as a ZTNA Tunnel Server which provides a TLS-encrypted path between FIC and the customer’s internal LDAP/AD server.
This section covers the following topics
Secure communication path
FIC App > LDAP Client > ZTNA Proxy > FortiGate > LDAP Server

This setup provides a secure communication path that enables:
-
Secure LDAP authentication via LDAPS (port 636), LDAP + StartTLS (port 389) or mTLS
-
Certificate-based authentication for tunnel establishment
-
Full encryption and policy control over the communication channel
FortiGate configuration
Step 1: Configuring the FortiGate as a ZTNA server.
-
Configure on an external interface, making sure that it can reach FortiIdentity Cloud.
-
Map the service on the public interface to forward TCP traffic on a required port (i.e., 389 or 636) to the internal LDAP server configured on the FortiGate.
Step 2: Configuring an authentication rule.
-
Apply the rule to the external interface.
-
Use certificate-based authentication for security.
-
Restrict access to FIC’s source WAN IPs only.
Step 3: Configuring a firewall policy.
-
Allow traffic from the FIC source IP to the ZTNA tunnel address.
-
Ensure that the policy includes the required security profiles, if applicable.
For more information, see Basic ZTNA configuration.
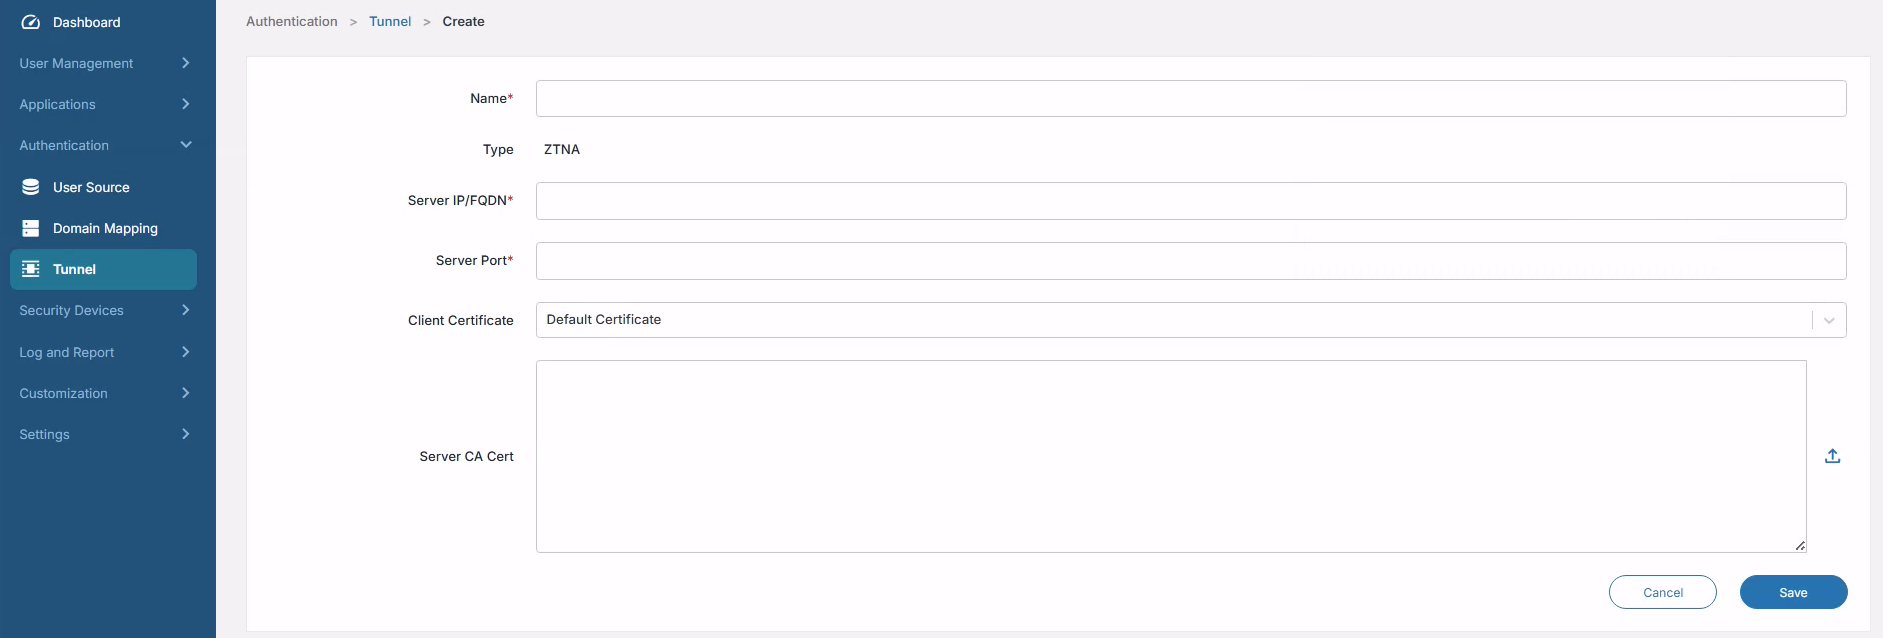
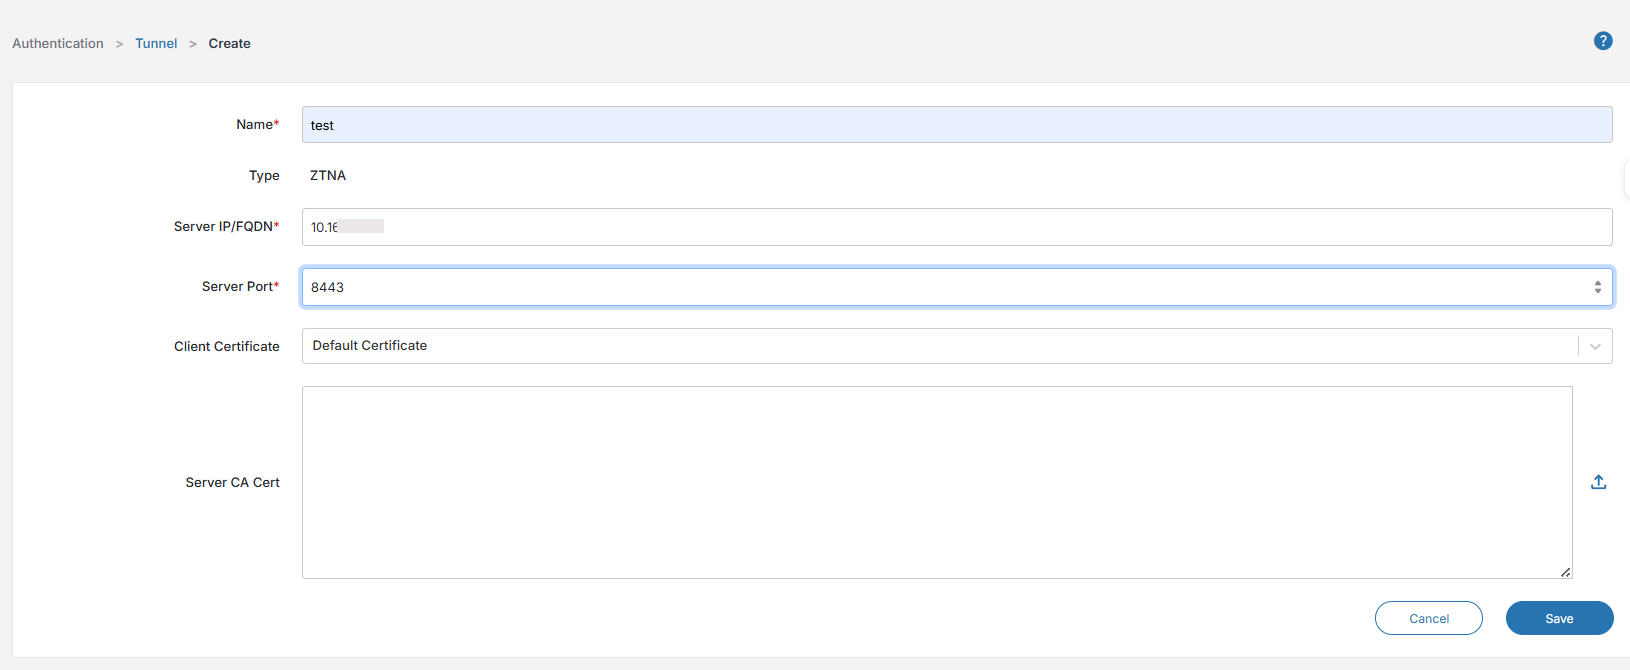
FortiIdentity Cloud configuration
-
Navigate to Authentication > Tunnel.
-
Create a ZTNA tunnel object.
-
Click Save.
|
Parameter |
Description |
|---|---|
|
Name |
ZTNA tunnel name, e.g., ZTNA-LDAP-Tunnel |
|
Server IP/FQDN |
External/public-facing interface address of the FortiGate |
|
Server Port |
Port number configured on the ZTNA server. |
|
Client Certificate |
Public/private key pair used by FIC as tunnel client which the certificate uploads to the FIC portal under Settings. |
|
Server CA Cert |
Used to validate the FortiGate server certificate, e.g., Default. |
Once configured, enable the ZTNA tunnel using the toggle button whenever LDAP traffic should be routed through the FortiGate.
FortiGate as ZTNA server for LDAP user source
When you logging into the FortiGate that is configured as the ZTNA server for LDAP authentication, it provides a TLS-encrypted connection between FIC and your internal LDAP/AD server.
For initial configuration of the FortiGate, ensure that it is able to reach the FIC’s WAN IP addresses for your region:
|
Region |
IP addresses |
|---|---|
|
North America |
|
|
Europe |
|
Once you've validated the connection, you can move on to configure the FortiGate as the ZTNA server.
Configuring ZTNA server in FortiGate
-
Log into the FortiGate.
-
Validate the FIC’s WAN IP access via the FortiGate Web CLI.
-
Upon successful validation, configure the LDAP server IP address in the FortiGate.
FGVMULTM00000000 (root) # config firewall address FGVMULTM00000000 (address) # edit ldap-access set uuid 6bb8c362-eb2d-51f0-8655-xxxxxxxxxxx set associated-interface "port1" set subnet 10.160.x.x 255.255.255.255 next end -
Once the LDAP server is configured, configure the authentication scheme.
FGVMULTM00000000 (root) # config authentication scheme FGVMULTM00000000 (scheme) # show config authentication scheme edit "ztna-101" set method cert set user-cert enable next end -
Configure the authentication rule.
FGVMULTM00000000 (root) # config authentication rule FGVMULTM00000000 (rule) # show config authentication rule edit "ztna-101" set srcintf "port1" set srcaddr "all" set ip-based disable set active-auth-method "ztna-101" next end -
Configure the authentication setting.
FGVMULTM00000000 (setting) # show
config authentication setting
   set update-time 2025-10-01 14:33:09
   set user-cert-ca "Fortinet_Sub_CA"
end
-
Configure the user certificate.
FGVMULTM00000000 (root) # config user certificate FGVMULTM00000000 (certificate) # show config user certificate edit "ztna-101-ldapuser" set type single-certificate set common-name "fic.fortinet.com" next end -
Configure the firewall VIP.
FGVMULTM00000000 (root) # config firewall vip FGVMULTM00000000 (vip) # show config firewall vip edit "ztna-test" set uuid c8d7756c-9ee7-51f0-997b-xxxxxxxxxxxx set type access-proxy set server-type https set extip 10.160.xx.xxx set extintf "port1" set extport 8443 set ssl-certificate "Fortinet_Factory" next end -
Configure the firewall access-proxy.
FGVMULTM00000000 (root) # config firewall access-proxy FGVMULTM00000000 (access-proxy) # show config firewall access-proxy edit "ztna-test" set vip "ztna-test" config api-gateway edit 2 set url-map "/tcp" set service tcp-forwarding config realservers edit 1 set address "ldap-access" set mappedport 389 next end next end next end -
Configure the firewall proxy-policy.
FGVMULTM00000000 (root) # config firewall proxy-policy FGVMULTM00000000 (proxy-policy) # show config firewall proxy-policy edit 1 set uuid d33d9df4-9f07-51f0-5a9d-xxxxxxxxxxxx set proxy access-proxy set access-proxy "ztna-test" set srcintf "port1" set srcaddr "all" set dstaddr "all" set action accept set schedule "always" set users "ztna-101-ldapuser" next end -
After the ZTNA server configuration in FortiGate is completed, log into the FIC portal and navigate to Authentication > Tunnel. Configure the ZTNA tunnel on the portal with the FortiGate ZTNA Server's IP/FQDN, Server Port, Client Certificate, and Server CA Cert.
-
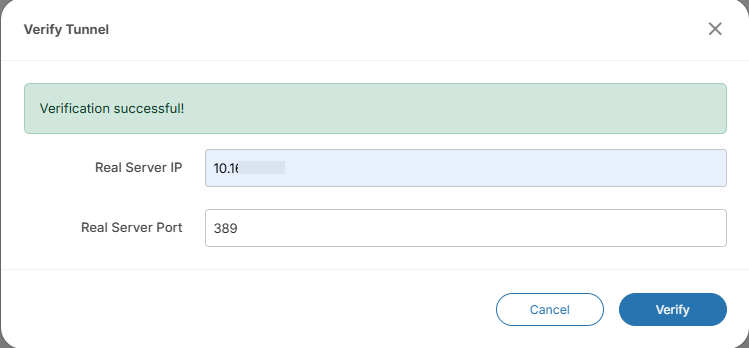
Once the ZTNA tunnel is configured, validate the LDAP server access via the ZTNA server by providing the LDAP server IP & port (i.e., 389 or 636).
-
Now add the LDAP users to the FIC portal by navigating to User Management > Users >Batch Add.
-
Manually enter the user information that is configured in the LDAP user source, or use the Import tool to import all the users to the FIC portal.

For more information, see Onboarding users.
|
|
Once the users are added/imported into FIC, they can log into any SSO applications (such as End-user portal and FortiProducts) that the FIC admin has configured in the system. |