
Transferring a FortiGate to another FortiGate Cloud account
The following instructions describe transferring a FortiGate from one account (account A) to another FortiGate Cloud account (account B).
After a transfer request is initiated, the FortiGates involved are hidden from the device list, and an email is sent to both the requester and the receiver.
The requester can send a reminder email to the receiver by selecting the transfer and clicking the Remind button.
To transfer a FortiGate from account A to account B:
- Initiate the transfer request from account A:
- Log in to FortiGate Cloud using account A credentials.
- Go to Devices and Provisioning > Device List > FortiGate.
- Select Actions > Asset Transfer.
- Click Transfer.
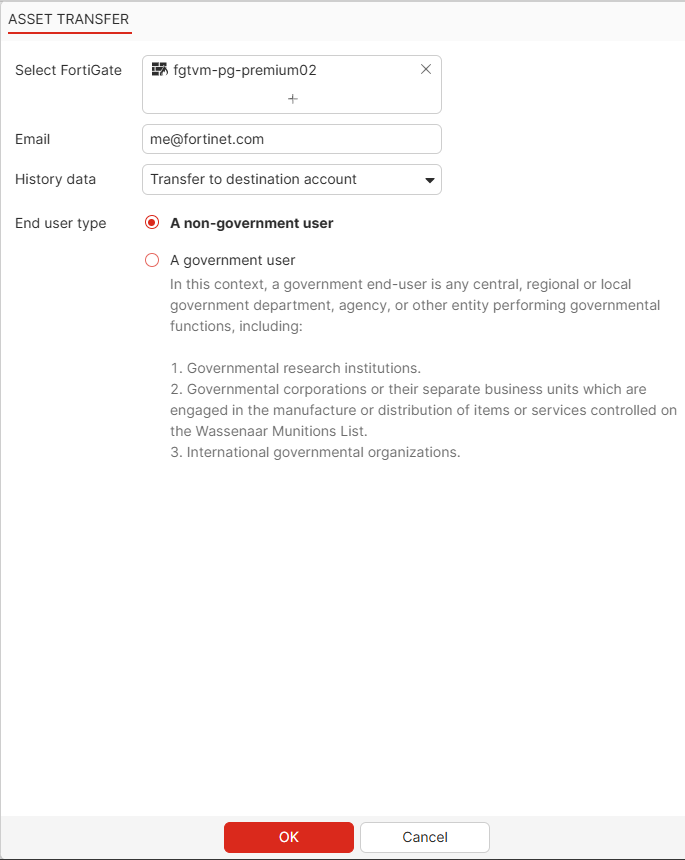
- In Select FortiGate, click +, then select the desired FortiGate(s) to transfer to account B. A FortiGate where the log status is suppressed or the FortiOS version has reached end of support in FortiGate Cloud is not eligible for transfer.
- In the Email field, enter the email address associated with account B.
- From the History data dropdown list, select the desired action to perform on the FortiGate(s)' historical data.
- For End user type, select the appropriate user type.
- Click OK. FortiGate Cloud sends an email notification to your email address and to the email address that you configured earlier. From the Asset Transfer Overview pane, you have the option to cancel the transfer request and to send an additional reminder email to account B.
- Log in to FortiGate Cloud using account B credentials.
- Go to Devices and Provisioning > Device List > FortiGate.
- Select Actions > Asset Transfer.
- On the Receive tab, select the FortiGate, then click Accept. You also have the option to decline the transfer. The FortiGate is now transferred to account B.