
Demo: Configuring Azure as SCIM client
-
Go to https://portal.azure.com.
-
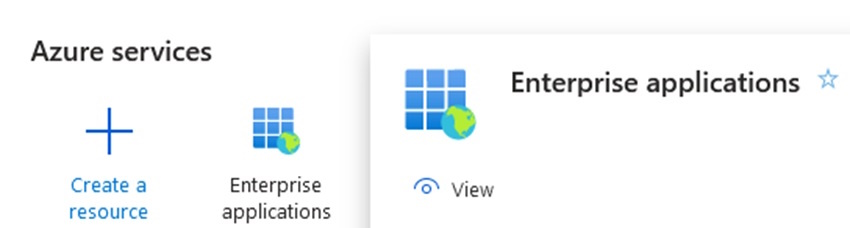
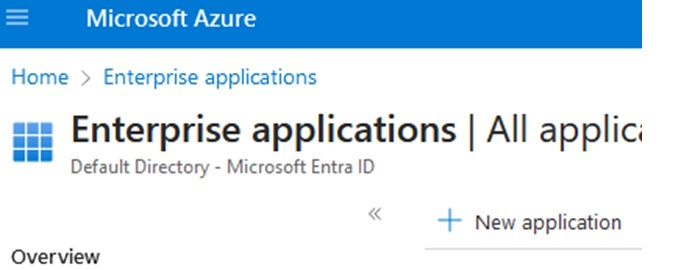
Click Enterprise Applications.
-
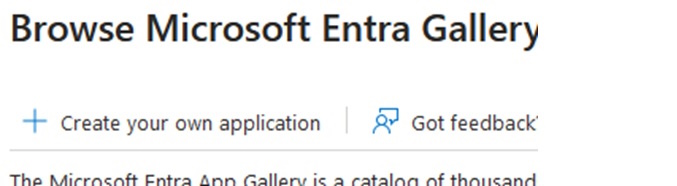
Click Create your Own applications.

-
Review the application that you've just created.

-
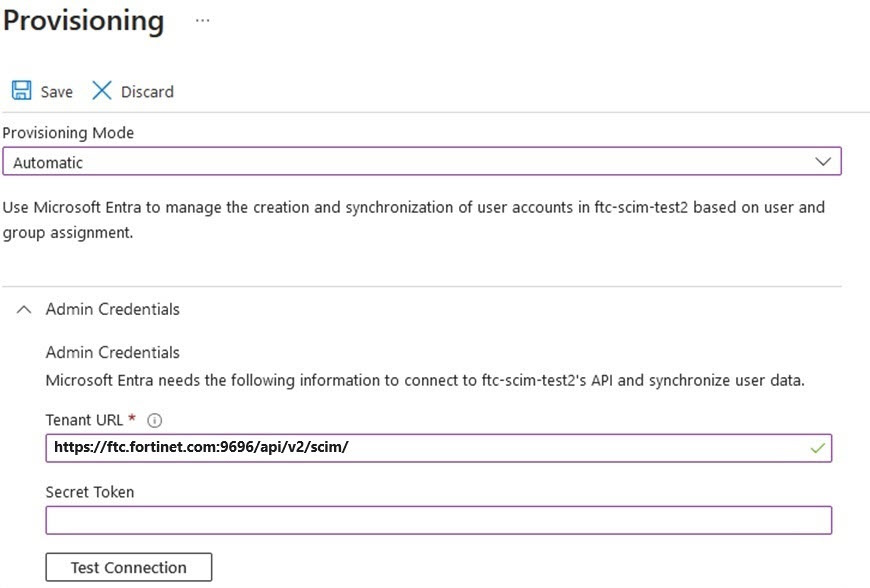
Click Provisioning and select Automatic Provisioning Mode.
-
Add the users to the applications:
-
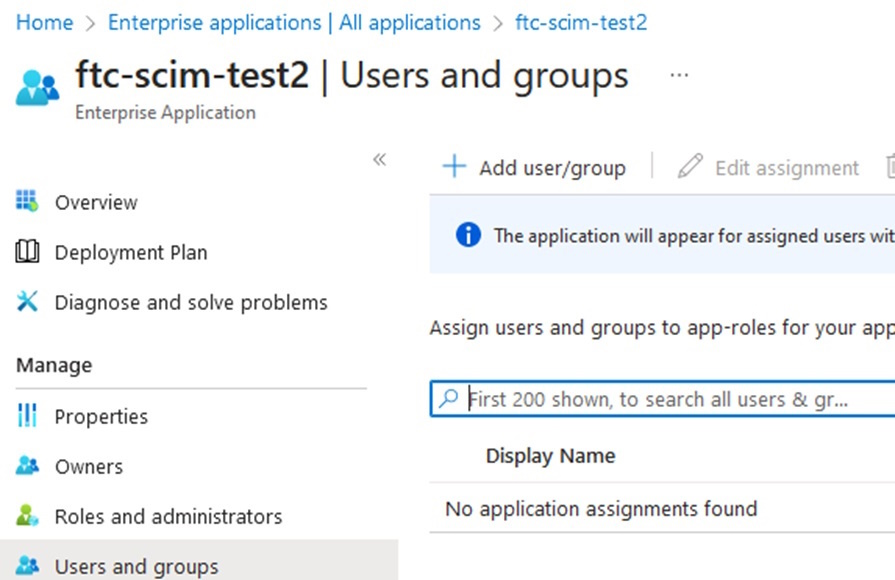
Go to the applications and click the newly created the application FIC-scim-test2.
-
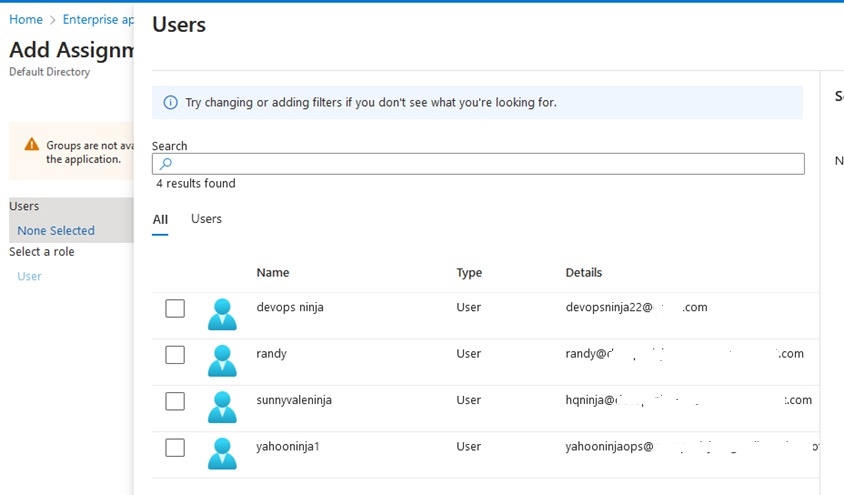
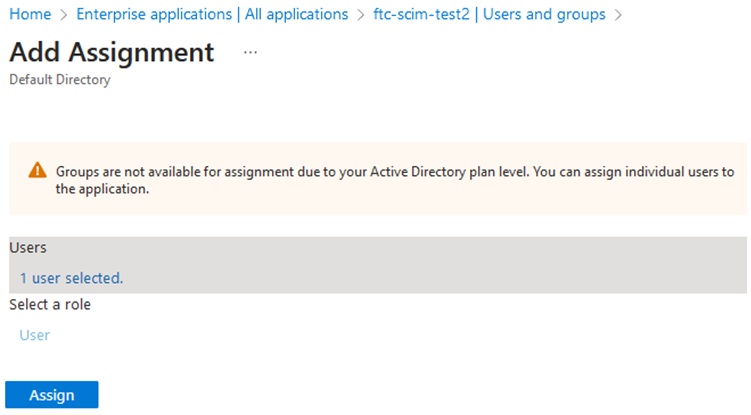
Click Add user/group, select the user(s), and click Assign.
-
Add to the assignment and click Assign.

-
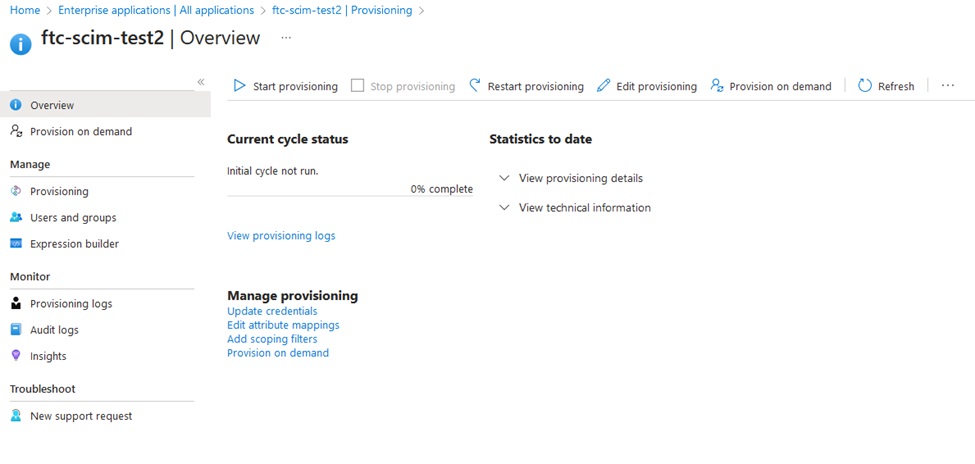
Click Provisioning and Restart.
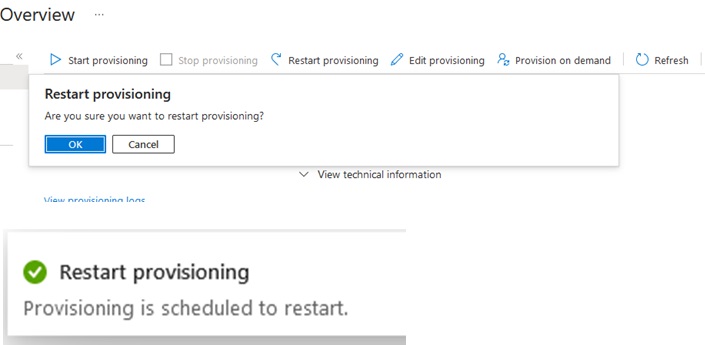
-
Search and select the user or group.
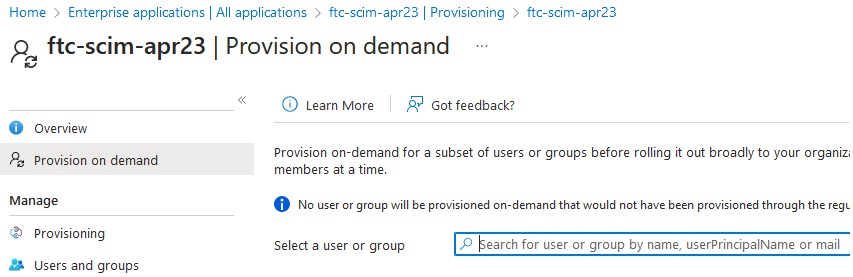
-
For groups, select the members.
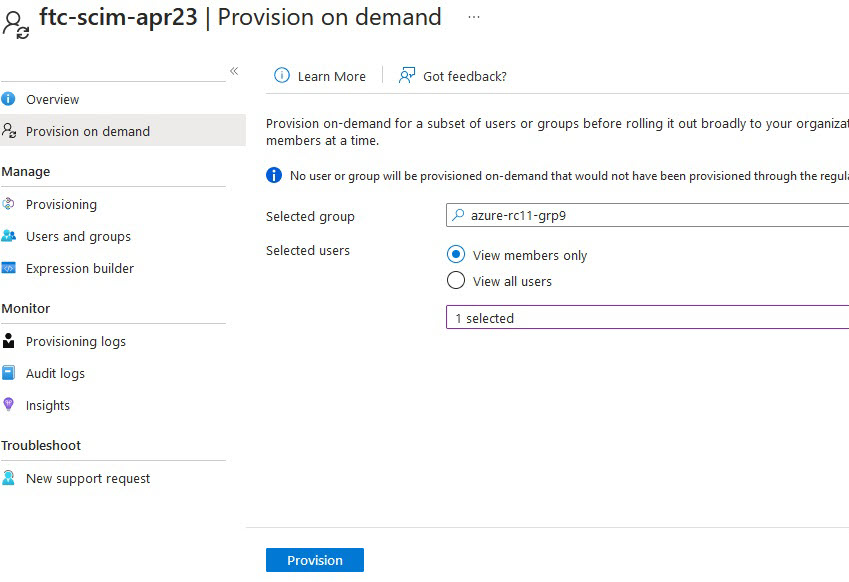
-
Click Provision.
-
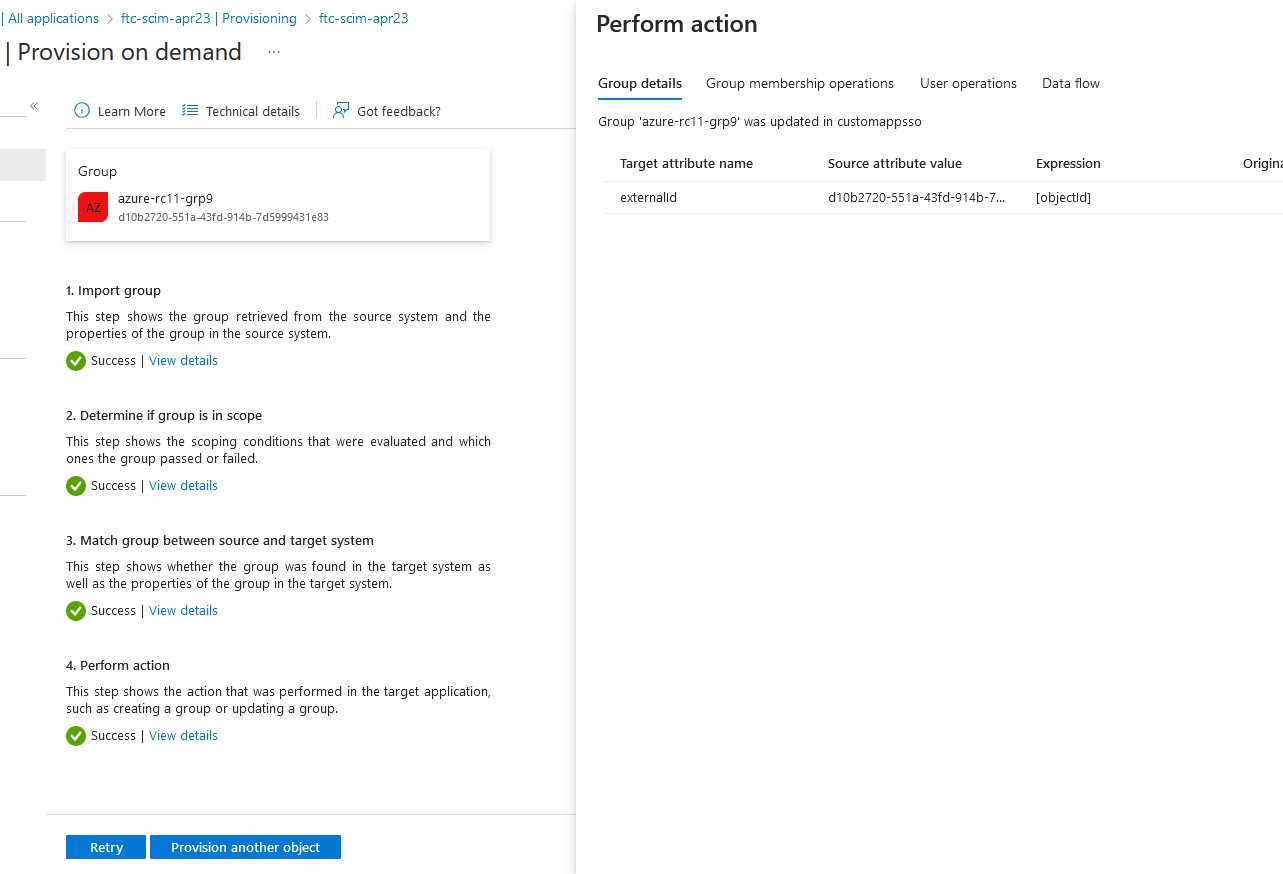
Check the Provision logs:

Provisioning:
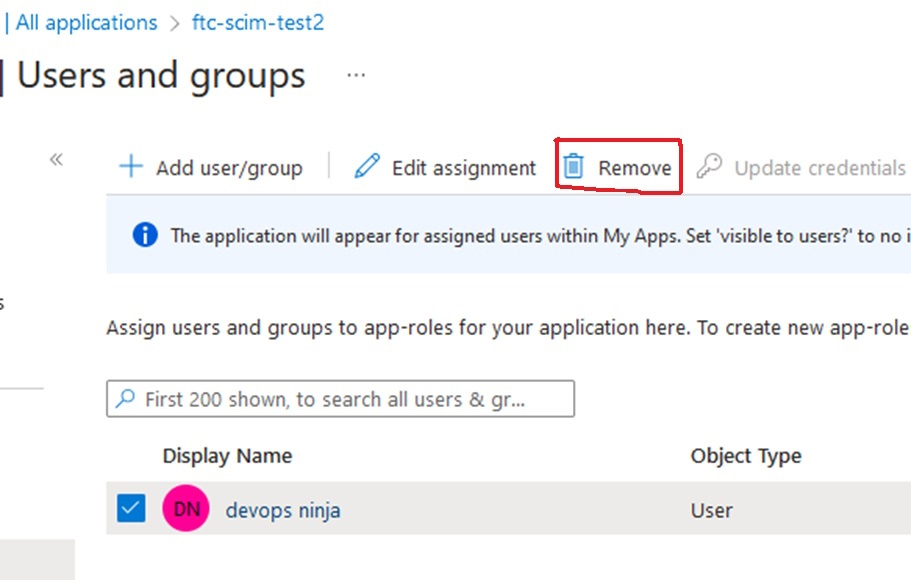
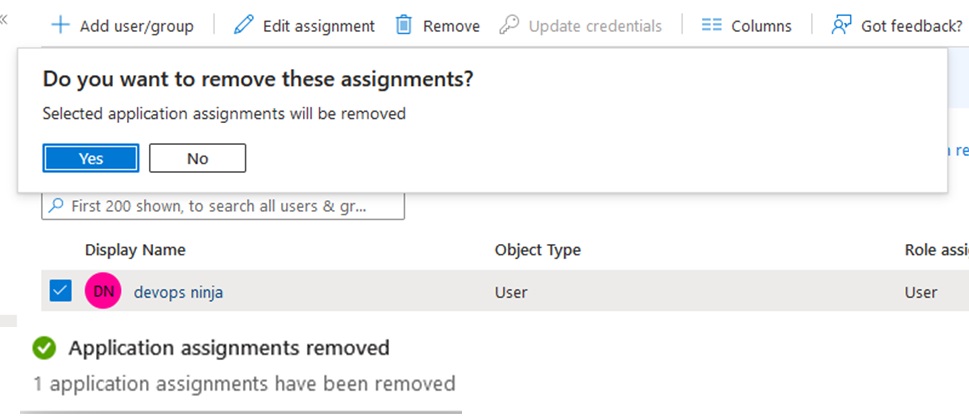
Remove User:
On-Demand Provision:
Go to Enterprise Applications>All Applications>your-Applications>Provisioning>Provision on demand.
Example: