


Appendix F: Installation on Hyper-V
Once you have downloaded the out.hyperv.zip file and extracted the package contents to a folder on your management computer/Microsoft server, you can deploy the VHD package to your MS Hyper-V environment.
To deploy FortiPAM-VM on MS Hyper-V without TPM support:
-
Launch the Hyper-V Manager on your management computer.
The Hyper-V Manager homepage opens.

- In the left tree menu, select your management computer.
The server details page is displayed.

- Right-click the server/management computer and select New > Virtual Machine. Optionally, in the Action menu, select New and select Virtual Machine.

The New Virtual Machine Wizard opens.
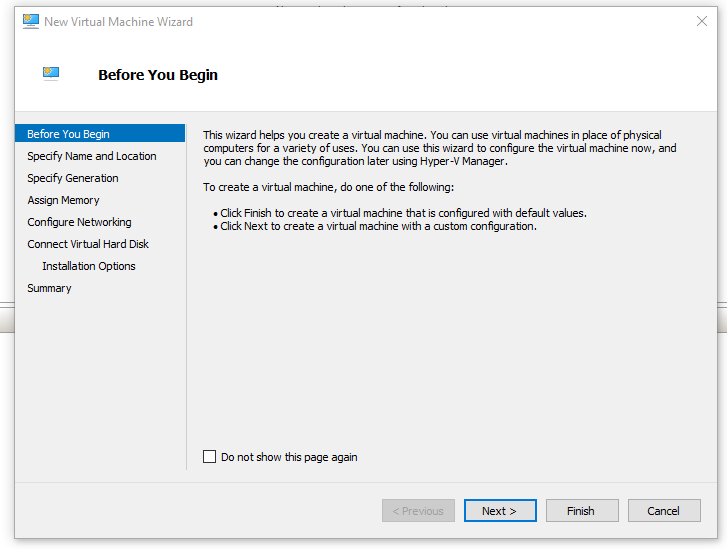
- In New Virtual Machine Wizard, click Next to create a VM with a custom configuration.
The Specify Name and Location tab is displayed.
- In Specify Name and Location, enter a name for this VM, and click Next.
The Hyper-V Manager displays the name you enter for the VM.

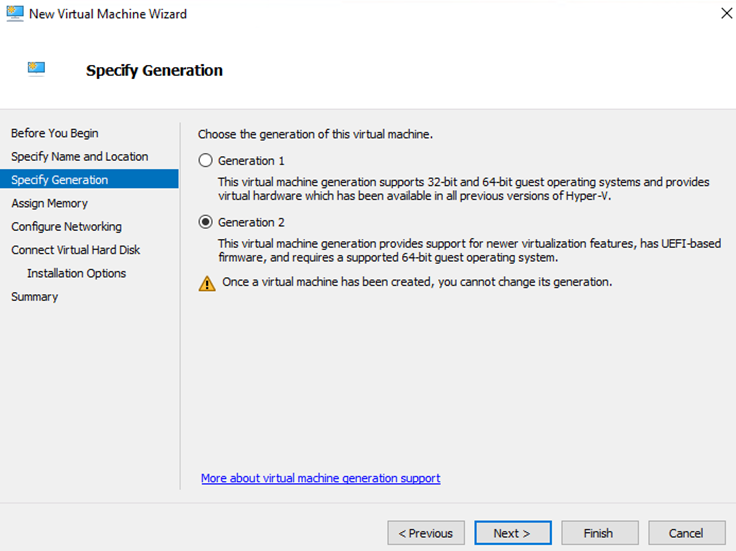
-
In Specify Generation, select Generation 1, and click Next.
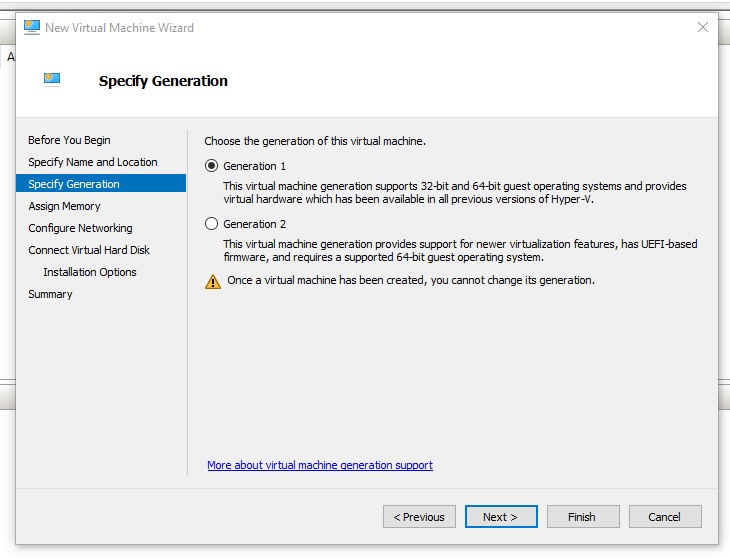

Generation 1 does not support TPM. To install FortiPAM-VM on Hyper-V with TPM, see Deploying FortiPAM on Hyper-V with TPM.
- In Assign Memory, specify the amount of memory to allocate to this VM in Startup memory, and click Next.
Ensure that Use Dynamic Memory for this virtual machine is unchecked.
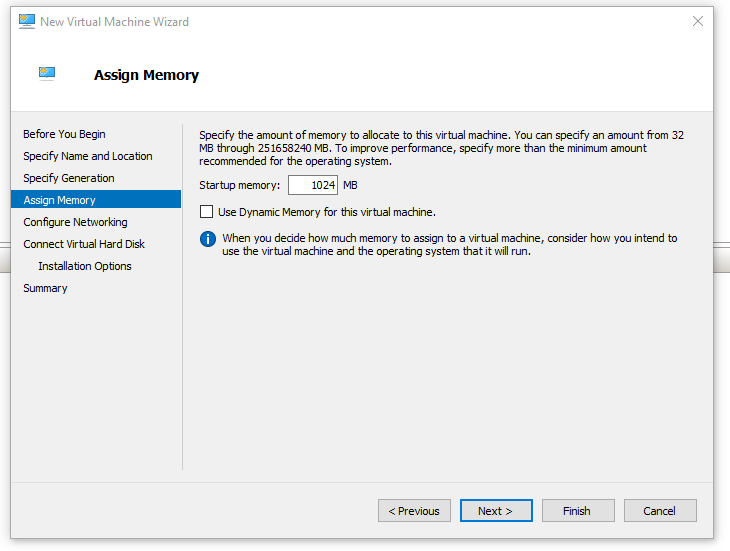
FortiPAM configured with less than 2 CPUs and 2048 MB of RAM works in the evaluation mode until licensed. Otherwise, a valid license is required.
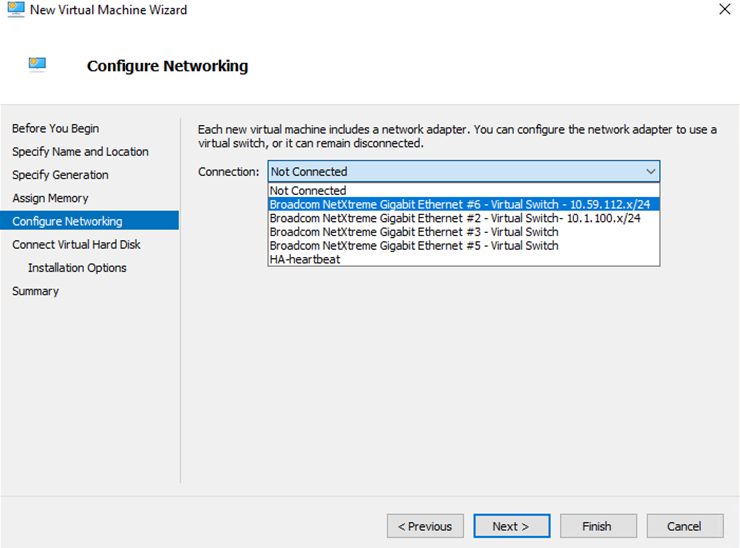
- In Configure Networking, from the Connection dropdown, select a network adapter, and click Next.
Each new VM includes a network adapter. You can configure the network adapter to use a virtual switch, or it can remain disconnected. You can configure more network adapters in the Settings window later.
- In Connect Virtual Hard Disk, select Use an existing virtual hard disk, click Browse and locate the
fortipam.vhdfile that you downloaded from FortiCloud, and click Next.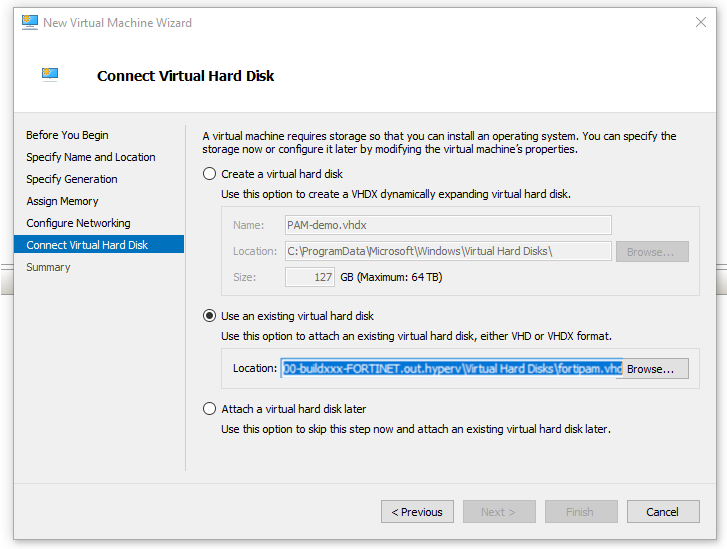
-
In Completing the New Virtual Machine Wizard, the installation summary is displayed.
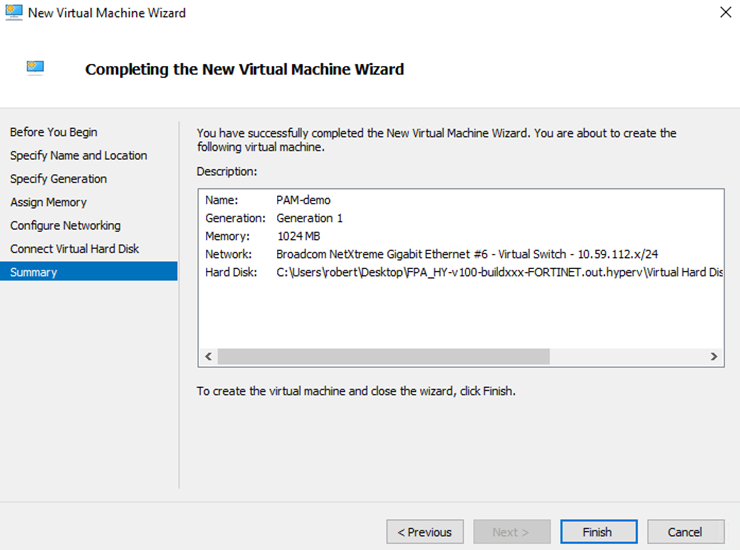
- To create the VM and close the wizard, click Finish.
- Right-click the VM and select Settings from the menu. Optionally, having selected the VM, in the Action menu, click Settings.
-
In Hardware, to remove a DVD drive:
- Select a DVD drive in IDE Controller 1.
- Click Remove.
- Click Apply.

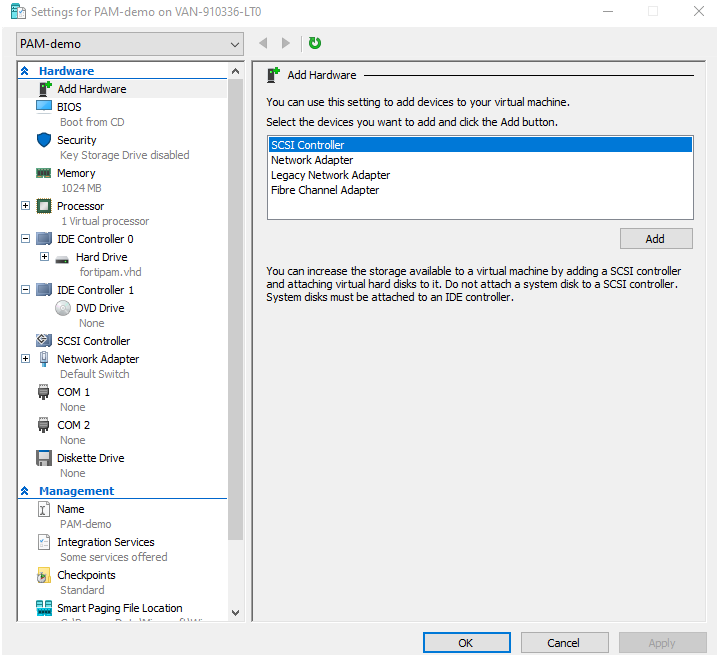
- In Hardware, to add a hard drive:
- Click IDE Controller 1.
- Select Hard Drive.
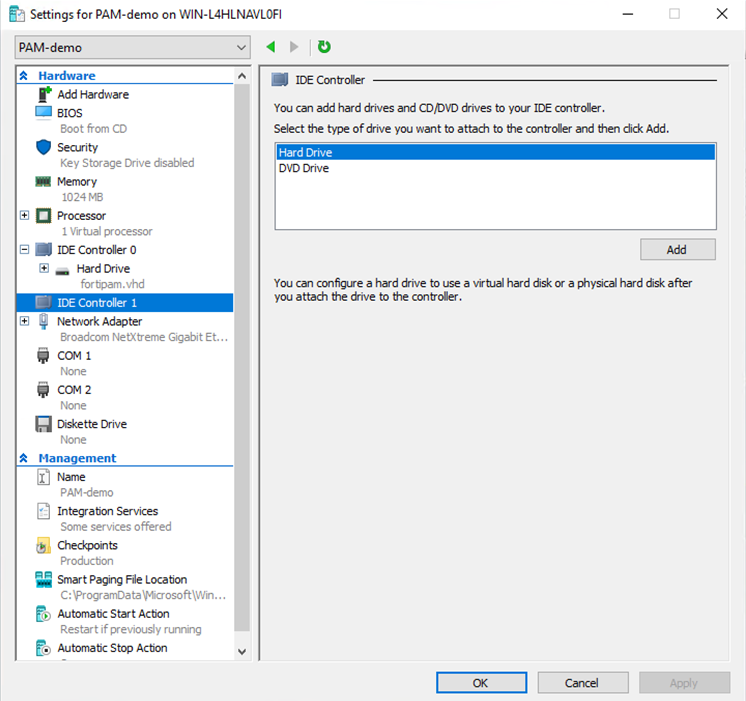
- Click Add.
- In Hard Drive, click Browse and locate the
DATADRIVE1.vhdfile that is in the same folder asfortipam.vhdfile. - Click Apply.

- Click OK.
- Repeat step 14 to add a second disk,
DATADRIVE2.vhd. - From the virtual machines list, right-click the FortiPAM-VM and select Start to power on the VM.
- Select your newly created VM and launch it.
See FortiPAM appliance setup for CLI related settings to verify the disk usage type and set up FortiPAM.
To deploy FortiPAM-VM on MS Hyper-V with TPM support:
To use FortiPAM with TPM on a Hyper-V platform, first, you must convert the virtual hard disk from *.vhd to *.vhdx format (step 1) and then specify Generation 2 when creating a new VM (step 2). Finally, you must enable TPM on Hyper-V before powering on the VM (step 3).
- Converting hard disk to
*.vhdx:- In the left tree menu, right-click the server/management computer and select Edit Disk. Optionally, having selected the server, select Action and then select Edit Disk.
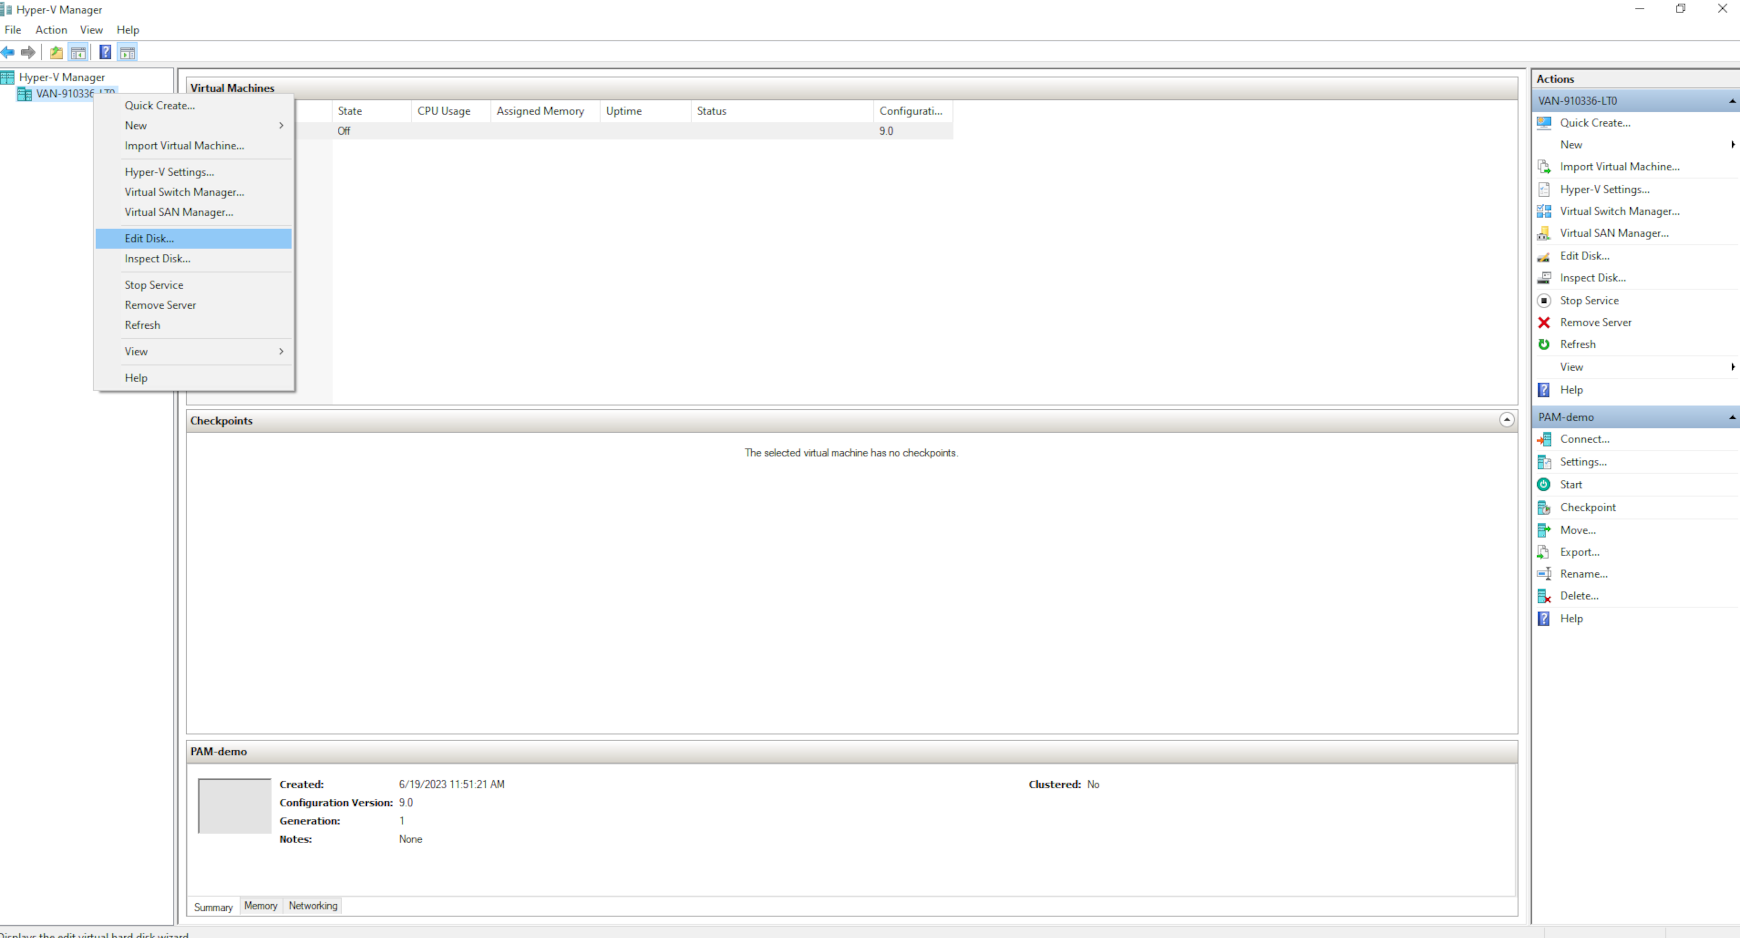
The Edit Virtual Hard Disk Wizard opens.
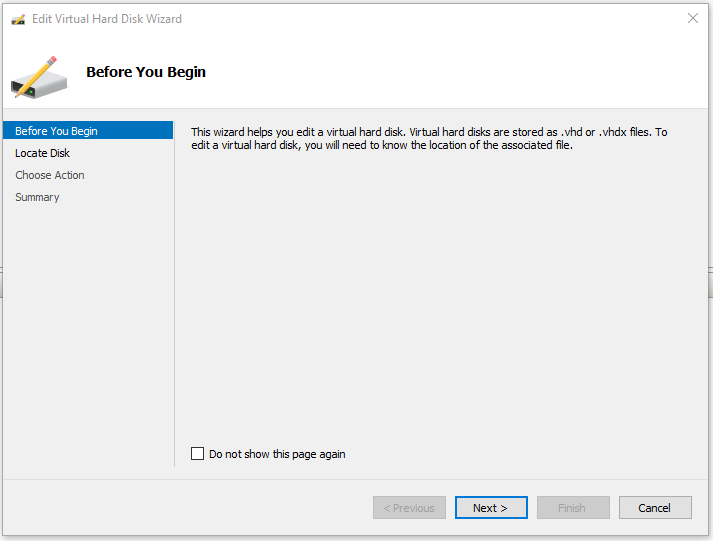
- In the Edit Virtual Hard Disk Wizard, click Next.
- In Locate Virtual Hard Disk, click Browse and locate the
fortipam.vhdfile that you downloaded from FortiCloud, and click Next.
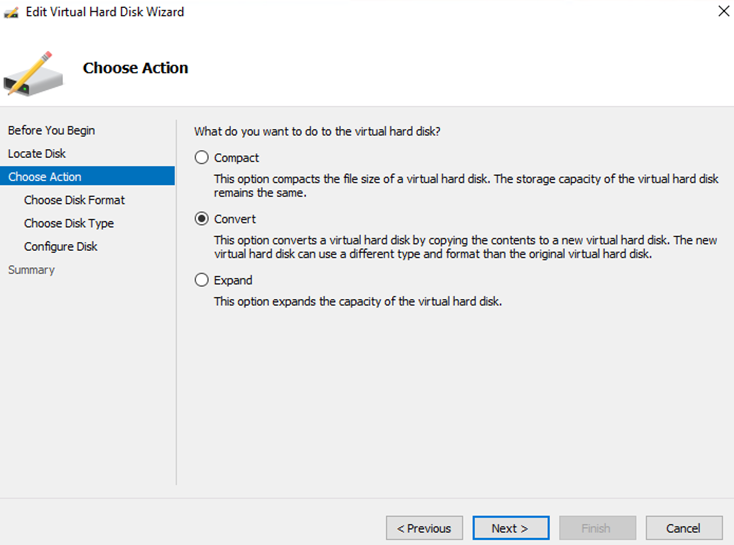
- In Choose Action, select Convert, and click Next.
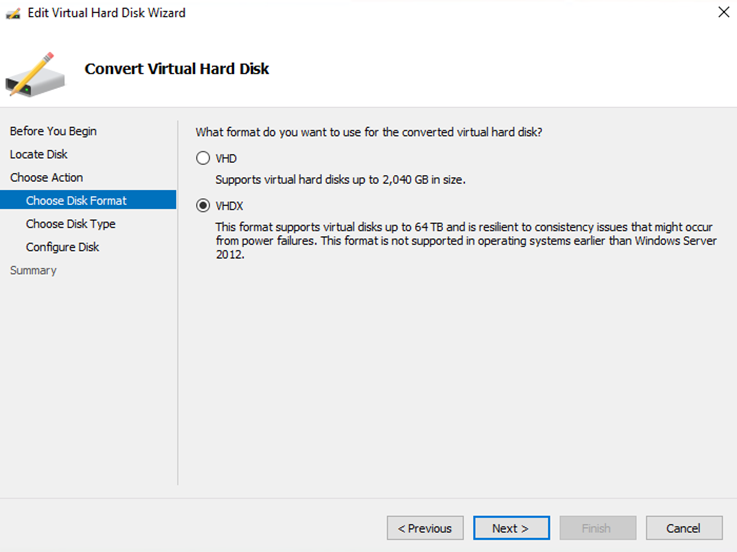
- In Choose Action > Choose Disk Format, select VHDX, and click Next.
- In Choose Action > Choose Disk Type, select Dynamically expanding, and click Next.

- In Choose Action > Configure Disk, enter a name for the VHDX disk, click Browse to configure a location for this disk, and click Next.

- In Completing the Edit Virtual Hard Disk Wizard, the summary is displayed.

- Click Finish.
- Repeat steps a to i to convert
DATADRIVE1.vhdandDATADRIVE2.vhd.
- In the left tree menu, right-click the server/management computer and select Edit Disk. Optionally, having selected the server, select Action and then select Edit Disk.
- Creating a 2nd generation Hyper-V VM:
Follow the same procedure as detailed in Deploying FortiPAM-VM on Hyper-V without TPM, except:
- In Step 6, select Generation 2.
- In Step 9, click Browse and locate the
*.vhdxfile that you converted fromfortipam.vhd.
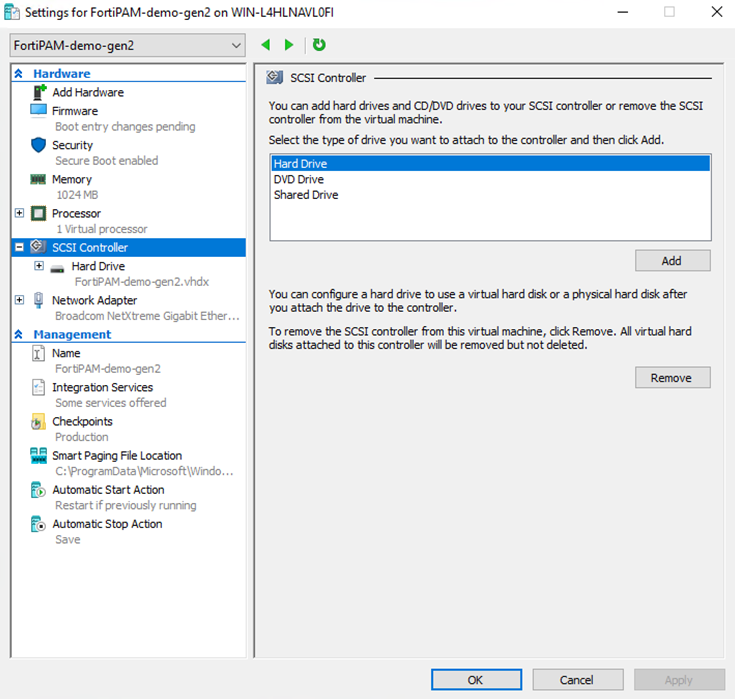
- In step 14 (a, b, and c), click SCSI Controller, select Hard Drive, and click Add.
- In step 14 d, in Hard Drive, click Browse and locate the
*.vhdxfile forDATADRIVE1.vhdthat you earlier converted in Converting hard disk to *.vhdx.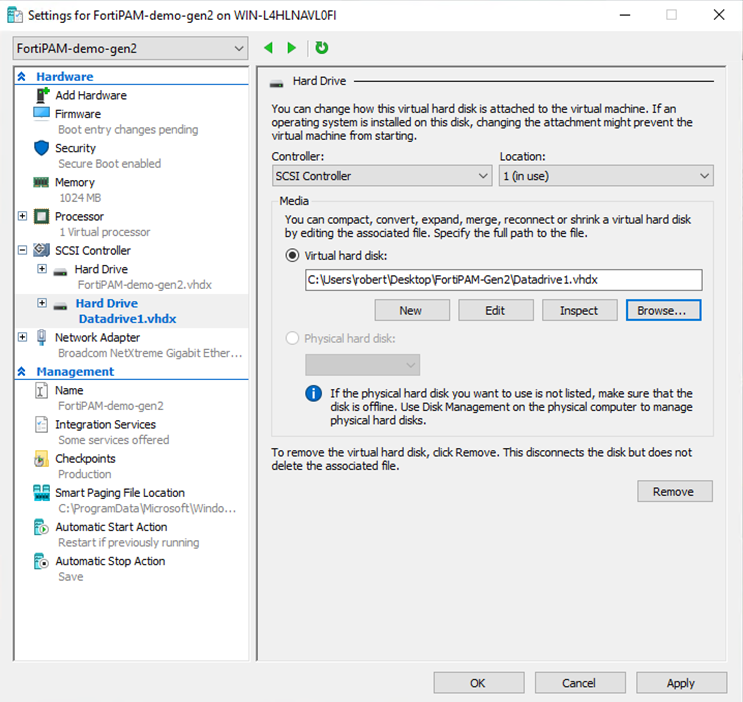
- Repeat steps c and d to add
*.vhdxfile forDATADRIVE2.vhd.Secure boot must be disabled before starting the VM.
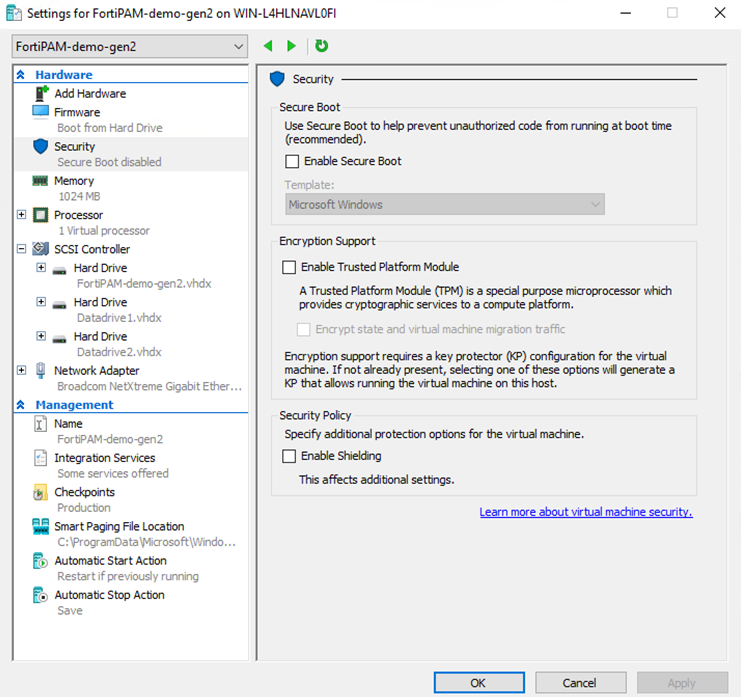
To disable secure boot:
- From the virtual machines list, right-click the VM and select Settings. Optionally, having select the VM, select Action and then select Settings.
- Go to Security and uncheck Enable Secure Boot.
- Click Apply.
- Click OK.
- In Step 6, select Generation 2.
- Enabling TPM on Hyper-V:
Ensure that TPM is set up as part of the initial configuration, i.e., before powering on the FortiPAM-VM for the first time.
- From the virtual machines list, right-click the VM and select Settings. Optionally, having select the VM, select Action and then select Settings.
- Go to Security and check Enable Trusted Platform Module. Optionally, enable Encrypt state and virtual machine migration traffic.
- Click Apply.
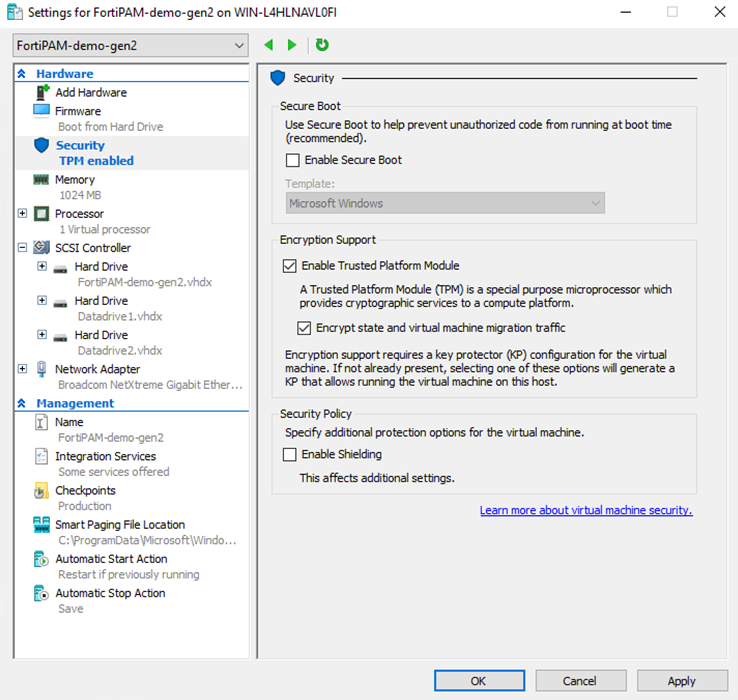
- Click OK.
You can now power on your VM.