


NetFlow monitoring
This article describes the steps on how to enable NetFlow monitoring in FortiMonitor.
-
To enable NetFlow monitoring, perform the following steps:
-
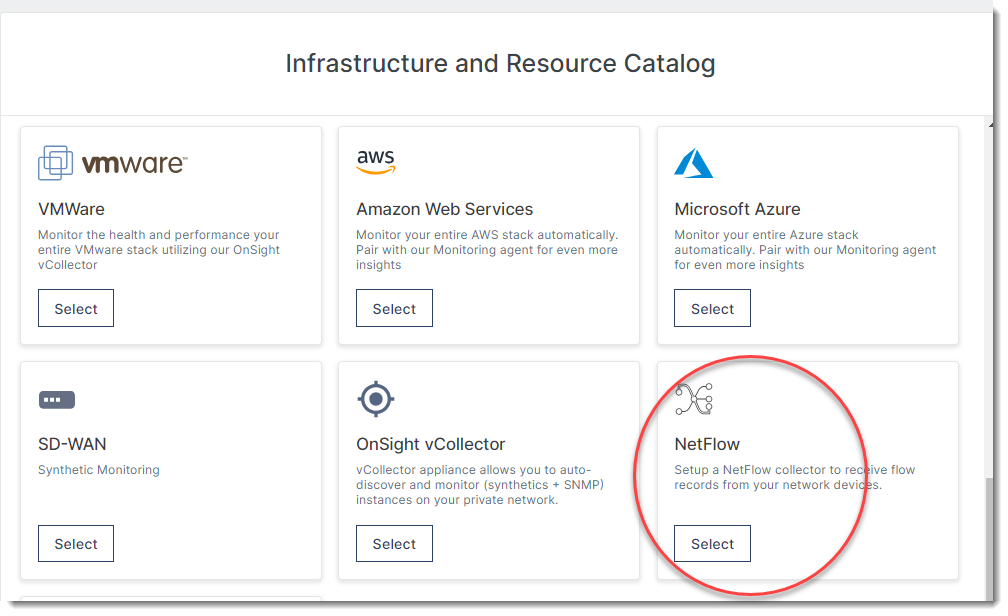
From the navigation menu, click Add.
-
Select NetFlow.
Installation modes
Standalone installer
You can install the NetFlow collector using a VM that will be turned into the NetFlow collector appliance.
Make sure that the VM you are using meets the following requirements before you start enabling NetFlow monitoring:
-
VM requirements
-
A Linux VM that will be turned into the NetFlow collector appliance
-
1 core processor
-
2 GB RAM
-
20 GB disk
-
-
OS requirements
-
Recent Ubuntu, RedHat, or Debian distribution.
-
Podman must not be installed.
-
-
NetFlow device must be configured to send flow data
Note: The installer checks to make sure that firewall rules are open, if not you will get a warning to open those to allow flow data in.
To enable firewall access to UDP port 2055 to receive flow packets, run the following command:
iptables -A INPUT -p udp -m udp --dport 2055 -j ACCEPT
Configure the VM that you will use as the NetFlow collector appliance.
-
SSH into your Linux VM.
-
Root privileges are need for the next steps. Run the following command:
$ sudo su – -
Enable firewall access to UDP port 2055 to receive flow packets by running:
iptables -A INPUT -p udp -m udp --dport 2055 -j ACCEPT -
Download the installer by running the following command:
curl -fsSL https://repo.fortimonitor.com/install/netflow/install-fortimonitor-netflow.sh > install-fortimonitor-netflow.sh -
(Optional) Run the installer inEstimator mode. This installs the NetFlow estimator and will not register the appliance to FortiMonitor.
-
Run the installer as root. You can choose any name for the NetFlow appliance:
bash install-fortimonitor-netflow.sh -customer_key <customer_key> -appliance_name "NetFlow Appliance"
Virtual appliance
Make sure that the following requirements are met before enabling NetFlow monitoring:
-
At least 2 GB of memory (4 GB is recommended)
-
At least 30 GB of available disk space
Perform the following steps to download and install the NetFlow collector image:
-
Download the NetFlow vCollector image for your hypervisor.
-
After downloading the NetFlow collector image, import it as a virtual machine into your hypervisor. Once your NetFlow vCollector is imported and booted, the VM will go through the normal Linux startup process, finishing with a login prompt.
-
Log in with username fortimonitor and password fortimonitor.
-
You will then be prompted to set a new password. Important: Do not lose this password. Without it, there is no way to access the NetFlow vCollector for further updates.
-
Register the NetFlow vCollector by running the following command as root:
fortimonitor-netflow register <customer_key> "NetFlow Appliance" -
This will connect your NetFlow vCollector to the FortiMonitor cloud and begin syncing data.
-
Start it by running the following as root:
fortimonitor-netflow start -
To run the estimator, run the following command as root:
fortimonitor-netflow estimator <cidr-filters-file>
Configure the NetFlow source device
You must configure your NetFlow source device, in this case a FortiGate, to send flow data to FortiMonitor.
-
Log in to the NetFlow source device. For more information on how to configure NetFlow in FortiGate, see https://docs.fortinet.com/document/fortigate/7.4.0/cli-reference/31620/config-system-netflow.
-
Configure NetFlow in FortiGate.
# config system netflow
set active-flow-timeout 60
set collector-ip <netflow-collector-ip>
set collector-port 2055
end
Where
<netflow-collector-ip>is the IP address of your NetFlow collector appliance. -
Enable NetFlow on each interface that you want to monitor traffic for. For example, wan1:
# config system interface
edit wan1
set netflow-sampler both
end
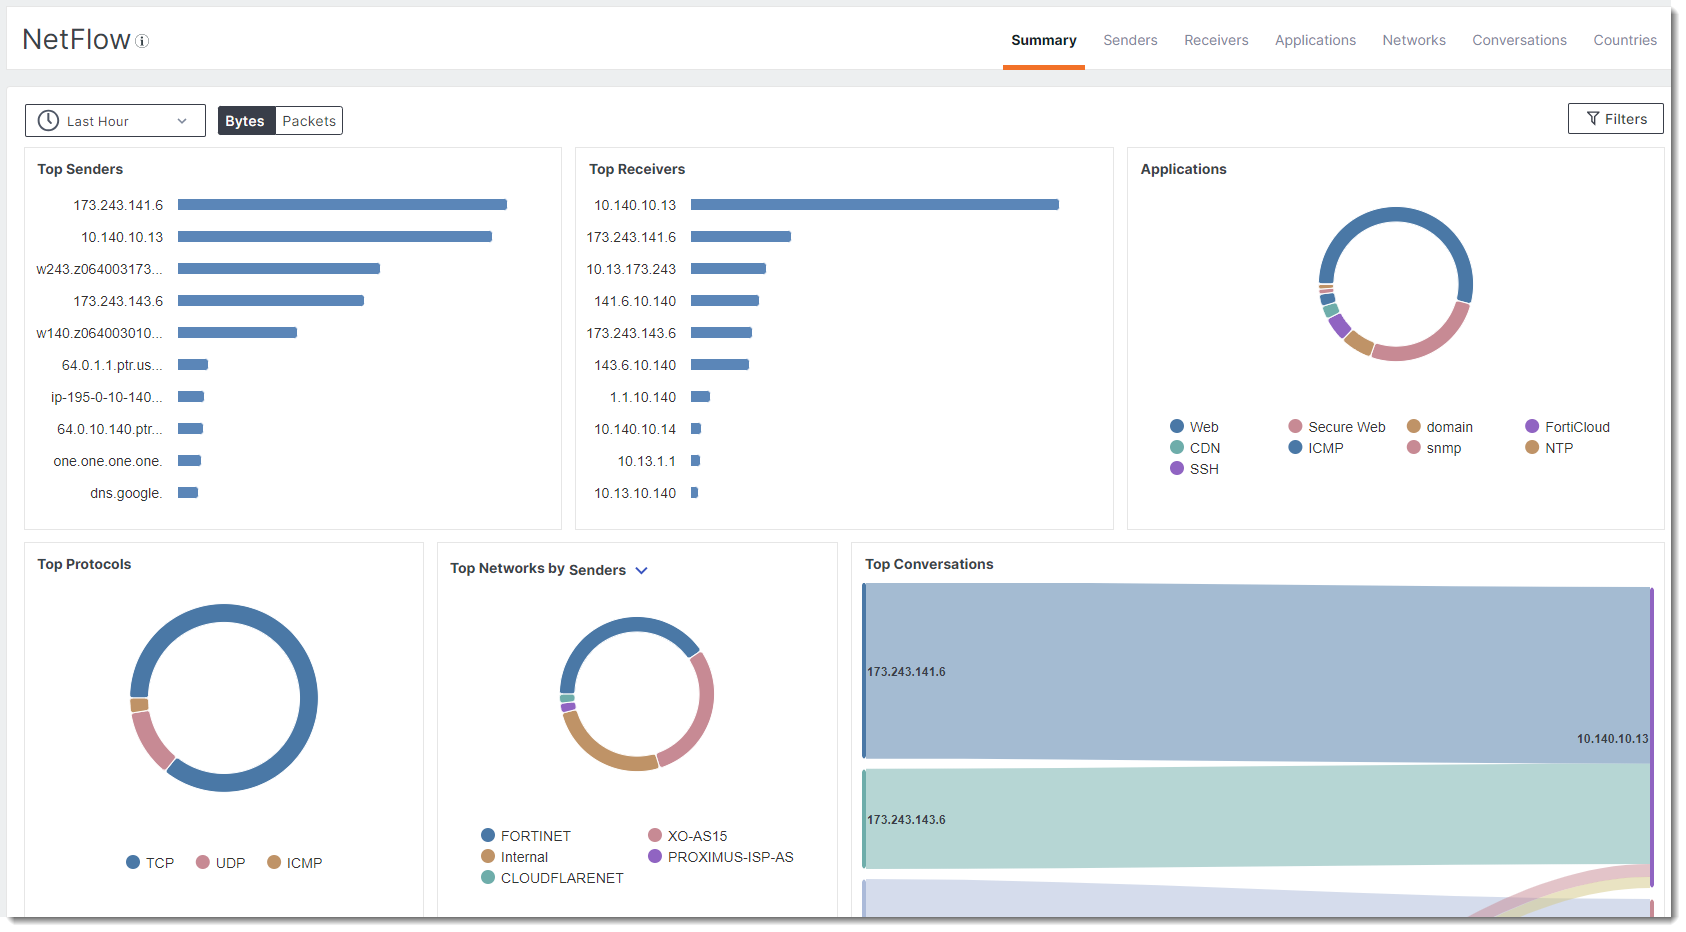
View the NetFlow dashboard
Log into FortiMonitor then go to Dashboards > NetFlow.
FortiMonitor NetFlow commands
This section describes the commands that can be used with the NetFlow collector appliance.
/usr/bin/fortimonitor-netflow <command>
|
Command |
Description |
|---|---|
| register <customer_key> | Register your device with FortiMonitor. |
| start | Start the container. |
| restart | Restart the container. |
| stop | Stop the container. |
|
upgrade |
Upgrade to the latest version of FortiMonitor NetFlow. |
|
status |
Show the status of the FortiMonitor NetFlow container. |
|
remove |
Remove FortiMonitor NetFlow from your device |
|
netflow-uninstall |
|