Creating and Restoring ESX Snapshots
Create FortiSIEM VM Snapshot
Follow these steps to create snapshots for FortiSIEM nodes.
- ssh into the supervisor node as root.
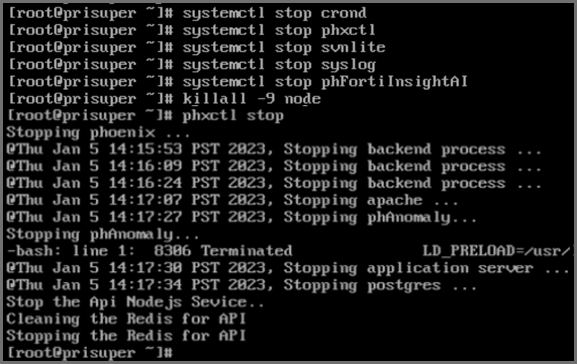
- Run the following commands to stop all essential FortiSIEM services.
# systemctl stop crond
# systemctl stop phxctl
# systemctl stop svnlite
# systemctl stop syslog
# systemctl stop phFortiInsightAI
# killall -9 node
# phxctl stop
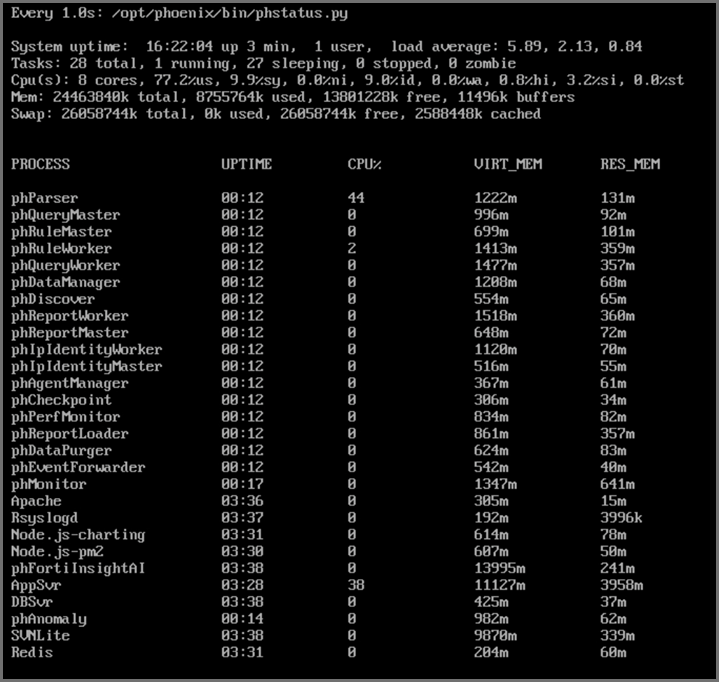
- Run
phstatusand verify all services are down.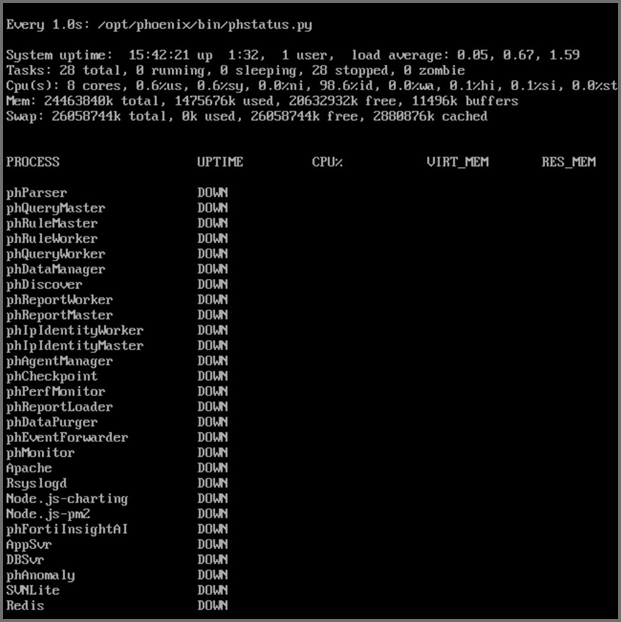
- Find the FortiSIEM VM inside your hypervisor and click Snapshots > Take Snapshot....
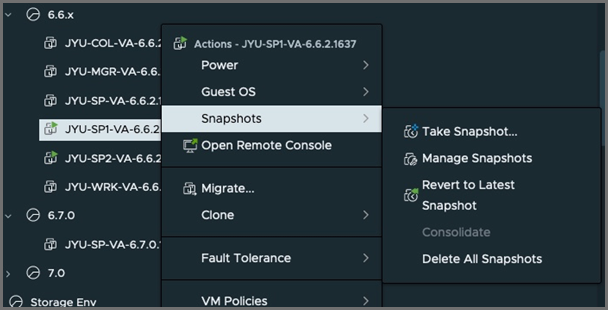
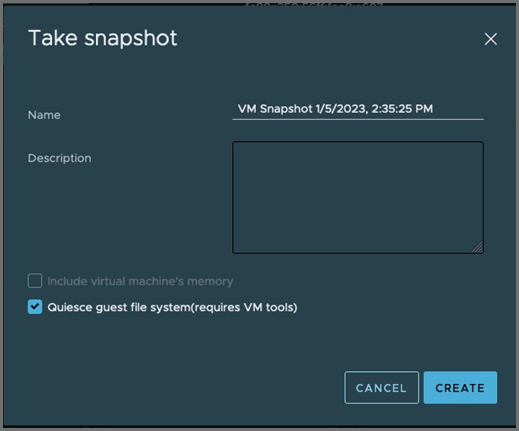
- In the follow up dialog, take the following steps.
- Uncheck the Include virtual machine’s memory checkbox for a quick snapshot.
- Check the Quiesce guest file system checkbox to ensure filesystem integrity.
- Click CREATE.
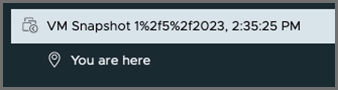
- Check the Snapshot section of the VM in order to verify snapshot has been taken.
- Restart all FortiSIEM Services after the snapshot has been taken, by running the following commands.
# systemctl start crond
# systemctl start phxctl
# systemctl start svnlite
# systemctl start syslog
# systemctl start phFortiInsightAI
# phxctl start
# phstatus
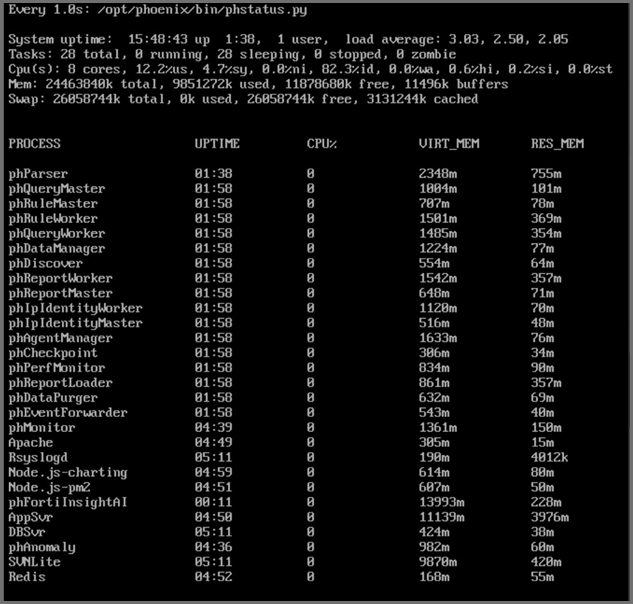
Restoring FortiSIEM VM from Snapshot
Take the following steps to restore a VM from a snapshot.
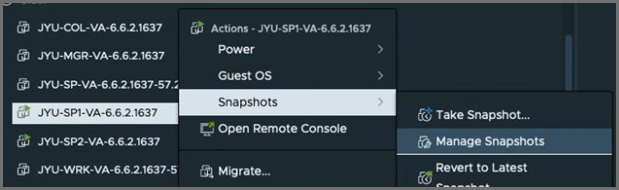
- Find the currently running VM in vSphere, right click on the VM, and navigate to Snapshots > Manage Snapshots.
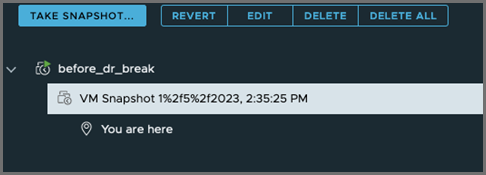
- Select the snapshot in the list that you want to restore, and select REVERT.
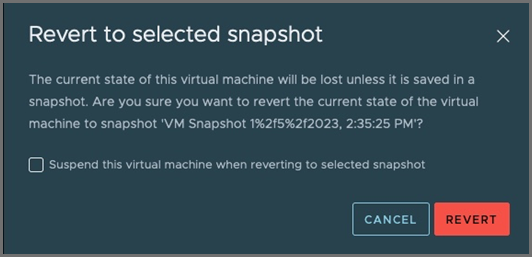
- On the pop-up window, select REVERT.
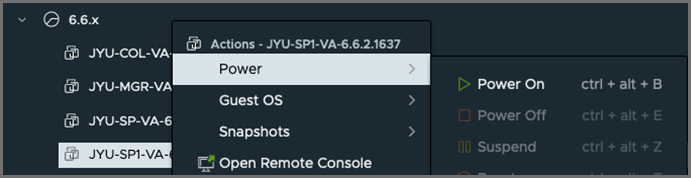
- The VM will be reverted to the selected snapshot and be left turned off. Right click the VM, and navigate to Power > Power On.
This will turn the VM on from the point of the snapshot and services will start up as normal.