


Creating a subnet and routing table
To connect the FortiProxy-VM to the AWS virtual gateway on the public-facing side, you must create and configure a subnet:
- In the Virtual Private Cloud left menu of the VPC page, select Subnets.

- Click Create subnet at the top right corner.

- Configure the subnet:

- In VPC ID, select the VPC you just created.
- In Subnet name, specify the name, for example, Subnet1.
- Specify the Availability Zone and IPv4 subnet CIDR block according to your needs.
- Click Create subnet.
- In the subnet details page, click the Route table link.

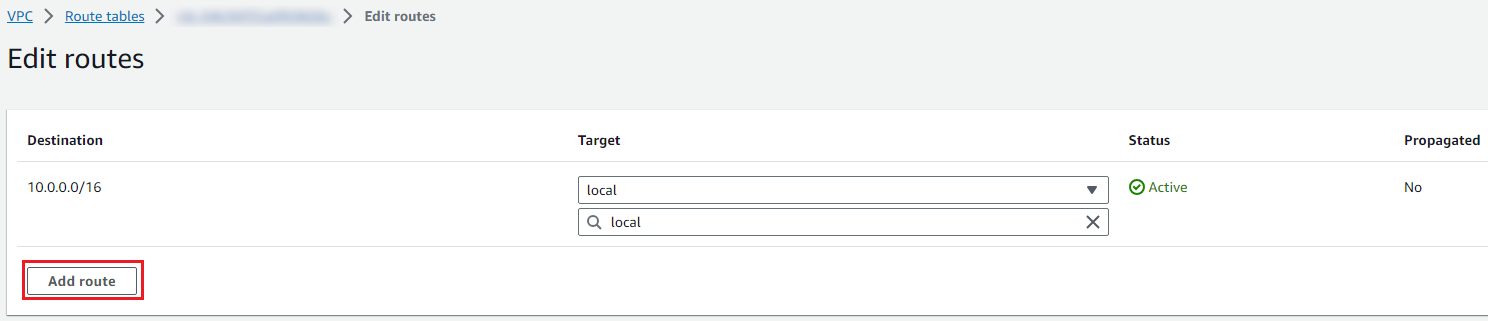
- Select the route table and click Actions > Edit routes.

- Click Add route.
- Configure the route:
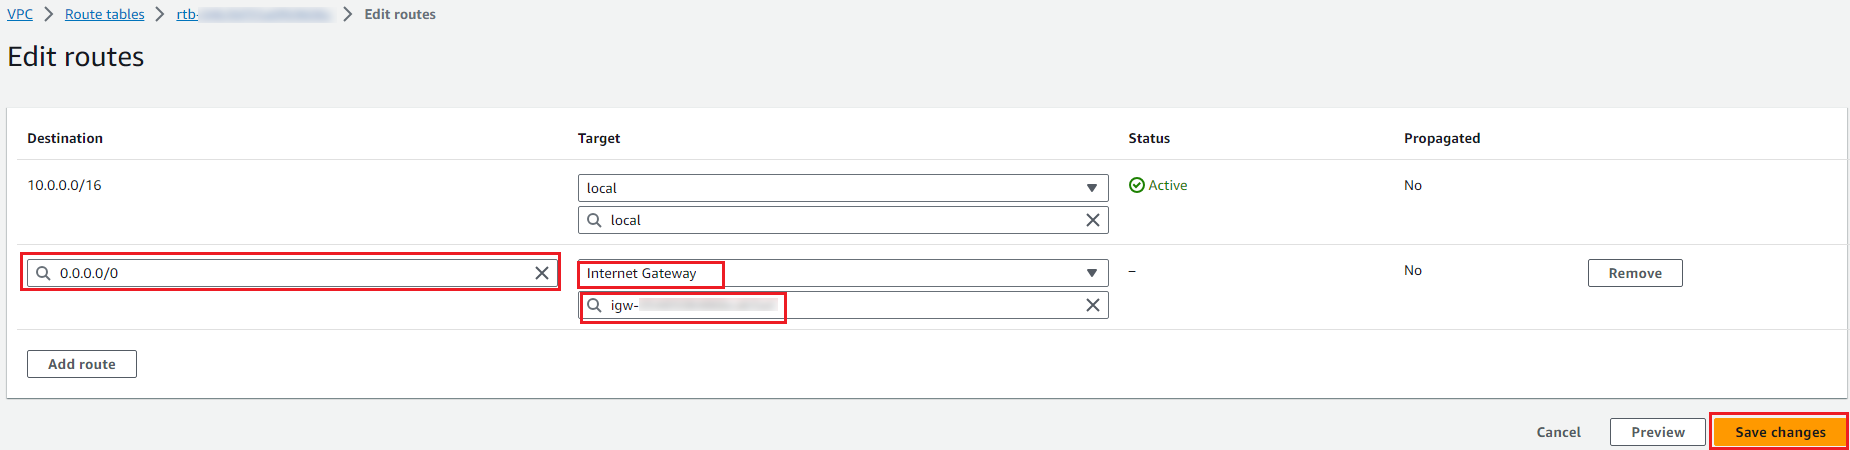
- In the Destination field, select
0.0.0.0/0. - In the Target field, select Internet Gateway and then select the internet gateway you created.
- Click Save changes.
- In the Destination field, select