


Setting up a virtual private cloud (VPC) for HA
Assuming this is a new environment, the first step is to set up a virtual private cloud (VPC) with three subnets:
-
Create a VPC:
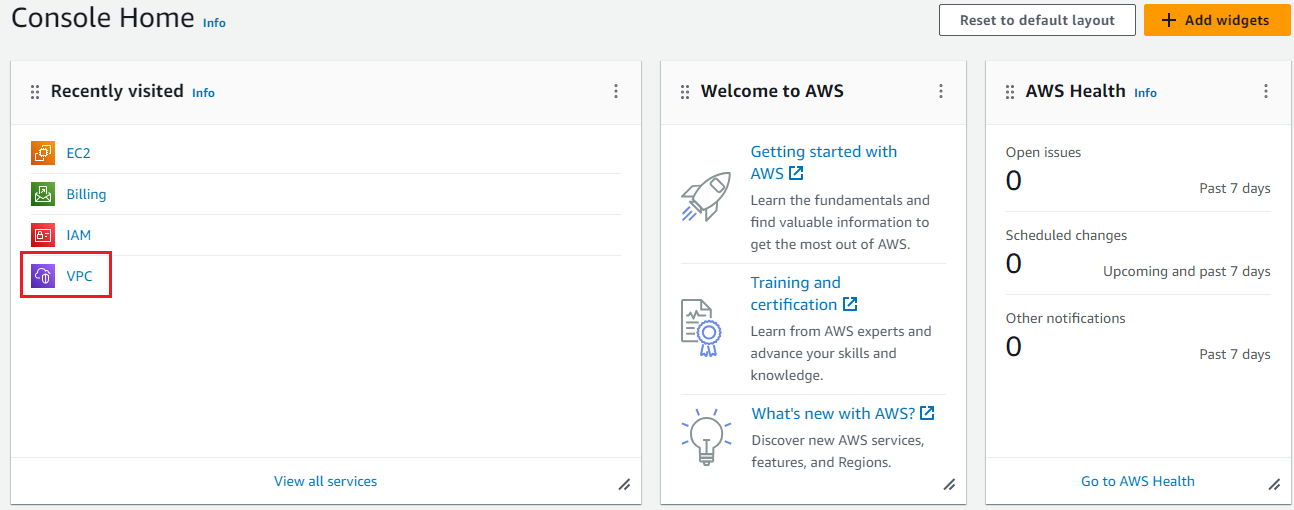
- Log in to the AWS Management Console and click VPC in the homepage.
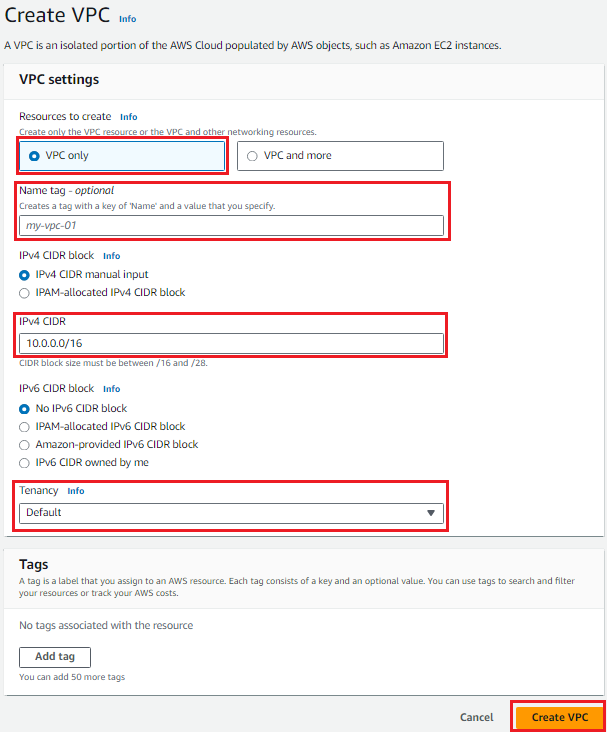
- Click Create VPC at the top left corner.

- Configure the VPC:
- In the Resources to create field, select VPC only.
- In the Name tag field, set the VPC name.
- In the CIDR block field, specify an IPv4 address range for your VPC. This sample deploymen uses10.0.0.0/16.
- In the Tenancy field, select Default.
- Click Create VPC at the bottom right corner.
- Log in to the AWS Management Console and click VPC in the homepage.
- Create a security group, which is a set of firewall rules that control the traffic for your VM instances within a VPC.

While each VPC includes a default security group to protect instances in it, Fortinet recommends that you create a new security group with inbound rules to allow traffic to flow on the specified ports.
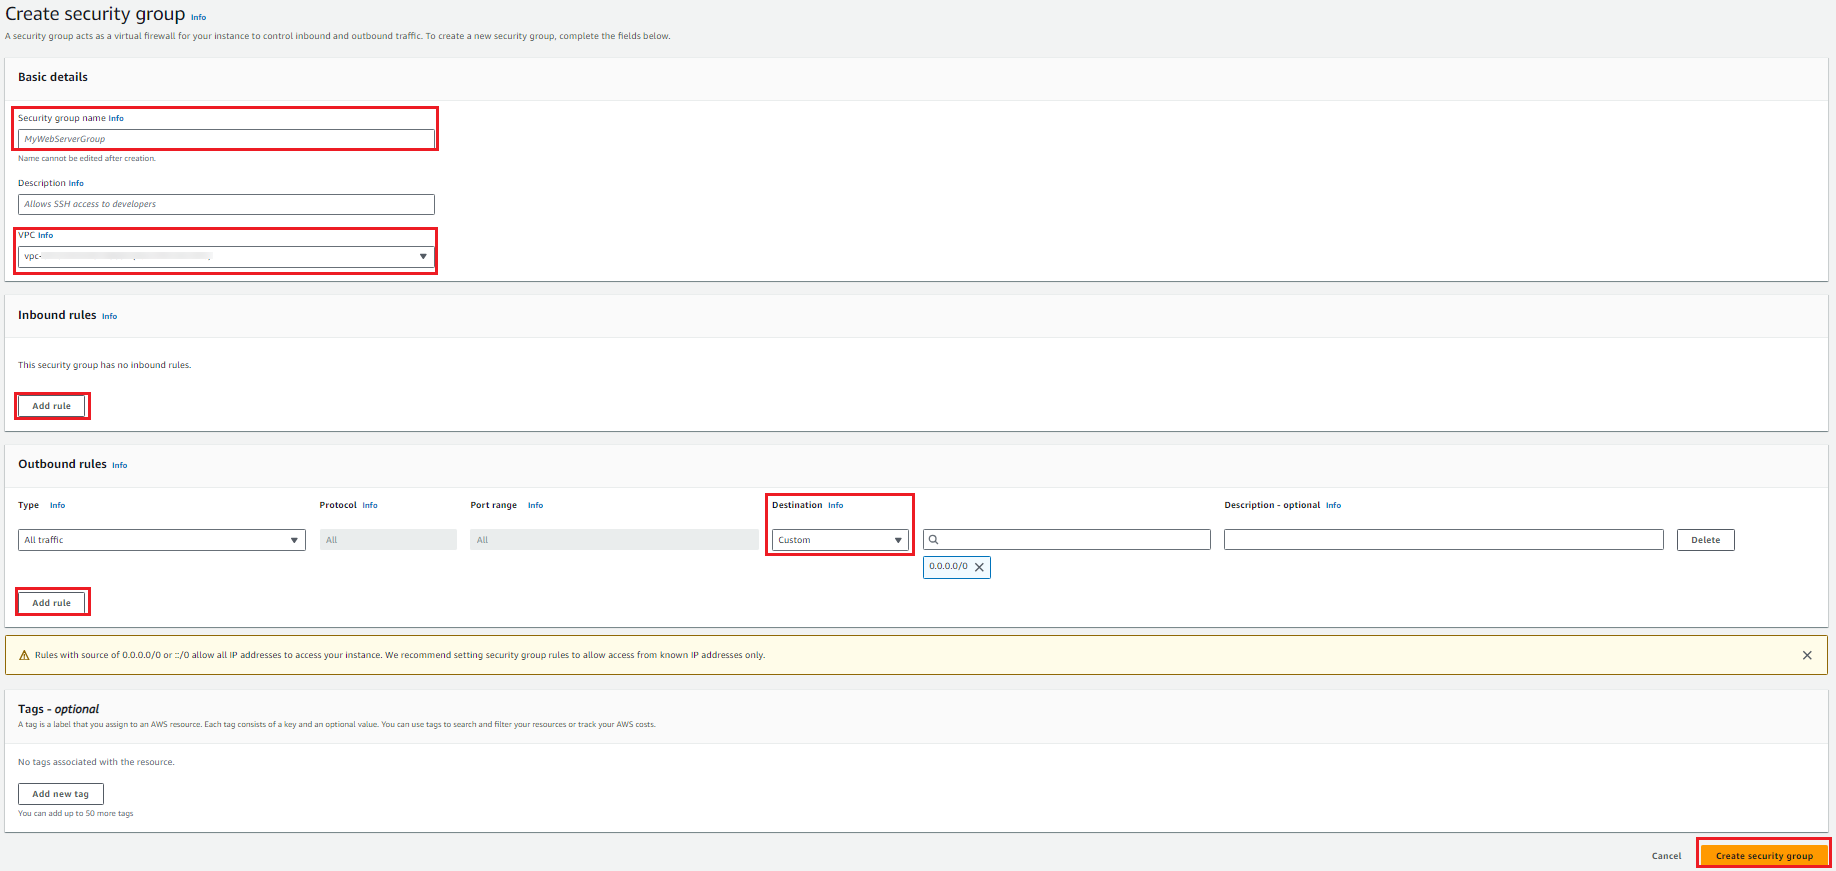
Under the Security menu on the left, select Security groups.

- Click Create security group.

- In the window that appears, configure the following options:
- Specify a name to identify the security group.
- Select the VPC you created earlier.
- Add an inbound rule and define the allowed IP and ports for ingress traffic. For example, ICMP and TCP/80/443/22/8080/21 (for HTTP, HTTPS, SSH access, default explicit web proxy, and FTP/FTP proxy, respectively).
- Configure the destination of the existing outbound rule to meet your needs or add a new rule to define the allowed IP and ports for engress traffic. For example, ICMP and TCP/80/443/22/8080/21 (for HTTP, HTTPS, SSH access, default explicit web proxy, and FTP/FTP proxy, respectively).
- Click Create security group.
-
Create an Internet Gateway and attach it to the VPC:
-
In the Virtual Private Cloud menu on the left, select Internet Gateways.
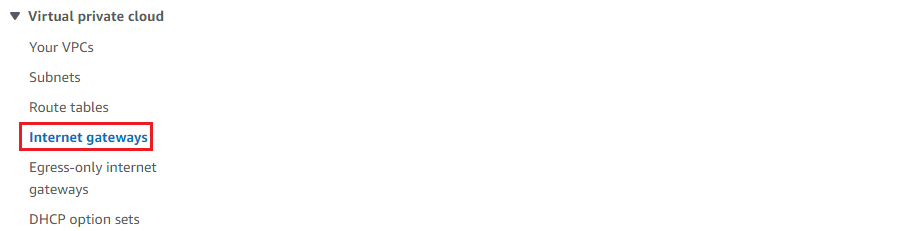
- Click Create Internet Gateway at the top right corner.

- In the Name tag field, set the Internet gateway name, then click Create internet gateway.

- At the top right corner, click Attach to a VPC or Actions > Attach to VPC.
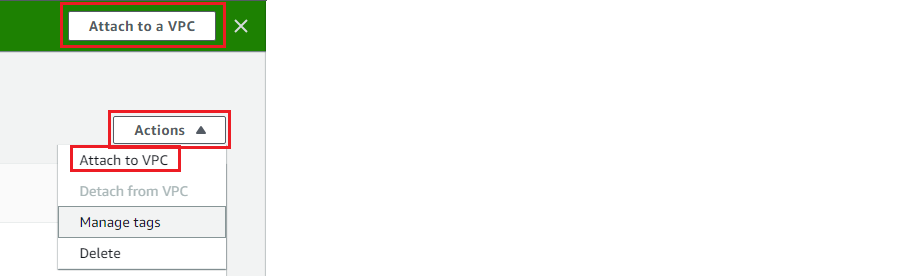
- Select the VPC that you created and click Attach internet gateway.

Verify that the Internet gateway state changes from Detached to Attached.

-
-
Create 3 subnets for the VPC. One for public traffic, one for HA synchronization, and one for HA management.
-
In the Virtual Private Cloud menu on the left, select Subnets.

-
Click Create subnet.

-
Specify the following settings for the subnet.
-
Select the VPC you created earlier.
-
Specify a name for the subnet. Differentiate the subnets by naming them by the functionality. For example:
-
public—For external and internal data traffic.
-
hasync—For heartbeat traffic between the two HA members. This is unicast communication.
-
mgmt—For dedicated HA management.
-
-
Select an availability zone if needed.
-
Specify the IPv4 subnet CIDR block, which should be a subnet of the VPC. The following is a sample deployment:
Subnet
IPv4 subnet CIDR block
public
10.0.1.0/24
hasync
10.0.2.0/24
mngt
10.0.3.0/24
-
Click Create subnet.

-
-
Repeat the steps above for the remaining 2 subnets.
-
-
Create and configure a route table for the VPC:
-
In the Virtual Private Cloud menu on the left, select Route tables.

-
Click Create route table.

-
Specify a name to identify the route table and select the VPC you created earlier. Click Create route table.

-
On the route table details page, click Actions > Edit subnet associations.

-
Select the public and mgmt subnets and click Save associations.

-
Configure the external default route to the Internet Gateway you created earlier:
-
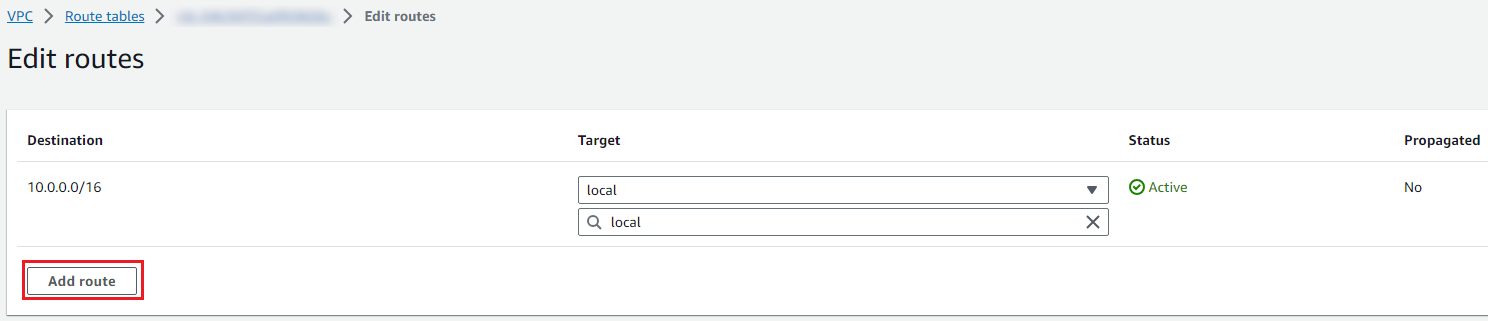
On the route table details page, click Actions > Edit routes.

- Click Add route.
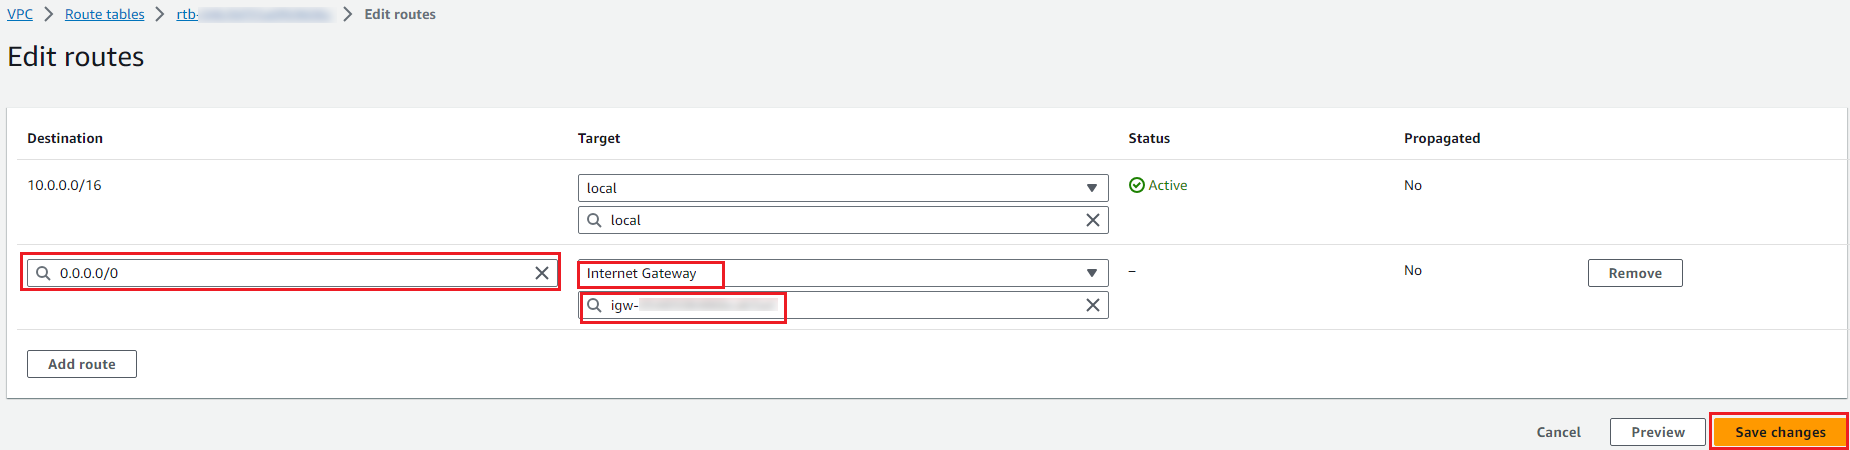
- Configure the route to the Internet Gateway you created earlier:
- In the Destination field, select
0.0.0.0/0. - In the Target field, select Internet Gateway and then select the Internet Gateway you created earlier.
- Click Save changes.
- In the Destination field, select
-
-