Templates
The Templates page displays the custom templates created for your account. After the template is created it will be available from the Custom tab when you launch a new campaign.
| To view a template | Click the Edit icon. |
| To delete a template | Click the Delete icon. |
Creating custom templates
|
|
Custom templates are the property of Fortinet. Fortinet reserves the right to adapt any updates or revisions made to an existing email template and make them available to all users in the Global Templates tab. |
To create a new campaign template:
- Go to Custom > Templates.
- Click New Template. The Create template page opens.
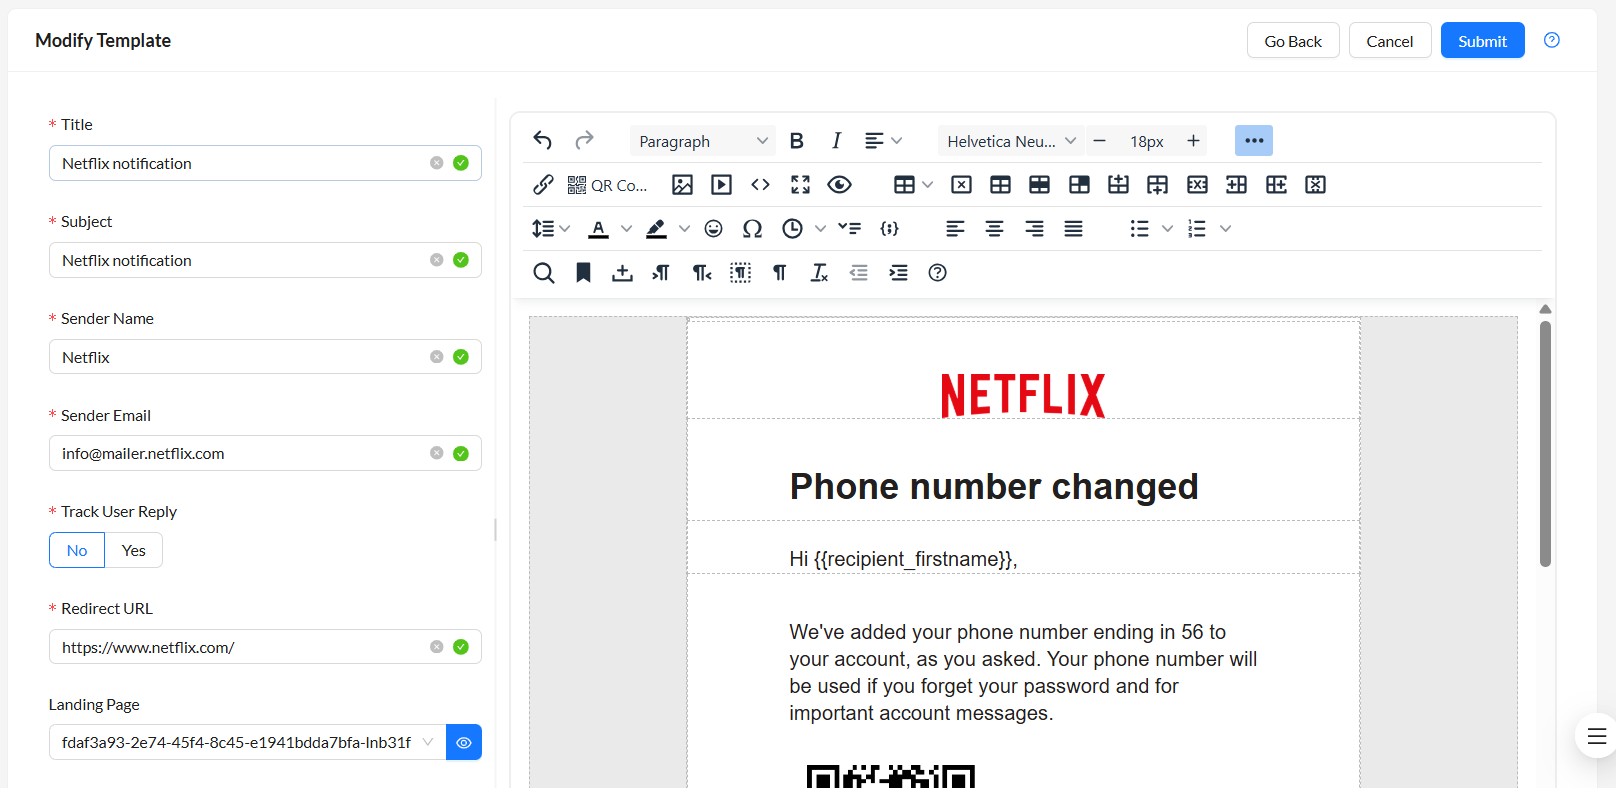
- Configure the template settings.
Title
Enter a title for the template.
Subject Enter the email subject. Sender Name Enter the sender's name. Sender Email Enter the sender's email address. Track User Reply
Click Yes to create targeted emails that have no click or attachments but will simulate an actual spear-phish and allow you to see which users respond and/or attach compromising information.
Redirect URL Enter the redirect URL. Landing Page
Landing Page > Custom is selected by default. Select the landing page from the dropdown.
For information about custom landing pages, see Landing page.
Attachment Filename
Click Yes, Using Filename and enter the filename in the text field.
- In the text editor, compose the email body. You can insert links, images, QR code, and media.

You can use variables in the email body to generate dynamic data while the campaign is running. See, Template variables.
QR code option is available only for FortiPhish Premium users. Contact Fortinet Support team to upgrade.
- Click Submit. The template is added to the Custom tab in the Campaigns module. See, Creating campaigns .
Click Reset to clear all the entered information.
To edit a template:
- Click the Edit icon. The Modify Template page opens.
- Update the template and click Submit.