Demo: Configuring Okta as SCIM client
-
Go to http://okta.com, and log in with your Corp account.
-
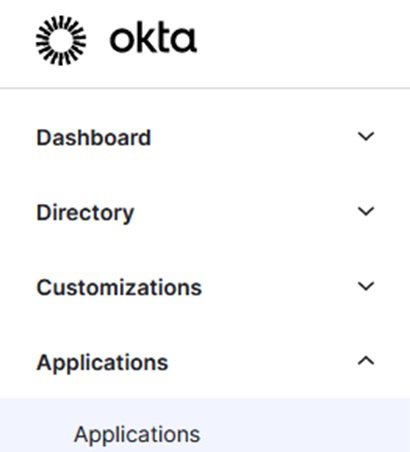
Click Applications > Browse App Catalog.

-
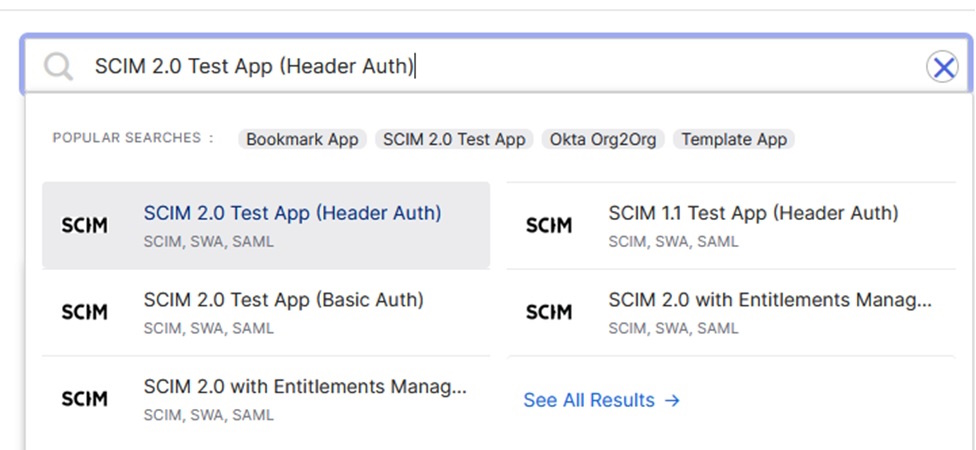
Search for SCIM 2.0 Test App (Header Auth).

-
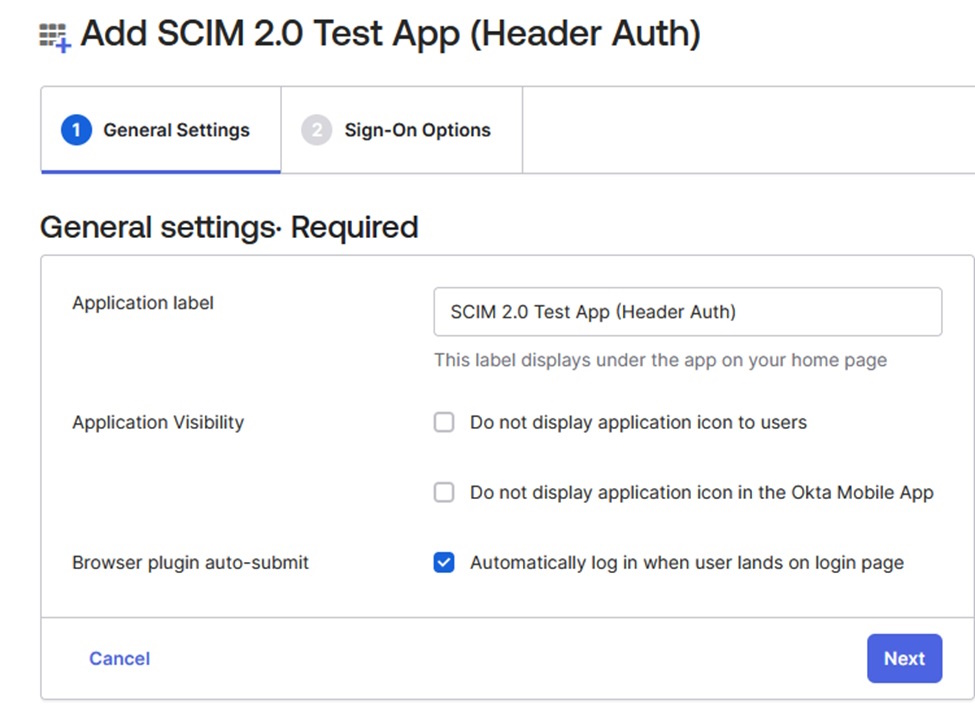
Click SCIM 2.0 Test App (Header Auth) and Add Integration.
-
Okta Add SCIM Provisioning:
-
After your integration is created, click the General tab.
-
Click Edit.
-
In the Provisioning section, select SCIM and click Save.
-
-
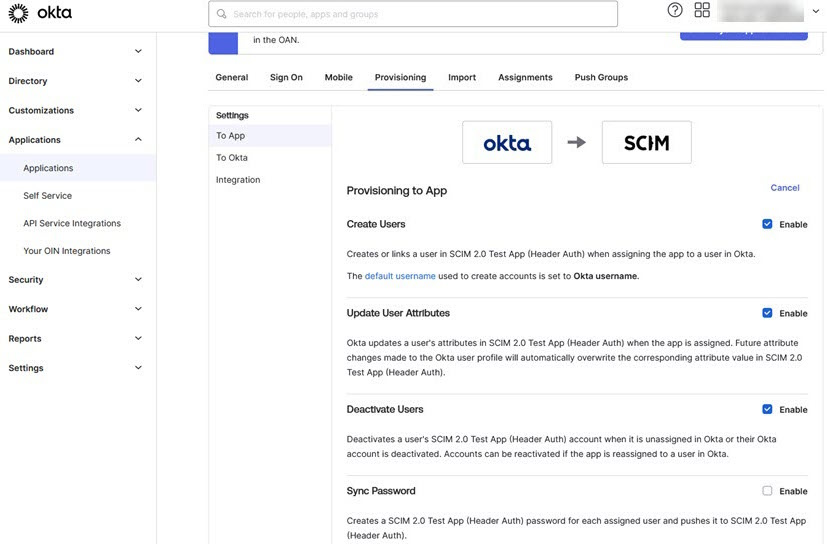
Choose Provisioning options:
-
From the integration settings page, choose the Provisioning tab. The SCIM connection settings appear under Settings Integration.
-
-
Click Edit.
-
Specify the SCIM connector base URL and the field name of the unique identifier for your users on your SCIM server.
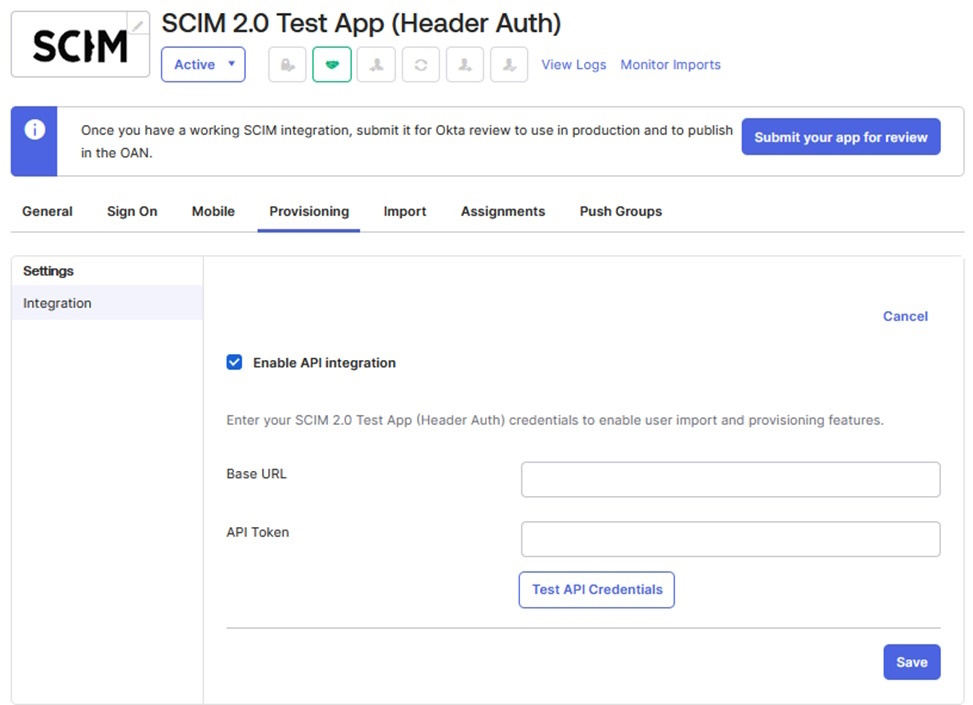
Base URL: https://FIC.fortinet.com:9696/api/v2/scim/
API Token: (Bearer+space-Copied Secret)
-
-
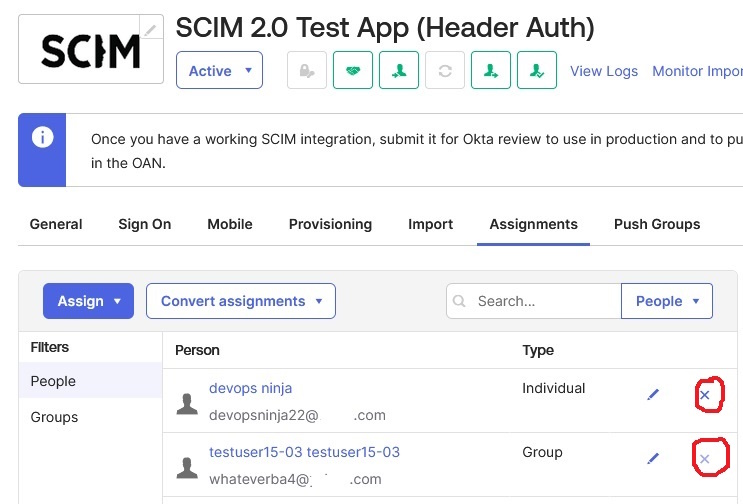
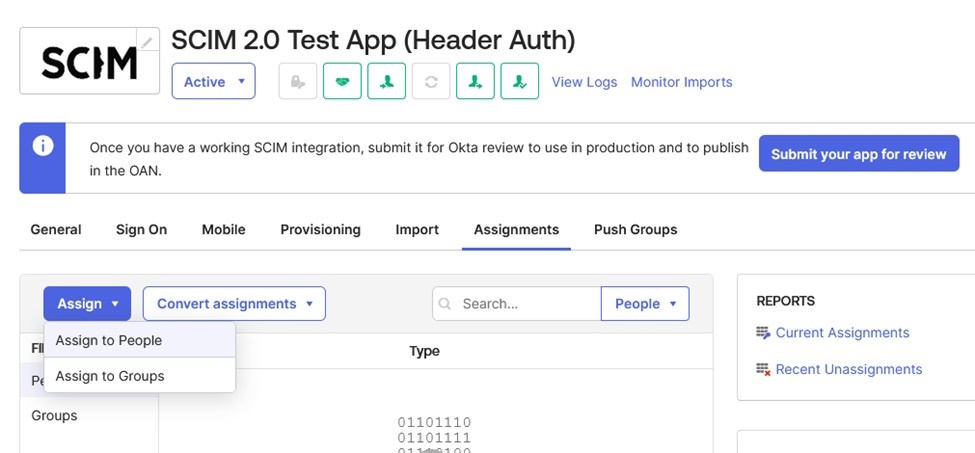
Assign the users to the applications by selecting Applications > Assignments > Assign to People, and click Assign.
-
Add the users:
-
Create the Okta new user and add the email id field.

-
-
Add the groups:
-
Create the okta new group and add the user to the group
-
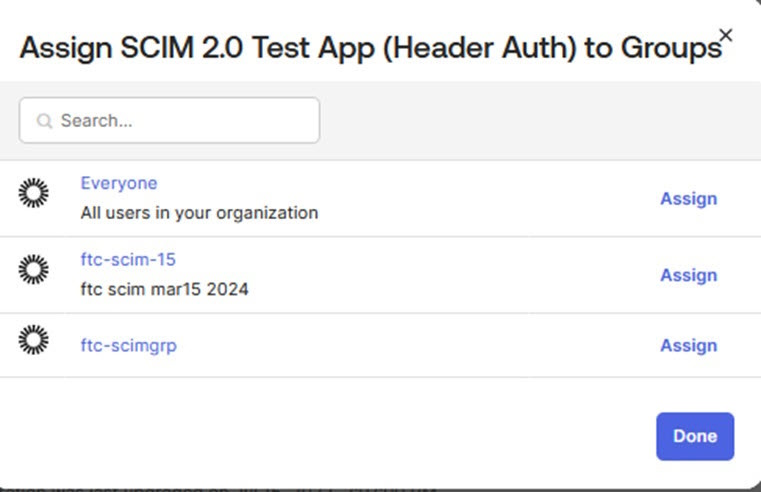
Assign the users to the applications by selecting Applications > Assignments > Assign to group, and Assign.
-
- Remove the users and groups from the app:
Click the X button remove the user or group.