
GitLab Setup
Integrate the FortiDAST with GitLab for CI/CD.
Perform the following steps to configure FortiDAST with GitLab.
- Login into the GitLab setup and select a project.
- Click CI/CD configuration. This opens a CI/CD editor to update/create the yml file, .gitlab-ci.yml.
-
Copy the following contents in the editor and update the highlighted variables.
ScanJob:tags:- Your tag namebefore_script:- pip3 install requestsvariables:#input variable(string type)scanurl: "Your scan url"#input variable(string type)uuid: "Your asset uuid"#input variable(string type)-Example:https://fortidast.com/api/v1.0apiUrl: "FortiDAST API Url"#input variable(string type)apikey: "Your API Key"script:- python scan.py $apiUrl $scanurl $uuid $scantype $apikey#input variable(int type)Quick scan=0,Full scan=1scantype: either 0 or 1
- Enter the tag name used while registering the runner. See https://docs.gitlab.com/runner/register/.
- scanurl - The URL of the asset to scan.
- uuid - The asset UUID. See Asset Authorization.
- scantype - Type 0 for quick scan and 1 for full scan.
- apiURL - The FortiDAST URL.
- apiKey - Obtain the API key from FortiDAST GUI. See REST API.
Note: Only the Privileged key is supported.
Click Commit Changes. The .gitlab-ci.yml file is created.
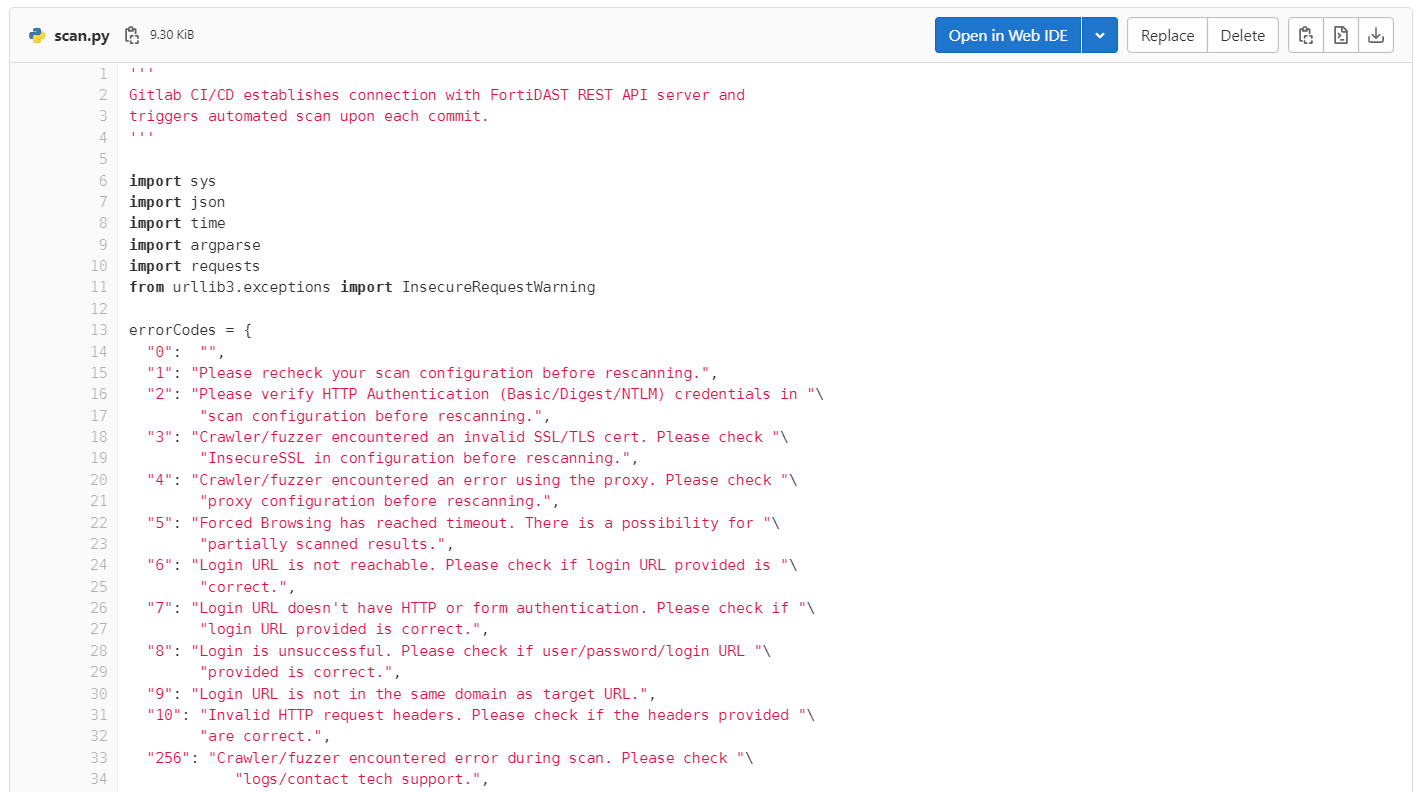
Commit the file scan.py; click here to download the file.
This image is a snapshot of the added file.
Click Commit Changes.
The configured asset scan is triggered and a scan request to FortiDAST is triggered for all future commits.