
Installing FortiAIOps on Proxmox
Perform the following steps to deploy FortiAIOps on the Proxmox KVM platform.
Obtain the Deployment Package
Download the FortiAIOps deployment package (FAO_VM64_KVM-v[x.x.x]-[build0xxx]-FORTINET.out.kvm.zip) from Fortinet.
Transfer the File to the Proxmox Host
Transfer the downloaded .zip file to your Proxmox server's /root/ directory using one of the following methods:
Mac / Linux (Using Terminal app)
Use the following built-in SCP command:
scp FAO_VM64_KVM-v[x.x.x]-build[yyyy]-FORTINET.out.kvm.zip root@<proxmox-ip>:/root/
Where:
-
<proxmox-ip>with your Proxmox server's IP address (e.g. 192.168.1.50) -
[x.x.x]with the correct release number -
[yyyy]with the correct build number
Windows (Using WinSCP)
Open WinSCP and connect to your Proxmox host.
-
File protocol:
SCP -
Host name: your Proxmox IP (for example,
192.168.1.50) -
Port:
22 -
User name:
root -
Password: your Proxmox root password
Drag and drop the .zip file from your local machine into the /root/ directory on the Proxmox server.
Extract the Package
SSH into your Proxmox host to extract the deployment package.
-
(Optional) If the unzip utility is not installed on your Proxmox host, install it using the following commands:
-
Update the package list
apt update -
Install zip and unzip
apt install zip unzip -y -
Verify the installation
zip --version
-
-
Navigate to the directory and extract the file:
cd /root/ unzip FAO_VM64_KVM-vx.x.x-[build0xxx]-FORTINET.out.kvm.zip
This will extract the necessary components, including the disk images and deployment scripts.
Prepare the Proxmox Environment
-
Make the Proxmox deployment script executable:
chmod +x deploy_pmx -
Identify your Proxmox Storage ID and Network Bridge using the Proxmox web UI:
-
Storage ID: Navigate to Datacenter > Storage and note the target storage name (for example, local-lvm).
-
Network Bridge: Navigate to Node > Network and note the bridge name (for example, vmbr0).
-
Deploy the Virtual Machine
Run the deployment script from the Proxmox shell using the following syntax:
./deploy_pmx -n <name> -v <volume> -b <bridge> [-i <vmid>] [-c <cores>] [-m <memory>]
where
<name> is the name of the VM, for example, fortiaiops.
<volume> is the target storage ID, for example, local-lvm.
<bridge> is the network bridge to use, for example, vmbr0.
<vmid> is the ID assigned to the new VM. Proxmox allows you to order virtual machines with their VMID. The default is the next available free ID.
<cores> is the number of CPU cores to allocate; the default is 8.
<memory> is the amount of RAM to allocate (in MB); the default is 32768 MB.
Sample Execution:
./deploy_pmx -n fortiaiops -v local-lvm -b vmbr0 -i 200 -c 8 -m 32768
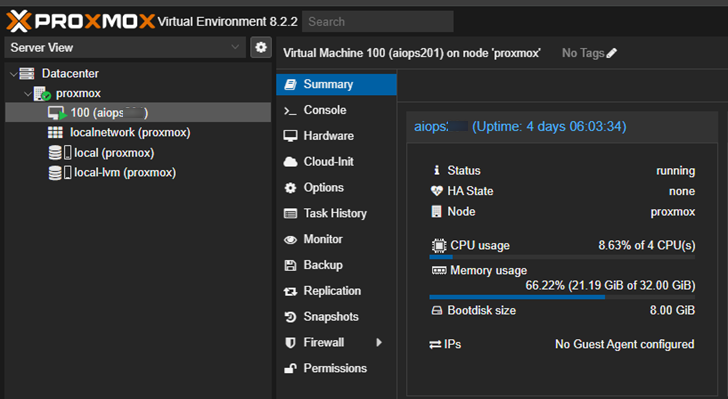
Once the script completes, the FortiAIOps VM is successfully deployed and will be visible in your Proxmox GUI.
Start the Virtual Machine
After the script completes, navigate to the Proxmox GUI, find the new VM, and click Start. Open the Console tab to see the boot process.
Configure the Static IP
Once you start the virtual machine (VM), configure the static IP address for FortiAIOps. After the initial boot sequence completes, a CLI prompt appears. Follow the on screen instructions to assign the management IP address, subnet mask, default gateway, and DNS settings.
Note:
-
You will need
root/shellaccess to the Proxmox host. -
The storage must have enough free space on the destination storage to deploy and operate the VM.
-
If
deploy_pmxfails, check that the Proxmox toolqmis accessible and that the storage and bridge names are spelled exactly right.