


Deploying the OVF file
Before you can configure FortiWeb-VM, you must first use VMware vSphere Client to deploy the FortiWeb-VM OVF package.
To deploy the virtual appliance
-
On your management computer, start VMware vSphere Client.

- Go to File > Deploy OVF Template.
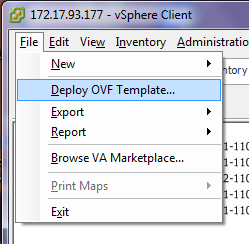
A deployment wizard window appears.
- In the Deploy OVF Template window, click Browse, then locate the FortiWeb-VM OVF file.
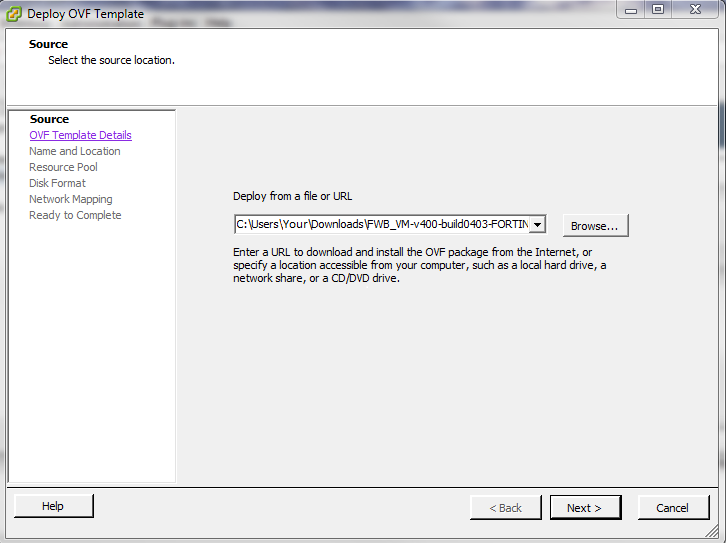
- Click Next twice.
- In Name, type a unique descriptive name for this instance of FortiWeb-VM as it will appear in vSphere Client’s inventory, such as
FortiWeb-VM. If you will deploy multiple instances of this file, consider a naming scheme that will make each VM’s purpose or IP address easy to remember. (This name will not be used as the host name, nor will it appear within the FortiWeb-VM web UI.)
- Click Next.
- In the resource pool tree, select a virtual machine.
- Click Next.
- For the storage repository, select either:
- Thin provisioned format — Allocate more disk space on demand, if the storage repository uses a VMFS3 or newer file system.
-
Thick provisioned format — Immediately allocate disk space (specifically 32 GB) for the storage repository


Regardless of your choice here, you must later either allocate or make available at least 40 GB of disk space. 32 GB is only the default minimum value, and is not recommended. - Click Next.
- If the hypervisor has more than one possible network mapping for its vSwitch, click to select the row for the network mapping that FortiWeb-VM should use.
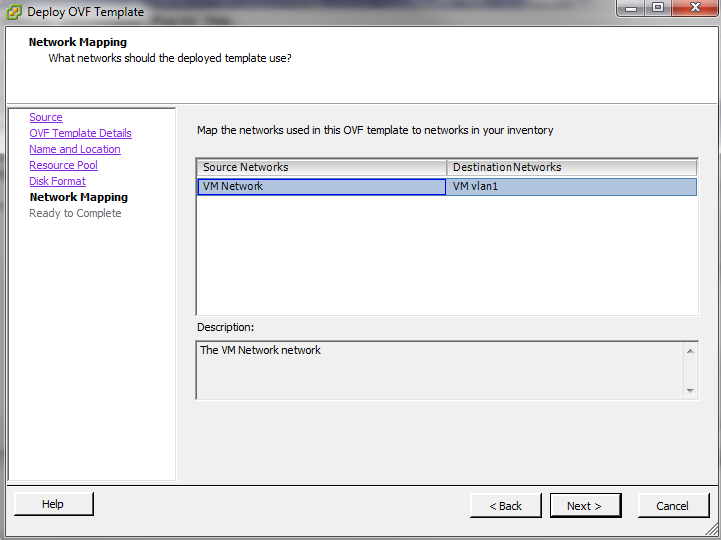
- Click Next.
- Click Finish
-
The wizard closes. The client connects to the VM environment and deploys the OVF to it. Time required depends on your computer’s hardware speed and resource load, and also on the file size and speed of the network connection, but might take several minutes to complete.
The vSphere Client window reappears. The navigation pane’s list of virtual machines on the left now should include your new instance of FortiWeb-VM.

Continue with Configuring the virtual appliance’s virtual hardware settings.

Do not power on the virtual appliance until you:
- Resize the virtual disk (VMDK) (see )
- Set the number of vCPUs (see Configuring the number of virtual CPUs (vCPUs) on page 1)
- Set the vRAM on the virtual appliance (Configuring the virtual RAM (vRAM) limit)
- Map the virtual network adapter(s) (Mapping the virtual NICs (vNICs) to physical NICs).
These settings cannot be configured inside FortiWeb-VM, and must be configured in the VM environment. Some settings cannot be easily reconfigured after you power on the virtual appliance.
In IP address / Name, type the IP address or FQDN of the VMware vSphere server.
In User name, type the name of your account on that server.
In Password, type the password for your account on that server.
Click Login.
When you successfully log in, the vSphere Client window appears. 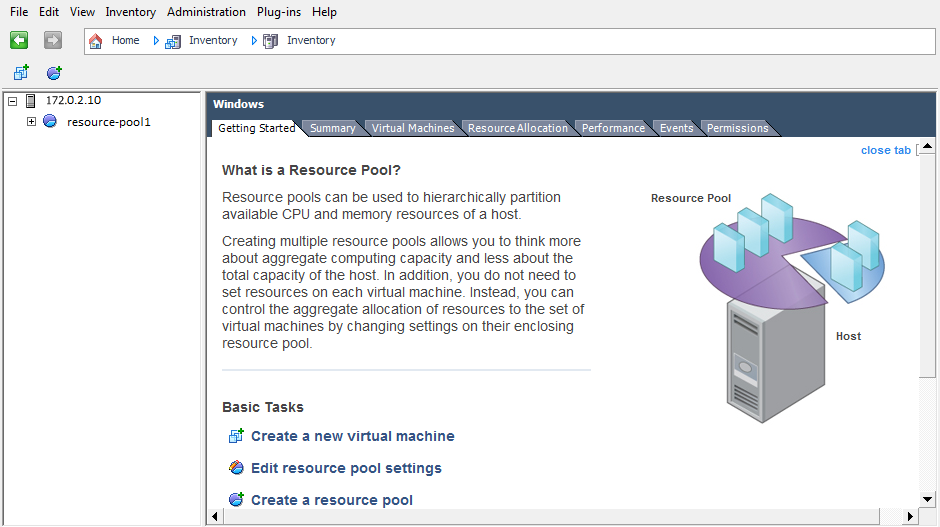

|
|
When you deploy the FortiWeb-VM package, network adapters are created automatically. If you want to delete network adapters, do it during the deployment process. It's not recommended to delete network adapters once the FortiWeb is deployed, otherwise unexpected error will occur. |