


Deploying the FortiVoice VM OVF software
To install FortiVoice VM, you must successfully deploy the open virtualization format (OVF) file using the VMware vSphere Client™.
To deploy the FortiVoice VM OVF
- Start the VMware vSphere Client.
- Enter:
- the IP address of the ESX/ESXi server hosting VMware vSphere Hypervisor
- an account user name on the ESX/ESXi server
- the account password
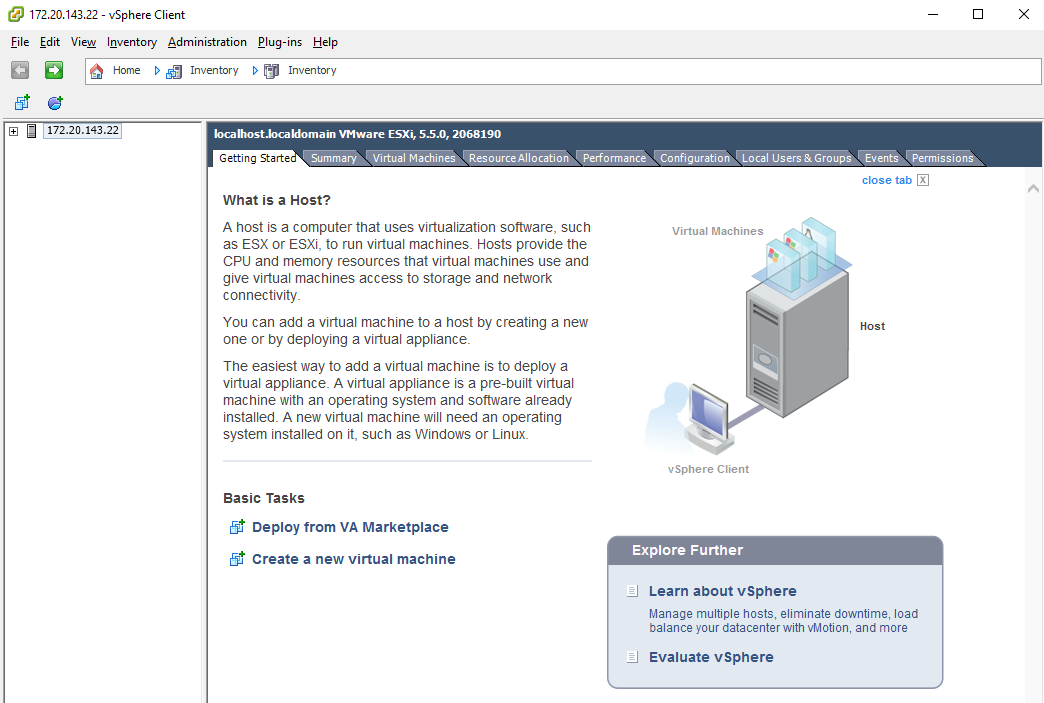
When you successfully log in, the vSphere Client window appears.
vSphere Client window
- Select File > Deploy OVF Template to launch the OVF Template wizard.
- Select the source location of the OVF file. Select Browse and locate the file folder on your computer. Select the appropriate FortiVoice VM OVF file and select Next to continue. For more information, see VMware products and their virtual hardware version.
- Verify the OVF template details. This page details the product name, download size, size on disk, and description. Select Next to continue.
- Read the end user license agreement for FortiVoice VM. Select Accept and then select Next to continue.
- Enter a name for this OVF template. The name can contain up to 80 characters and it must be unique within the inventory folder. Select Next to continue.
- Read the disk space requirement for the deployment and click Next.
- Select a destination storage for the VM files and click Next.
- Select one of the following:
- Thick Provision Lazy Zeroed: Allocates the disk space statically (no other volumes can take the space), but does not write zeros to the blocks until the first write takes place to that block during runtime (which includes a full disk format).
- Thick Provision Eager Zeroed: Allocates the disk space statically (no other volumes can take the space), and writes zeros to all the blocks.
- Thin Provision: Allocates the disk space only when a write occurs to a block, but the total volume size is reported by the virtual machine file system (VMFS) to the OS. Other volumes can take the remaining space. This allows you to float space between your servers, and expand your storage when your size monitoring indicates there is a problem. After a Thin Provisioned block is allocated, it remains in the volume regardless if you have deleted data.

The Thick Provision allocation options are the recommended to avoid future space issues in the resource pool.
- Select Next to continue.
- Map the networks used in this OVF template to networks in your inventory. Network 1 maps to port1 of the FortiVoice VM. You must set the destination network for this entry to access the device console. Select Next to continue.
- Review the template configuration. To power on the FortiVoice VM, select the checkbox beside Power on after deployment.
- Select Finish to deploy the OVF template. You will receive a Deployment Completed Successfully dialog box once the FortiVoice VM OVF template wizard has finished.
The client’s login dialog appears.
|
|
If you are deploying the FortiVoice VM OVF file for a vCenter Server, make sure to choose all the disk2 files. You can select the disk space later during the deployment. |
The OVF Template Network Mapping page opens.
Network mapping page

The OVF Template Ready to Complete page opens.