
Custom dashboards and reports
You can create custom dashboards and reports according to your SOC's unique needs. The process for creating a dashboard template and SOC report template are the same.
To open template editing mode for a dashboard:
-
Go to Dashboard.
-
From the Actions menu in the toolbar, and then select New Dashboard.
Alternatively, you can select Clone Dashboard.
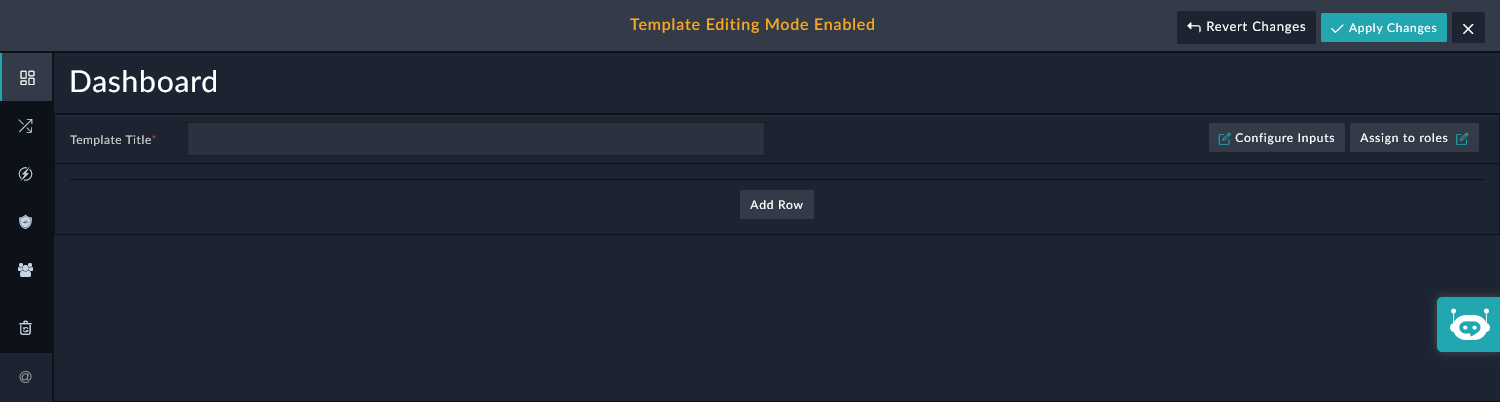
The Dashboard displays with Template Editing Mode Enabled.
To open template editing mode for a SOC report:
-
Go to Reports > SOC Reports, and click Create New Report.
Alternatively, you can click the Settings icon for an existing report and select Clone Template.
The Reporting module displays with Template Editing Mode Enabled.
The steps in this topic do not apply to Analyzer Reports and SIEM Reports. Those reports can be created in their respective modules:
-
Analyzer > Settings > Report Definitions
-
SIEM > Resources > Reports
To create the dashboard or report template:
-
Access Template Editing Mode Enabled as described in:
-
In the Template Title field, enter a title for the dashboard or report.
-
(Optional) To configure input, click Configure Inputs.
-
(Optional) Select Enable Auto-Refresh to automatically refresh the dashboard or report after the set time interval.
-
Click Add New Input.
-
From the Input Type dropdown, select the type of field that is going to be applied as the input variable.
You can choose from the following options: Text, Number, Date, Date Range, Picklist, or Lookup.
-
In the Label field, enter a name that describes this variable.
For example, if the Input Type = Date Range, the Label could be Modified On.
The Identifier field is automatically populated with the identifier based on the specified Label. For example, if the Label = Modified On, the Identifier field is populated with the modifiedOn variable. The value of the Identifier field is the key by which this variable will be identified.
-
(Optional) In the Default Value section, select the value based on which the dashboard or report will be displayed, by default.
For date ranges, the ranges are relative to the current date. You can choose between a Relative date range or a Custom relative date range:
-
Relative: the dropdown list will include pre-defined relative date ranges such as Last 24 Hours, Last 30 Mins, and so on.
-
Custom: you can specify a custom date/time range, such as Last 2 Hours.
-
-
(Optional) To make the input field mandatory, select the Required checkbox. When selected, the dashboard or report will not be displayed until the user provides the input.
-
(Optional) To define more input variables, click Add New Input.
-
Click Save to save the variable(s).
-
-
To assign the dashboard or report to roles, click Assign to roles.
-
In the Assign to Role(s) dialog, select the roles that will be able to view the dashboard.
If you do not assign the dashboard or report to any roles, it will only be visible to you.
-
-
To configure a row, click Add Row.
-
Using the options in Define a new structure, define the number and layout of columns for the row.
-
To add a widget for the row, click Add Widget. and select the appropriate widget from the Choose Widget dialog box.
-
In the Choose Widget dialog, select the appropriate widget type.
The Choose Widget dialog includes the categorization of different types of widgets that you can use to build dashboards or reports. For example, the Tabs widget is categorized as a Structure and Navigation widget, and the Richtext Content widget is categorized as a Custom Content widget. Widgets that are installed using the Content Hub such as the Record Distribution, Case Correlations, User Tile, and more are categorized as Widget Library widget. You can also search for a specific widget by typing its name or description in the Search Widget text box and then selecting that widget.
-
In the Edit <name of widget> dialog, configure the widget properties, and click Save.
The widget options will vary according to the selected widget type.
-
-
Add further widgets for the row, as needed.
-
-
Add further rows, as needed.
-
To save the dashboard or report , click Apply Changes.