


Deploying FortiSOAR Cloud
This section explains how to deploy FortiSOAR Cloud.
|
|
In release 7.5.0, the operating system (OS) used for FortiSOAR Cloud is upgraded from Rocky Linux/RHEL 8.8/8.7 to Rocky Linux/RHEL 9.3 to ensure that FortiSOAR Cloud is running on a stable and secure OS. Rocky Linux/RHEL 9.3 delivers a number of enhancements over Rocky Linux/RHEL 8.8/8.7, including increased security, an improved kernel and updated packages. More information can be found in the Release Notes For Rocky Linux 9.3 and Upgrading from RHEL 8 to RHEL 9 articles. |
To deploy FortiSOAR Cloud:
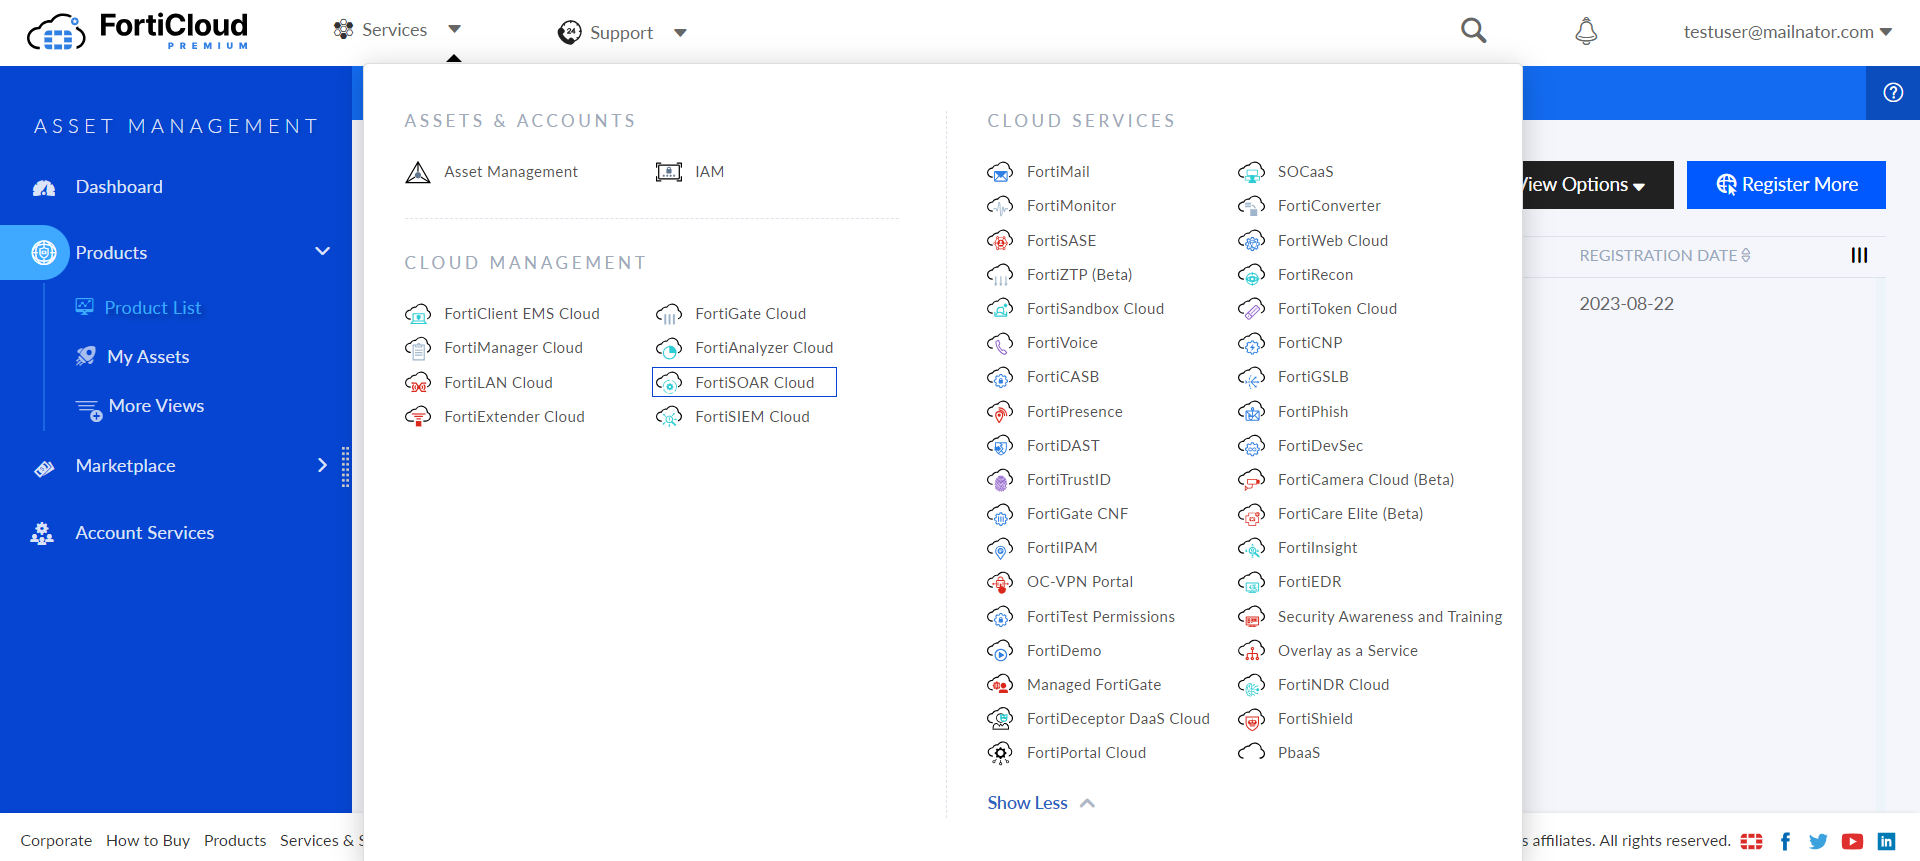
- In the FortiCloud portal, ensure that you have a product entitlement for FortiSOAR Cloud and note your account ID number:


After creating a FortiCloud account, wait for 30 minutes before moving on to the next step.
- On the FortiCare portal, click the FortiSOAR Cloud icon in the upper-left corner to access your FortiSOAR Cloud instance.
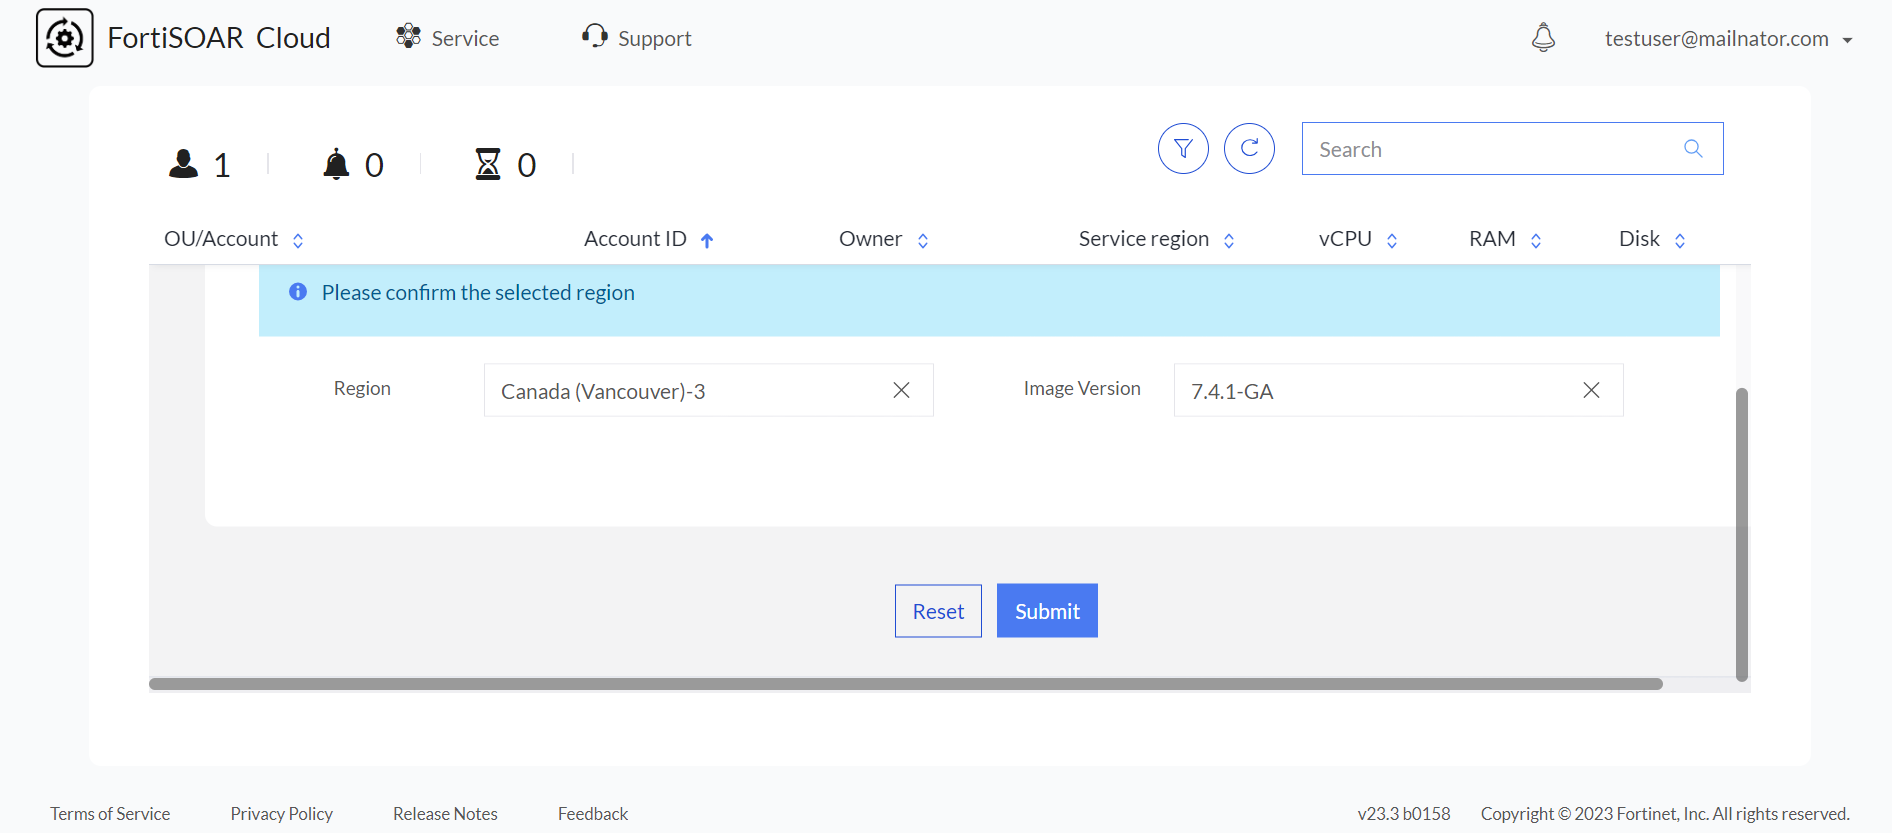
- Once you log onto FortiSOAR Cloud, you need to select the region and version of the FortiSOAR Cloud image you want to provision:

The Account ID on the FortiSOAR Cloud portal represents the dedicated instance. - Once you select the region and image version, click Submit.
Clicking Submit displays the following confirmation dialog: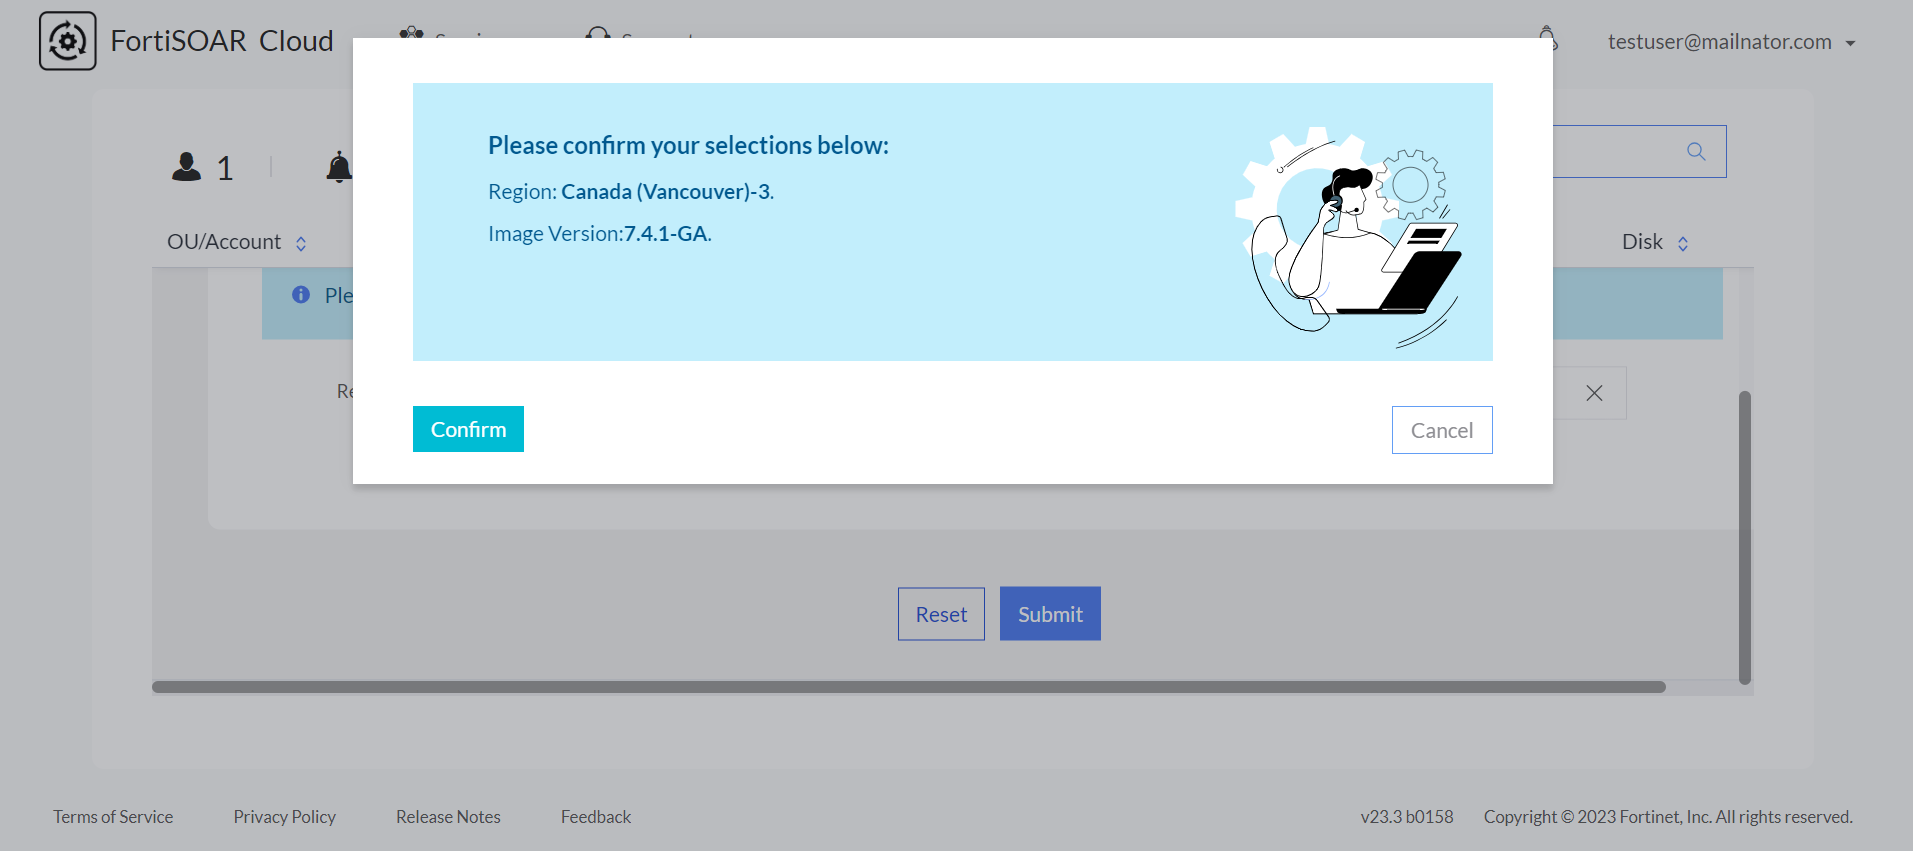
Clicking Confirm starts the provisioning of the FortiSOAR Cloud instance, which gets provisioned in a few minutes: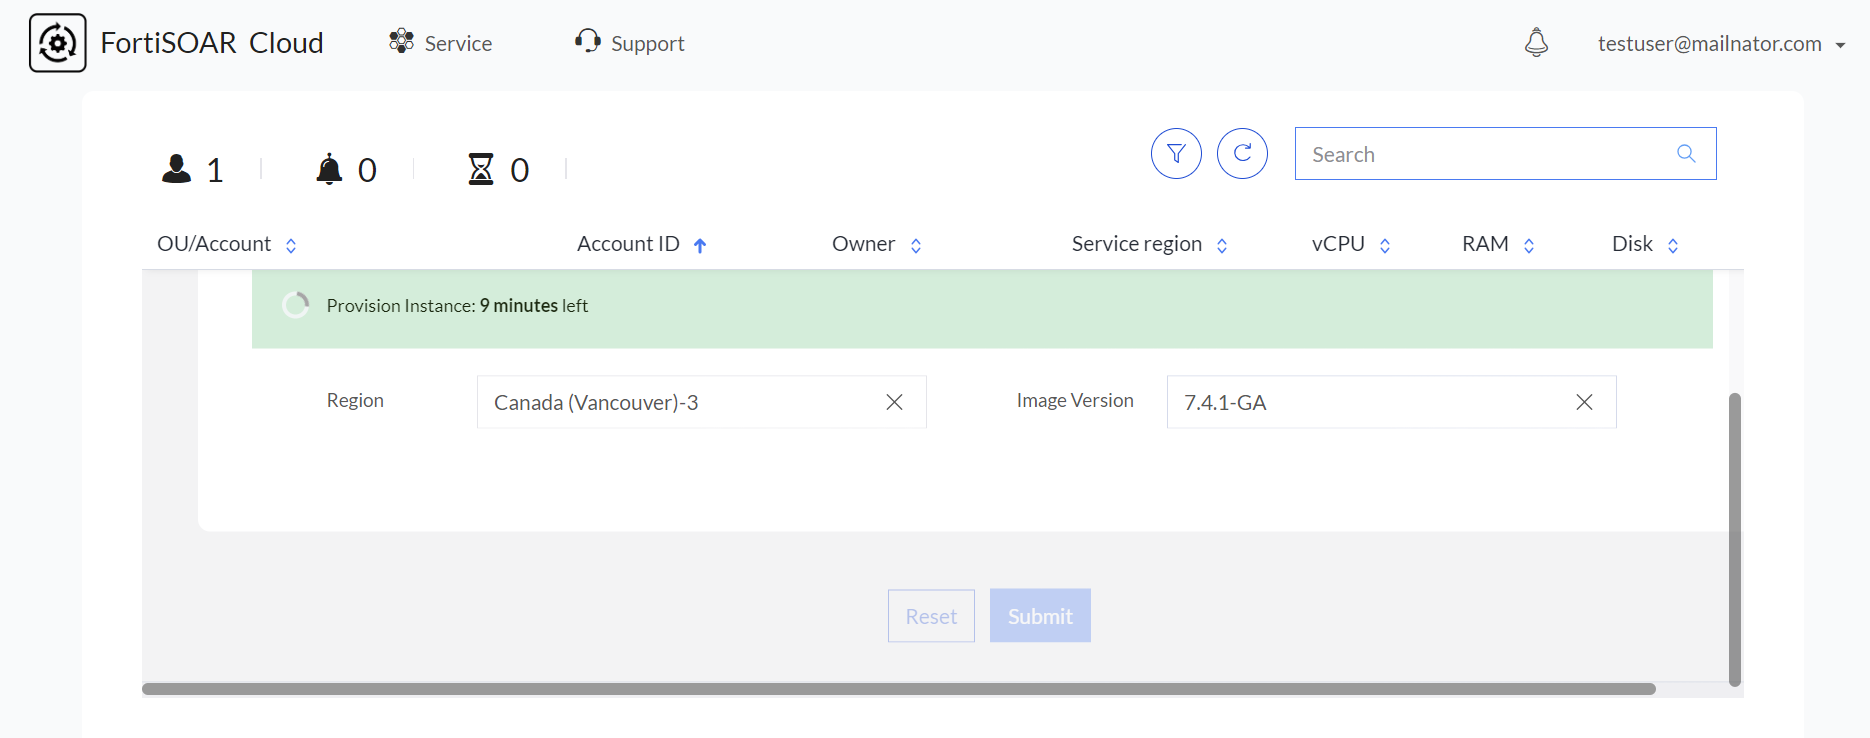
During provisioning certain initial configuration steps that are required for FortiSOAR are performed. Initial configuration steps include running the automated, non-interactive FortiSOAR configuration wizard, enabling the embedded Secure Message Exchange, triggering the heartbeat between FortiCloud and FortiSOAR etc.
NOTE: Before release 7.5.0, FortiSOAR Cloud did not support static IP configuration for FortiSOAR Cloud, leading to issues with disaster recovery. Therefore, with release 7.5.0, support for static IP configuration in FortiSOAR Cloud deployment has been added. For the process of Setting a static IP, see the Deploying FortiSOAR chapter of the "Deployment Guide" that is part of the FortiSOAR Documentation.FortiSOAR VM provisioning is considered successful only after FortiCloud receives the first heartbeat from FortiSOAR.
If there are any provisioning failures, such as failures during the initial configuration phase using the automated non-interactive FortiSOAR configuration wizard, including failures while configuring the embedded Secure Message Exchange, then a failure screen detailing the status of each configuration step is displayed, making it simpler to identify the issue. Before using FortiSOAR Cloud, you must use the CLI to fix any issues with the failed steps as their functioning might be hampered. However, if you decide to access FortiSOAR Cloud without rectifying the failed steps, a Proceed Anyway button is provided that enables you to continue using the product while acknowledging the configuration failure:
If your instance does not come up even after clicking Proceed Anyway, you can try the following steps to fix the issues:
- Restart all the services using the
csadm services --restartcommand. - Manually install ansible in the case of an ansible installation error using the following command:
sudo -u nginx /opt/cyops-workflow/.env/bin/pip install ansible==7.4.0 --extra-index-url https://repo.fortisoar.fortinet.com/prod/connectors/deps/simple/ - If the failure screen keeps getting displayed on the FortiSOAR Cloud UI, even after you have attempted to resolve all the backend issues, then you can update the
fsr-boot.jsonto update its state from 'failed' to'config_vm_failure_acknowledged'.
Contact support if failures persist even after troubleshooting.
Once provisioned, click Enter to access the FortiSOAR web GUI or click WebSSH to access the FortiSOAR console to begin using FortiSOAR Cloud. For more information, see the Beginning with FortiSOAR Cloud chapter.
|
|
After provisioning the FortiSOAR Cloud instance, it is highly recommended that you log in to the WebSSH interface and immediately change the default 'csadmin' user's password. This step enhances the security of your FortiSOAR Cloud instances. |
Important: Once the VM is provisioned successfully, you must update the correct hostname value in the "Server_fqhn" global variable. You can update Server_fqhn using by opening the playbook designer and clicking Tools > Global Variables. In the 'Global Variables' list, click the edit icon beside Server_fqhn and in the Field Value field, replace the current hostname value with fortisoar.localhost. The hostname will be <forticare_accountId>.fortisoar.forticloud.com.
|
|
Only the primary account holder can create secondary account holders in FortiCloud. The secondary account holder can log in to the same instance as a restricted user. The primary account holder can modify the admin profile for the secondary user. For more information, see the Adding a secondary account chapter. |
|
|
It is highly recommended that you set up a backup user for the FortiSOAR appliance so that, in the event you forget the ' |
|
|
To restrict access to your FortiSOAR instance, contact the FortiCloud team to add the IP addresses to the allowlist. Once the IP addresses are added to the allowlist, only those IP addresses can access your FortiSOAR instance. |
Non-interactive VM configuration
The FortiSOAR Configuration Wizard also has a non-interactive mode that automatically performs the initial configuration steps that are required for FortiSOAR, without any inputs from the user. A non-interactive VM configuration is useful when users are expecting a ready-to-use appliance.
The configuration in this case can be done by using the default inputs from the configuration file that is shipped along with the FortiSOAR appliance. To run the FortiSOAR Configuration Wizard in the non-interactive mode, use the following command:/opt/cyops/scripts/config-vm.sh --non-interactive
The default configuration file is:
- For the enterprise edition:
/opt/cyops/scripts/config-vm-enterprise-default.conf
and - For the Secure Message Exchange:
/opt/cyops/scripts/config-vm-sme-default.conf
You can customize the non-interactive VM configuration by either updating the existing default configuration file or providing a custom configuration file.
If you have updated the existing default configuration file, then the updated values are considered during the VM configuration when you run the following command: /opt/cyops/scripts/config-vm.sh --non-interactive
If you have provided a custom configuration file, then the values provided in the custom configuration file override the ones mentioned in the default configuration file. When you have provided a custom configuration file, use the following command to run the FortiSOAR Configuration Wizard in the non-interactive mode:/opt/cyops/scripts/config-vm.sh --non-interactive --conf <absolute path of the custom configuration file>
A configuration file has the following format:key=value
Following is a list of supported key names with their sample values:
hostname=sample_hostnamedns=sample_dns_nameproxy=http://userid:password@www.sample-http.com:9999proxy_noproxy=127.0.0.1,sample-no-proxystatic_ip=192.168.51.181gateway=192.168.51.1netmask=255.255.255.0dns1=192.168.60.100dns2=8.8.8.8message_queue_user_id=adminmessage_queue_password=changememessage_queue_api_port=15671message_queue_tcp_port=5671
Guidelines for creating custom configuration files:
- Empty keys are ignored. For example:
hostname=. - The
useridandpasswordparameters are optional in theproxykey. The format of the URL is:proxy=http://www.sample-https.com:9999
Also note thatproxyandproxy_noproxyapply to only the 'Enterprise' edition - The
static_ip,gateway,netmask,dns1, anddns2keys are considered only in the case of a 'non-dhcp environment'.
Thestatic_ip,gateway,netmask, anddns1keys are mandatory. Thedns2key is optional. - The
message_queue_user_id,message_queue_password,message_queue_api_port, andmessage_queue_tcp_portkeys are applicable to only the 'Secure Message Exchange' edition - Keys that do not apply to a particular edition are ignored. For example, if you add the
proxyto the 'Secure Message Exchange' edition, theproxywill be ignored.
Troubleshooting
Uniqueness error while adding a tenant in an MSSP setup using the Secure Message Exchange
The embedded Secure Message Exchange (SME) that is enabled by default in the case of FortiSOAR Cloud throws the uniqueness error only when the tenant and master are in the same Cloud region.
Resolution
Before you configure your MSSP setup, ensure that you update the name of the SME on either the master node or the tenant node.