Adding a disk to the FortiManager-VM for logging
You are required to add another disk to store logs.
- Log into the GCP Compute Engine.
- Go to the Disks page.
- Create a blank disk in the same zone where the FortiManager-VM resides. Disk size varies depending on the license.

- Click Create. Ensure the disk appears in the Disks list.
- You must attach the disk to the FortiManager-VM instance. Navigate to the FortiManager-VM instance and start the gcloud command.

- Click RUN IN CLOUD SHELL.
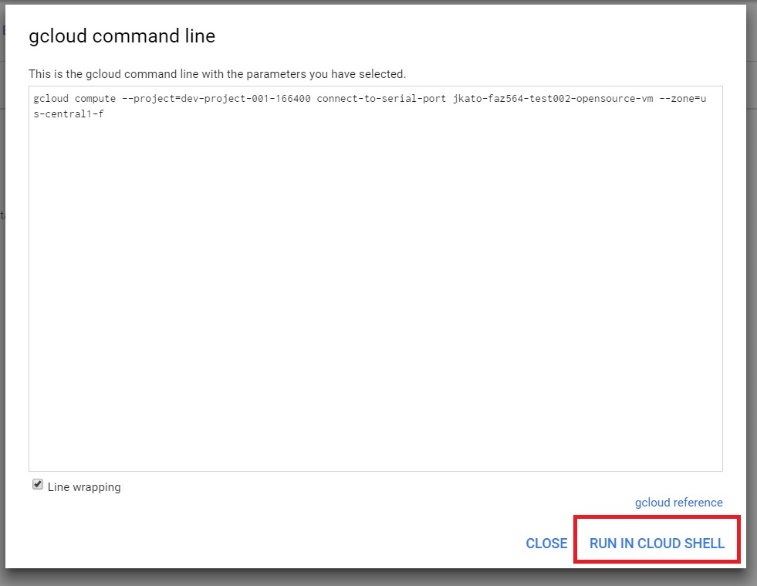
- Delete the lines that appear in the command line.


- Enter the following command:
gcloud compute instances attach-disk [INSTANCE_NAME] --disk [DISK_NAME]
For example, the above instance has the instance name “jkato-fmg-564-test002” and disk name “jkato-fmg-564-test005". In this case, the command is as follows:
gcloud compute instances attach-disk jkato-fmg-564-test002 --disk jkato-fmg-564-test005
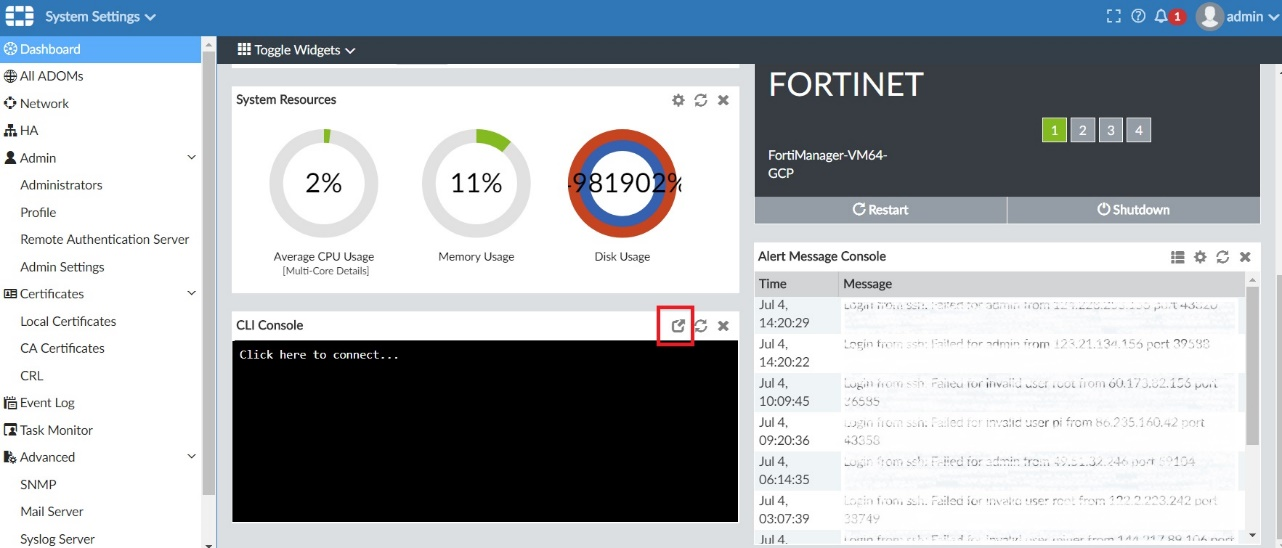
- After attaching the disk, log into the FortiManager-VM management GUI.
- Click System Settings. Invoke the command line by clicking the icon in the CLI Console widget.
- In the command line window, enter
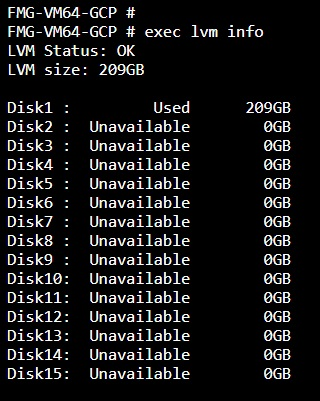
exec lvm info. The recently added disk is shown as Unused.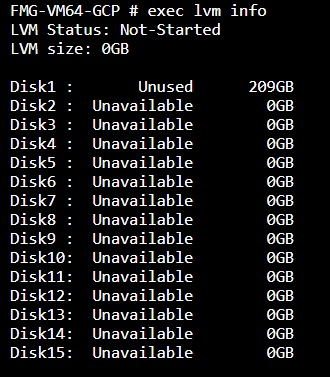
- Enter
exec lvm startto start LVM disk management. Enteryto continue. The system reboots.
- Rebooting causes the connection to the CLI console and the management GUI to be lost. Repeat steps 9 to 11. The disk now appears as Used.
- Run
exec lvm extend. This incorporates the disk into the FortiManager system.
- To add more disks later, follow steps 4 to 6 in Technical Note: Extending disk space in FortiAnalyzer VM / FortiManager VM.
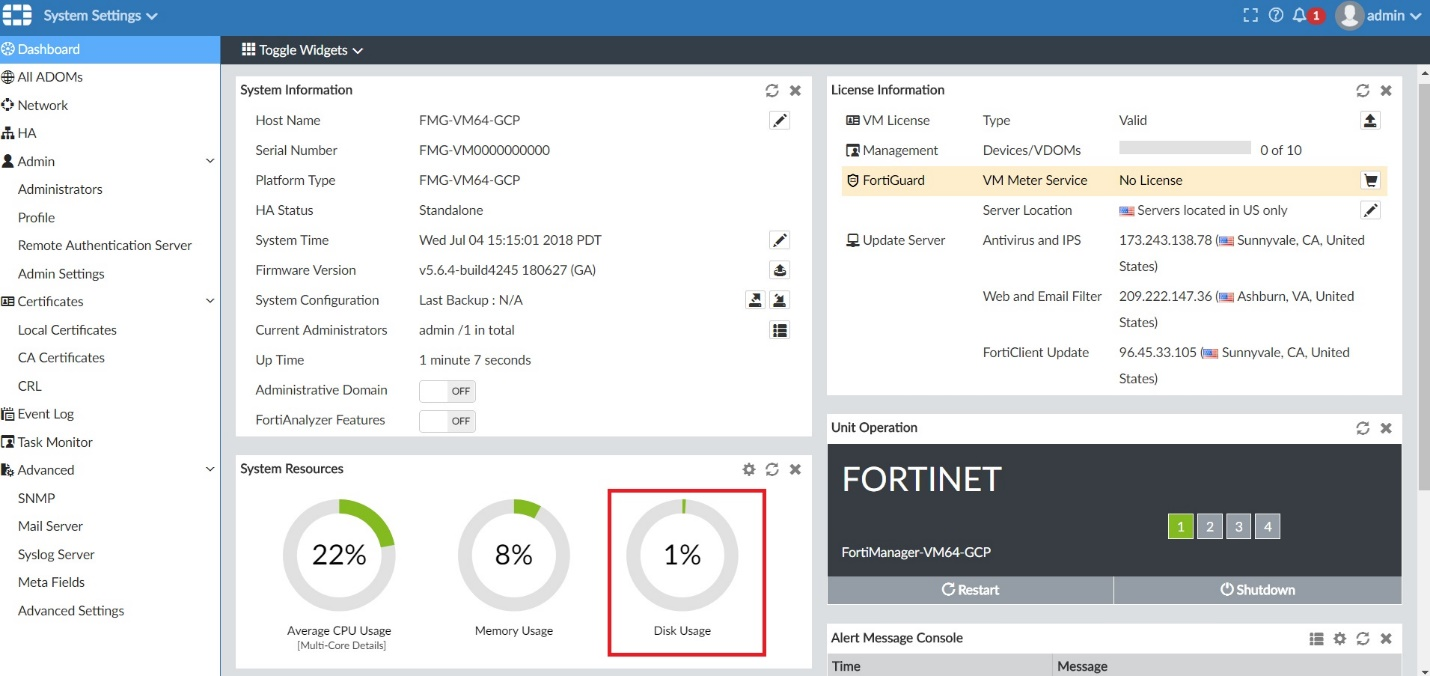
- Go to the Dashboard. You will now have sufficient disk space.