


Configure client
To configure the GCP client:
- Log in to the Azure client with the public IP address. By default, the admin user account has no password.
- After logging in, the FortiDeceptor instance prompts you to upload the license file. Click Choose File to navigate to the file and click Submit. After the file submitted, FortiDeceptor will reboot.

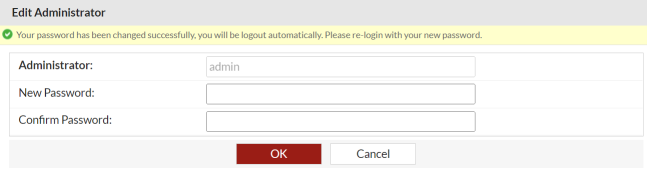
- After the instance reboots, you are prompted to change the password and log in again.
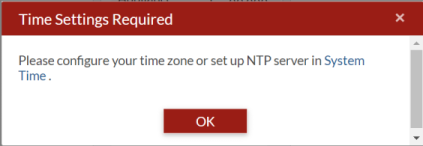
- After you log in, you are prompted to configure the timezone and time.
- In the banner, click your username and select Change Password, then change the password.
- Change the Host Name.
- Go to Dashboard > System information > Host Name and click Change. The Edit Host Name field opens.
- In the New Name field, enter a the new Host Name.
- Get the appliance key with the GUI or CLI.
GUI: Go to Dashboard > System Information widget and locate the Appliance Auth Key.

CLI:
cm -p