Obtaining the deployment image file and placing it in your bucket
Obtaining the deployment image file and placing it in your bucket
- Go to https://support.fortinet.com. Navigate to Download > VM Images in the top menu.
- In the Select Product dropdown list, select FortiAnalyzer.
- In the Select Platform dropdown list, select Oracle.
- Obtain the FAZ_VM64_OPC-vX-buildXXXX-FORTINET.out.OpenXen.zip file. XXXX is the build number. Ensure the file name includes OpenXen.
- After downloading, unzip the file. You will find the faz.qcow2 file, which is needed to deploy the FortiAnalyzer on OCI.
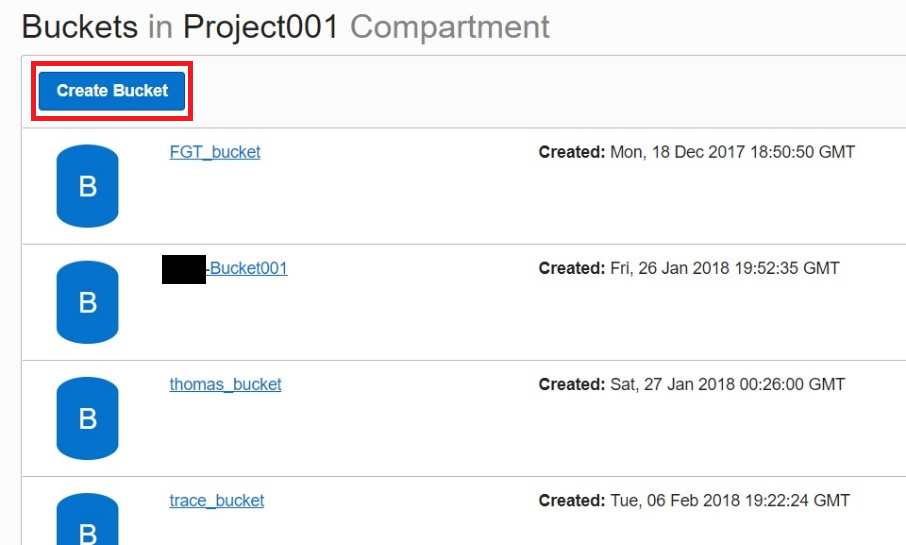
- In OCI, go to Storage > Object Storage, then click Create Bucket to create a standard storage bucket.
- Select the bucket, then upload the deployment image file faz.qcow2.

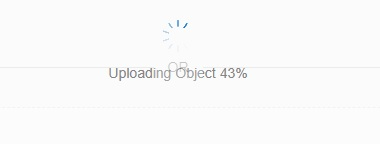
- Click Upload Object. The dialog shows the upload progress.
- Once uploaded, the following screen appears. Click Detail on the image that you just uploaded. You can see the URL path to access the image.
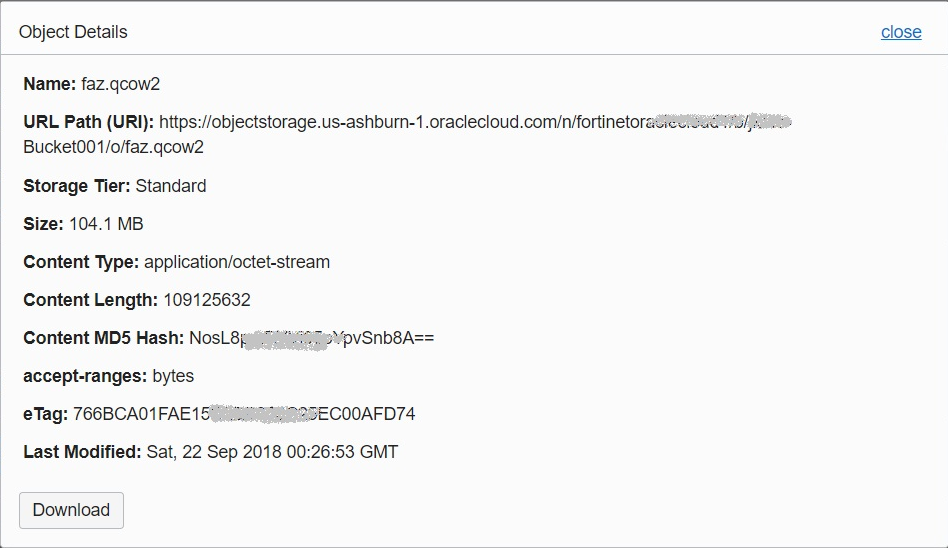
- Note down this URL. It will be needed in further steps.
Obtaining the deployment image file and placing it in your bucket
- Go to https://support.fortinet.com. Navigate to Download > VM Images in the top menu.
- In the Select Product dropdown list, select FortiAnalyzer.
- In the Select Platform dropdown list, select Oracle.
- Obtain the FAZ_VM64_OPC-vX-buildXXXX-FORTINET.out.OpenXen.zip file. XXXX is the build number. Ensure the file name includes OpenXen.
- After downloading, unzip the file. You will find the faz.qcow2 file, which is needed to deploy the FortiAnalyzer on OCI.
- In OCI, go to Storage > Object Storage, then click Create Bucket to create a standard storage bucket.
- Select the bucket, then upload the deployment image file faz.qcow2.
- Click Upload Object. The dialog shows the upload progress.
- Once uploaded, the following screen appears. Click Detail on the image that you just uploaded. You can see the URL path to access the image.
- Note down this URL. It will be needed in further steps.


