


Deploying the OVF file
To deploy the OVF file template:
- Log in to vSphere Client web console.
- In the sidebar tree, right-click the intended physical host.
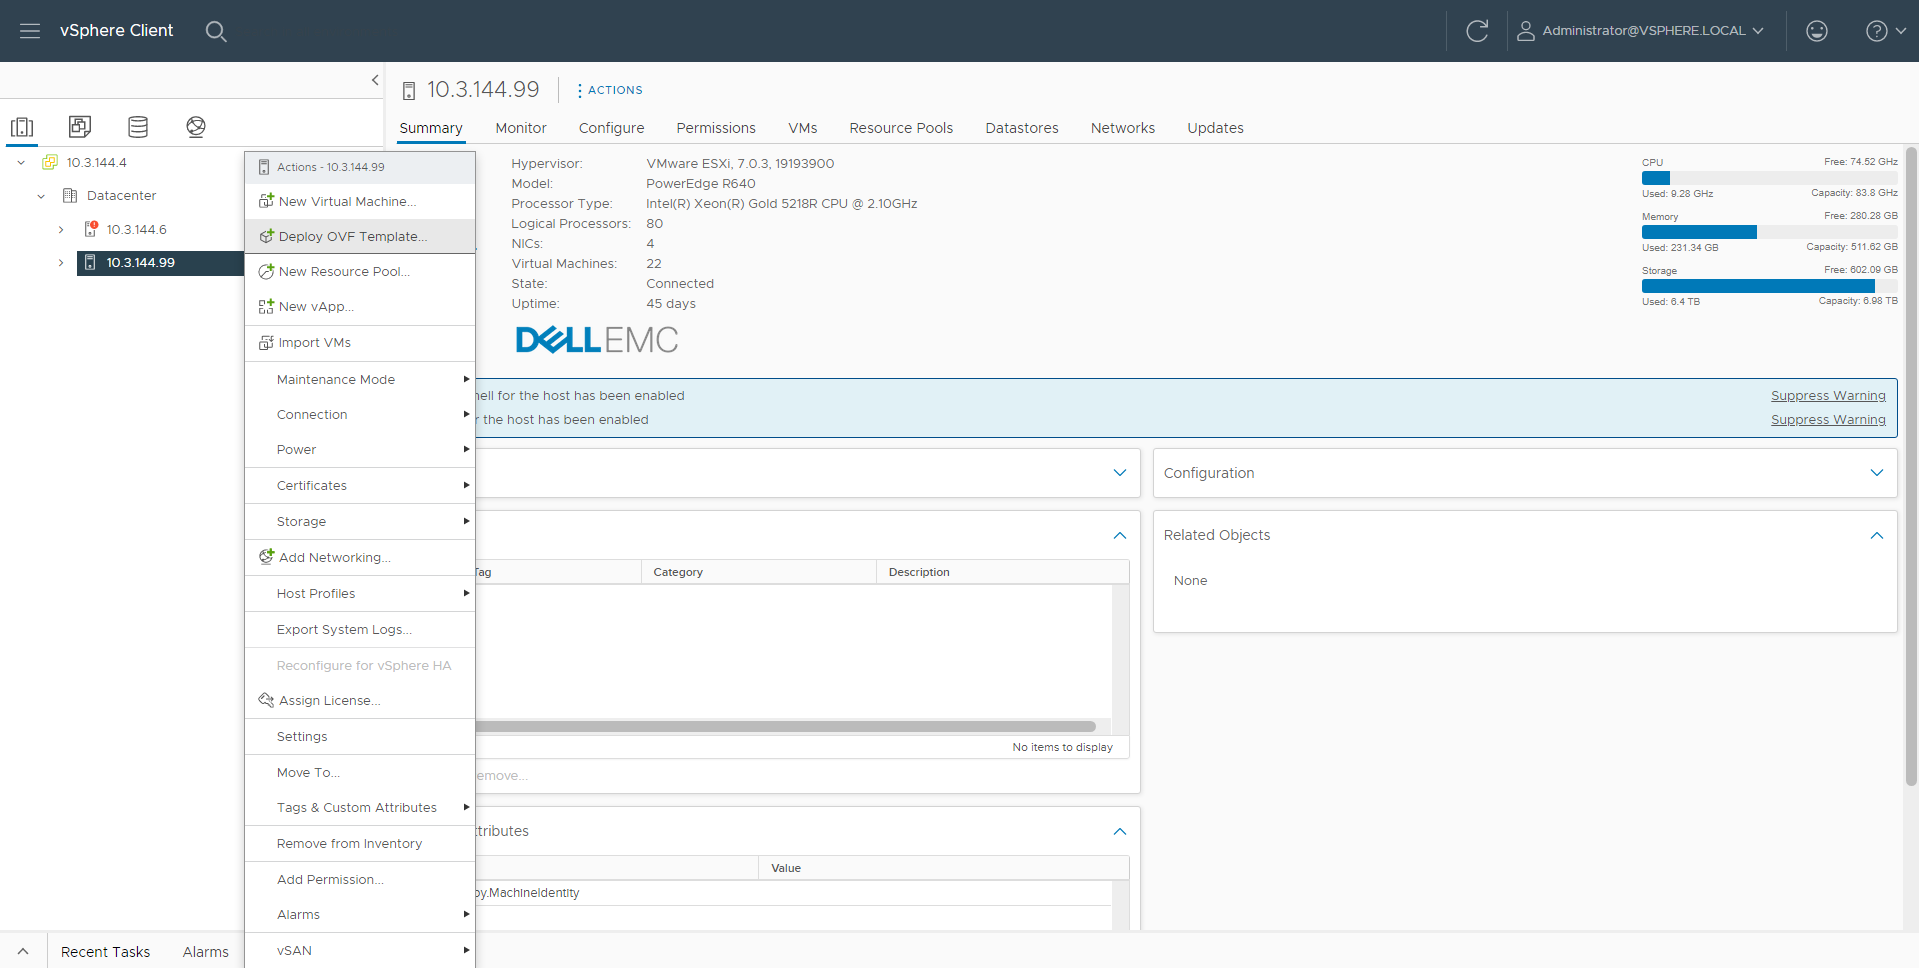
- From the shortcut menu, select Deploy OVF Template....
The Deploy OVF Template wizard displays.
- Using the Deploy OVF Template wizard, configure the FortiAnalyzer-VM:
- Select an OVF Template.
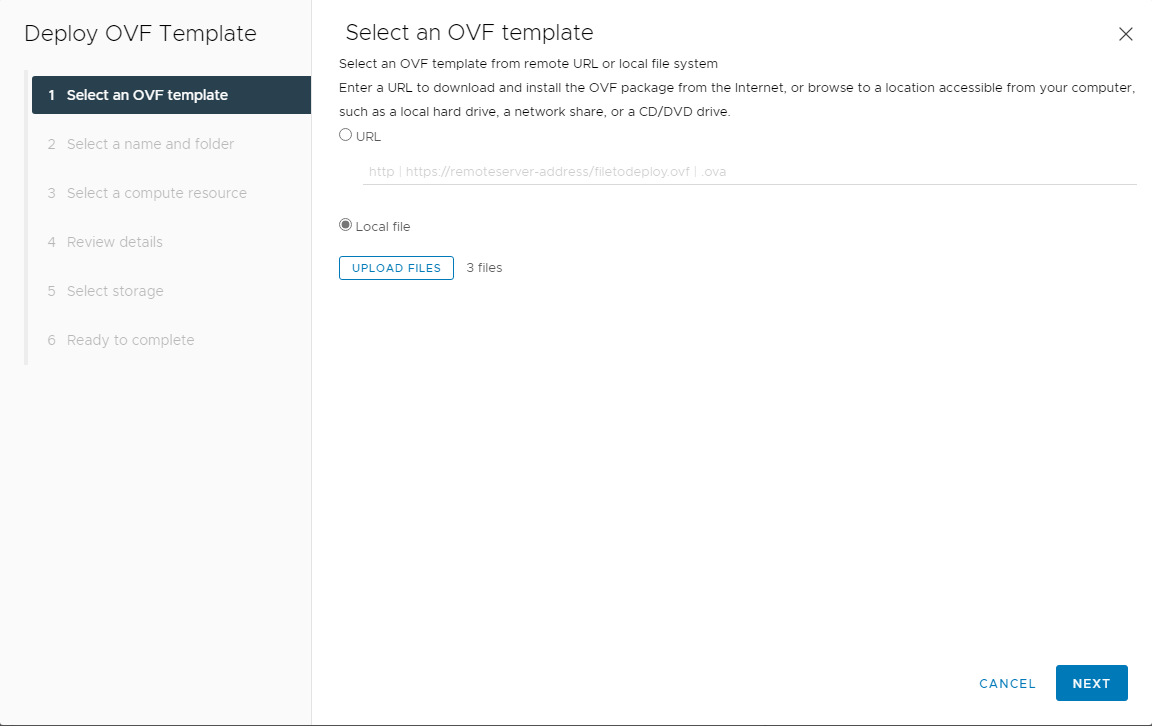
- Select the Local file radio button.
- Click Browse and select the two VMDK files and the appropriate OVF template file for your platform.
The VMDK and OVF files are included in the deployment package. See Deployment package for VMware ESXi.

Alternatively, you can upload the files from a remote server. In this case, select the URL radio button and enter the URL of the files.
Make sure the VMDK files and the appropriate OVF template file from the deployment package are in the same path.
- Click NEXT.
- Select a name and folder.
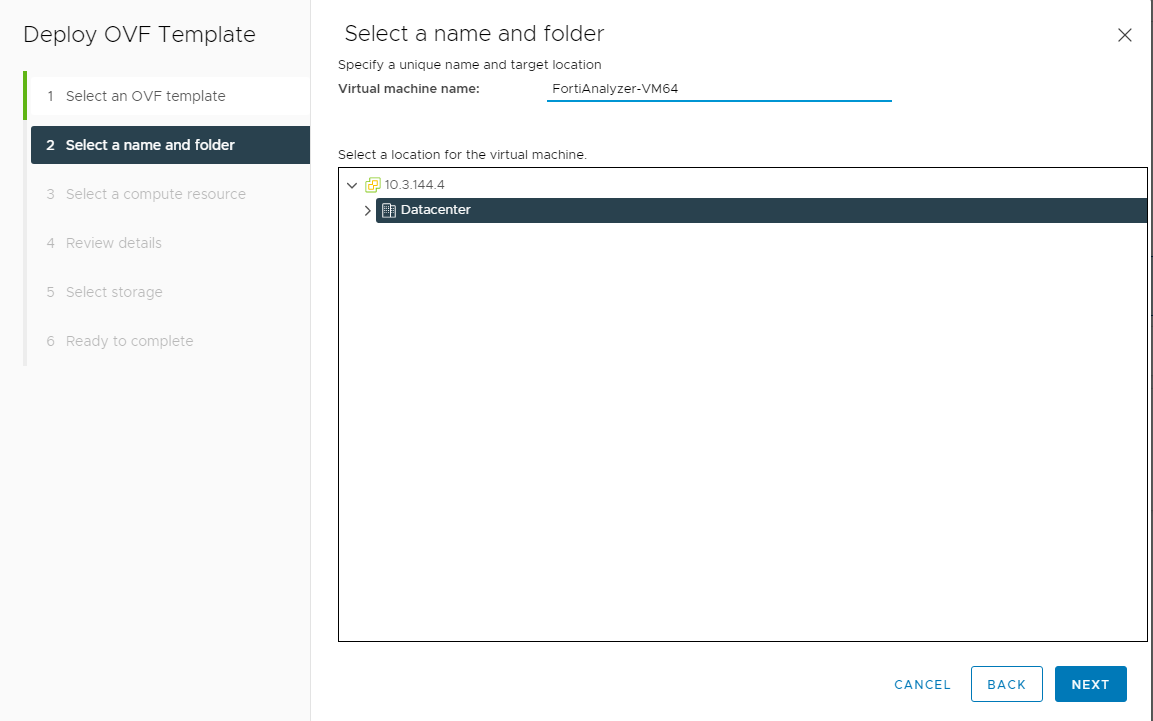
- In the Virtual machine name field, enter a name for the VM.
The name can contain up to 80 characters and must be unique within the inventory folder.
- From the tree menu, select the location for the VM.
- Click NEXT.
- In the Virtual machine name field, enter a name for the VM.
- Select a compute resource.

- From the tree menu, select the physical machine.
- Click NEXT.
- Review details.
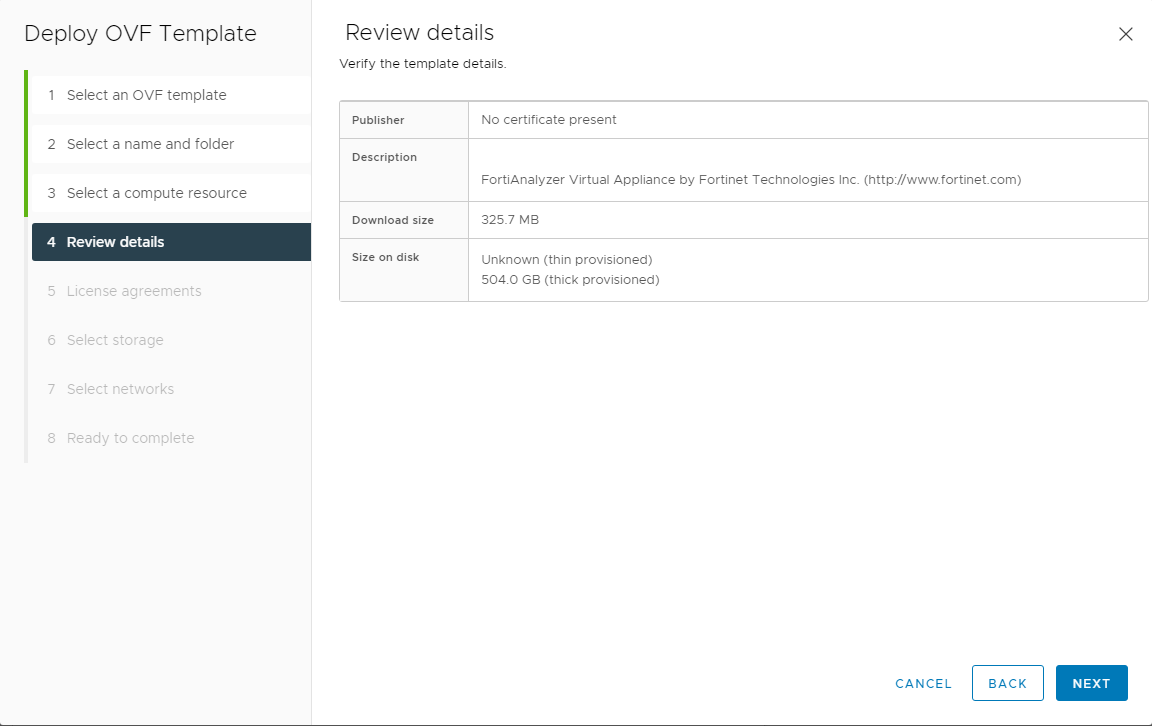
- After reviewing the OVF details, click NEXT.
- License agreements.

- After reviewing the license agreements, select the checkbox for I accept all license agreements.
- Click NEXT.
- Select storage.
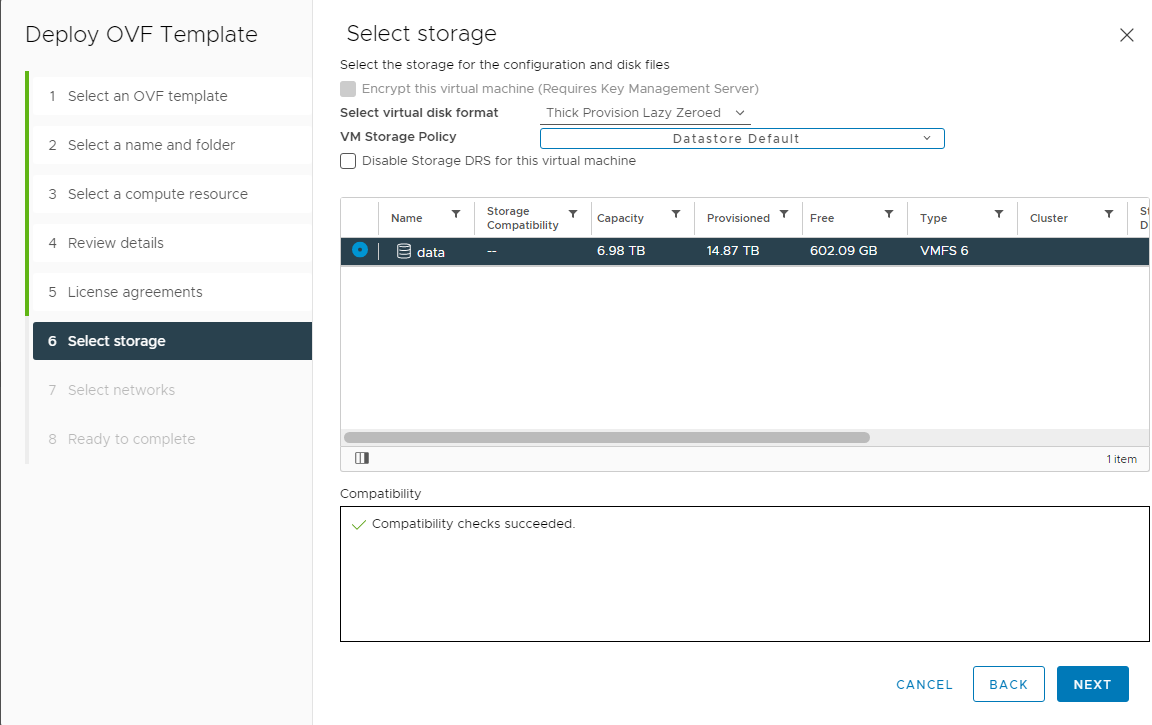
- From the Select virtual disk format dropdown, select one of the following:
Thick Provision Lazy Zeroed: Allocates the disk space statically (no other volumes can take the space), but does not write zeros to the blocks until the first write takes place to that block during runtime (which includes a full disk format).
Thick Provision Eager Zeroed: Allocates the disk space statically (no other volumes can take the space), and writes zeros to all the blocks.
Thin Provision: Allocates the disk space only when a write occurs to a block, but the Virtual Machine File System (VMFS) reports the total volume size to the OS. Other volumes can take the remaining space. This allows you to float space between your servers, and expand your storage when your size monitoring indicates there is a problem. Once a Thin Provisioned block is allocated, it remains in the volume regardless of whether you have deleted data.

If you know your environment will expand in the future, adding hard disks larger than the FortiAnalyzer base license requirement and utilizing Thin Provision when setting the OVF Template disk format is recommended. This allows your environment to expand as required while not taking up more space in the SAN than needed.
- From the menu, select the data storage location.
- Click NEXT.
- From the Select virtual disk format dropdown, select one of the following:
- Select networks.

- Map the networks used in this OVF template to networks in your inventory.
Network 1 maps to port1 of the FortiAnalyzer. You must set the destination network for this entry to access the device console.
- Click NEXT.
- Map the networks used in this OVF template to networks in your inventory.
- Ready to complete.
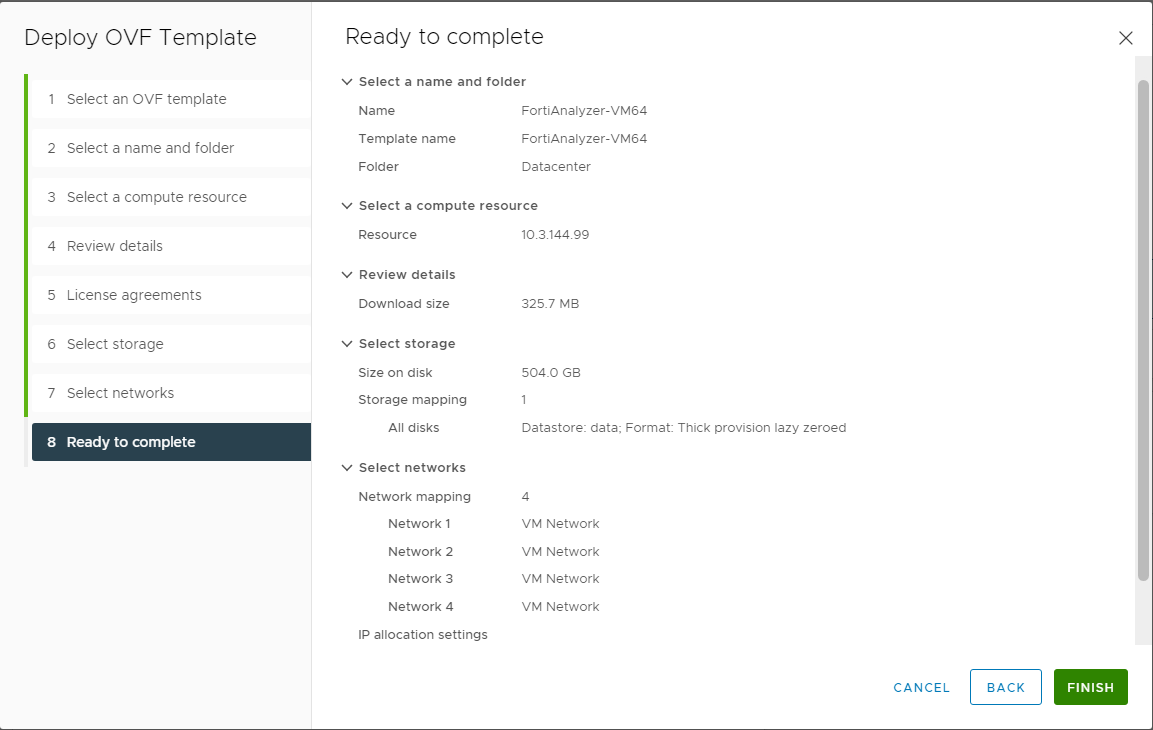
- After verifying the information, click FINISH to start the deployment.
You may need to configure the FortiAnalyzer hardware settings before powering on the VM. See Configuring hardware settings.
- After verifying the information, click FINISH to start the deployment.
- Select an OVF Template.