ZTNA server configurations
Using the same ZTNA server object from the previous sections, define a new HTTPS server mapping for the Web servers.
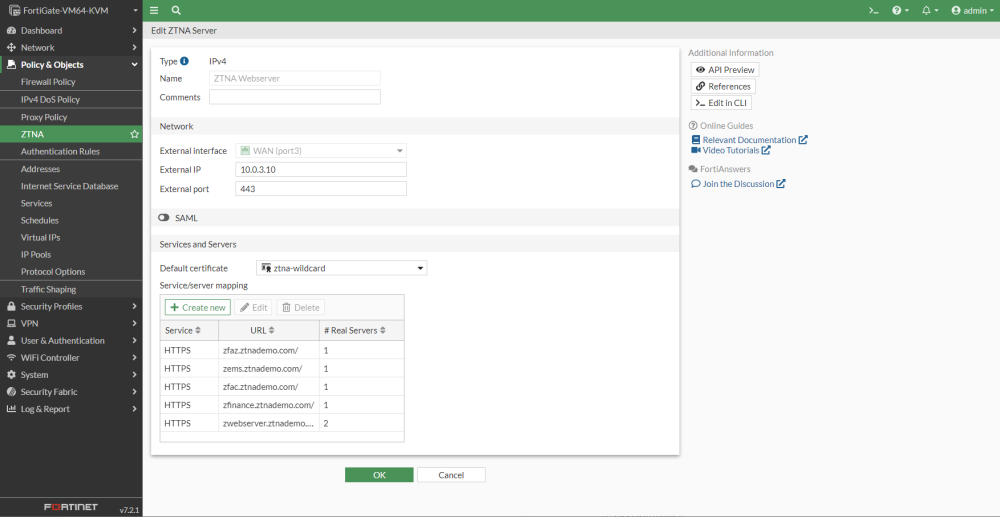
To add the server mapping from GUI:
-
Under Policy & Objects > ZTNA, go to the ZTNA Servers tab. Edit the ZTNA Webserver object.
-
Under Services/servers mapping, click Create new.
-
For Finance server web access, input the following and click OK:
Service HTTPS Virtual Host Specify Match By Substring Host zwebserver.ztnademo.com
Use certificate ztna-wildcard
Servers -
Enable Load balancing and select Round Robin.
-
Click Create New to create a mapping to Webserver1, input the following, and click OK:
-
Type: IP
-
IP: 10.88.0.3
-
Port: 9443
-
Status: Active
Click Create New to create a mapping to Webserver2, input the following, and click OK:
-
Type: IP
-
IP: 10.88.0.4
-
Port: 9443
-
Status: Active
-
Click OK to finish.