


Create a FortiDeceptor instance
Use the prepared image as the boot disk to create cloud FortiDeceptor and configure the interfaces.
Creating a VM instance
To create a VM instance in Google Cloud:
- In the Google Cloud, go to Virtual Machines > VM Instances.
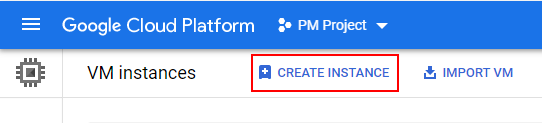
- In the toolbar, click Create Instance. The Create an instance page opens.
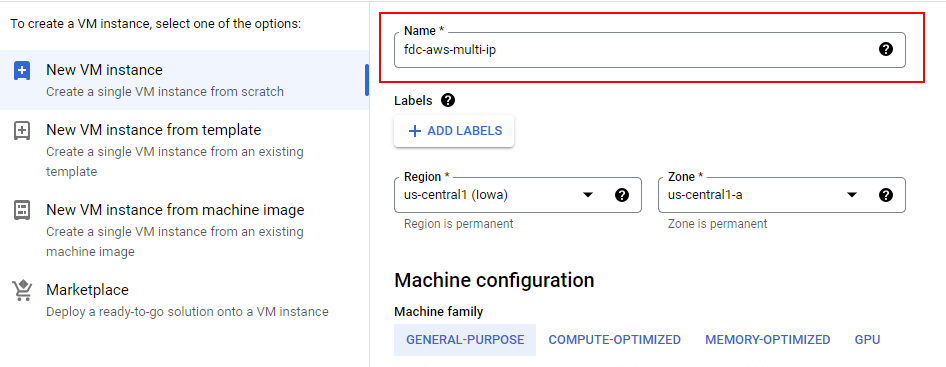
- Enter a name for the instance.
- Change the boot disk.
- Scroll down to the Book disk section, and click the Change button. The Book disk pane opens.
- Click the Custom Images tab.
- Click Select a Project and select the image you prepared in the Google Cloud console. See Create an image with the image file.
- Click Select.

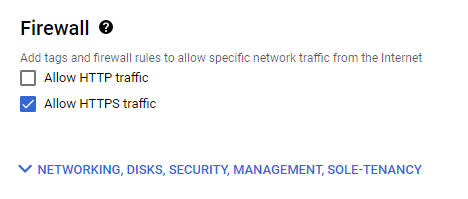
- Scroll down to Firewall, select All HTTPS traffic.
- Click Networking, Disks, Management, Sole-Tenancy and add a new disk and set up the network.
- Under Disks, click Add New Disk. The Add New Disk pane opens.
- From the Size dropdown, set the size to 50GB or more and click Save.

- Add the interfaces.
Adding a deployment network
You must configure a minimum of two ports and maximum of six ports. You will also add some secondary IPs to the ports. Later, when you deploy decoys, you will assign these IPs to the decoys.
The number of virtual network interfaces scales with the number of vCPUs with a minimum of two and a maximum of eight.
Use the following table to determine how many network interfaces can be attached to an instance:
|
Number of vCPU |
Number of vNICs |
|---|---|
| 2 or less | 2 |
| 2 to 8 | 2 to 8 |
| 8 or more | 8 |
For more information, see Creating instances with multiple network interfaces.
To add a deployment network:
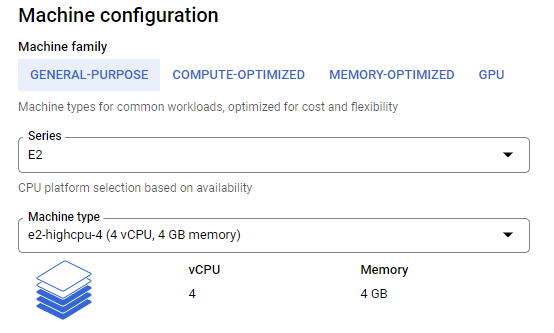
- Select a machine type based on how many networks you need to deploy.
- Go to the Create an instance page in the Google Cloud console.
- Click New VM instance and enter a name for the instance.
- In the Machine configuration area, click the Machine type dropdown and select the machine type.
- Configure the firewalls with networks.
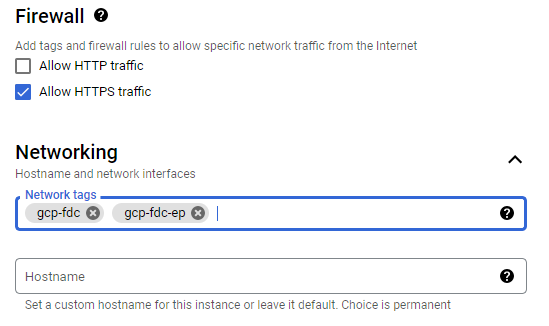
- In the Firewall section, select Allow HTTPS traffic. This allows you to access FortiDeceptor with a web browser.
- Click Networking, Disks, Management, Sole-Tenancy
- In the Networking section, in the Network tags area, enter the network tags.
A firewall in the default network attaches to tag (such as gcp-fdc) opens 8443 on port1.
A firewall attached to tag (such as gcp-fdc-ep) opens all ports between port2/3/4/5/6 and the endpoints.
For more information about firewalls and networks, see Create VPC networks and Create a firewall policy.

The firewall fcp-fdc-ep" should be crated in the same VPC of each FortiDeceptor port.
- In the Network Interfaces area, click Add Network Interface, make the following configurations:
Network Select the VPC you created for port2 Subnetwork Select the proper subnet within the VPC region. Subnet range Enter the secondary IPs. External IP None - Click Create.