


Creating custom views for FortiView
Use FortiView > Custom Views to save the widgets, filter settings, device selection, and the time period for a FortiView dashboard.
You can also create custom views directly from a FortiView dashboard after setting the device and time period filters.
To create a custom view from FortiView > Custom Views:
-
Go to FortiView.
-
In the sidebar, click the menu icon for Custom View, and select Create New.
The New Custom View dialog displays.

-
In the Name field, enter a name for the custom view.
-
In the Create from field, select Blank or From Template.
-
If creating the custom view From Template, select a FortiView dashboard from the dropdown.
-
Click OK.
The custom view is now available under FortiView > Custom Views > <name>.

-
To add widgets for the dashboard, click Add Widget.
-
To resize or remove widgets, select Resize or Remove from the menu icon for that widget.
You can also change the Settings for each widget, as needed.
-
To move widgets, drag and drop them on the dashboard.
-
To save the custom view, click Save Changes.
To create a custom view from a FortiView dashboard:
-
Go to FortiView > <dashboard>.
In this example, the admin goes to FortiView > Threats > Indicator of Compromise.
-
In the toolbar, configure the device, time period, and filters.
-
In the toolbar, click Create Custom View.
The New Custom View pane displays.
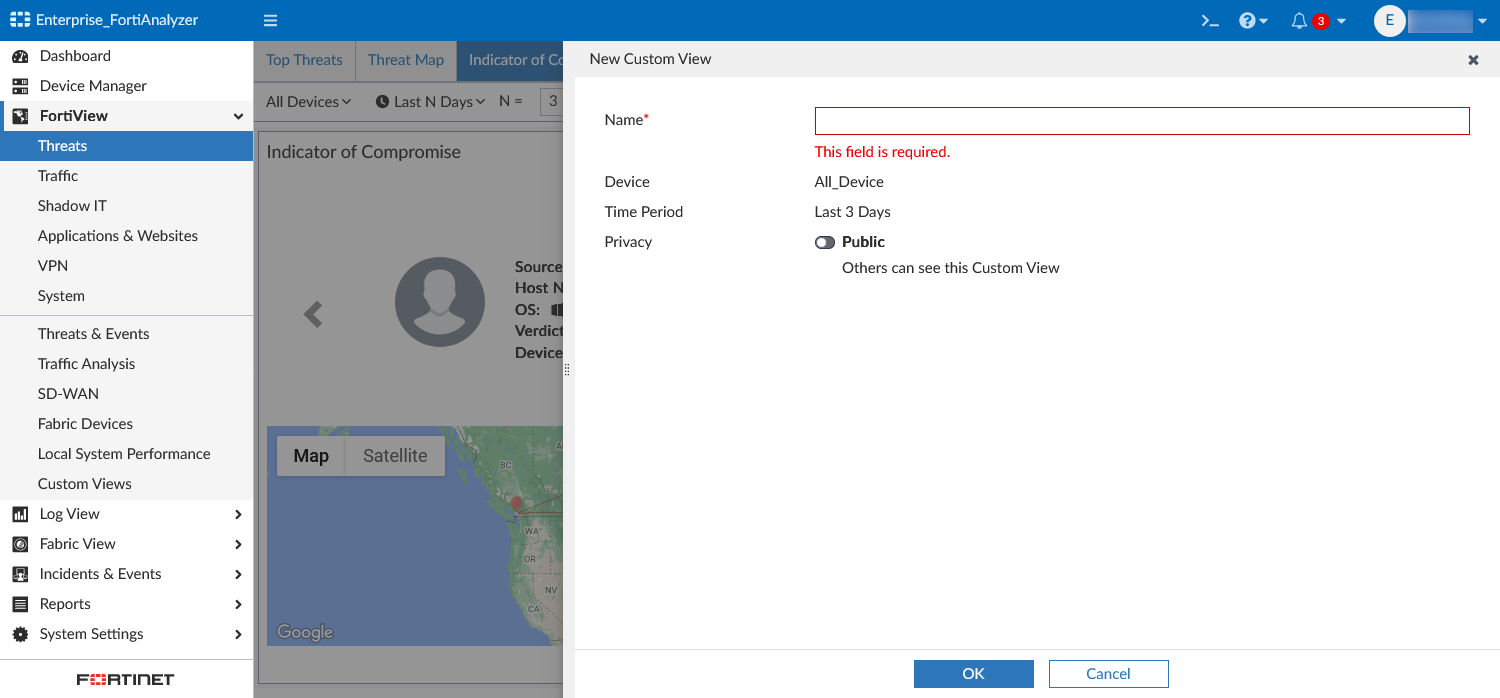
-
In the Name field, enter a name for the custom view.
The Device and Time Period display.
-
For the Privacy field, toggle to Public or Private according to your need.
-
Click OK.
The custom view is now available under FortiView > Custom Views > <name>. You cannot add or remove widgets from custom views created with this method.
To edit, rename, or delete a custom view:
-
Go to FortiView > Custom Views.
-
Click the menu icon next to the custom view to edit, rename, or delete.
-
Select Edit, Rename, or Delete.
You can only Edit custom views that have been created via FortiView > Custom Views. See To create a custom view from FortiView > Custom Views:.