


Set up the local custom VM
To create a custom Windows VM for Azure, follow steps in Custom VM Guide which can be found in the Fortinet Developer Network or is available on request from Customer Support.
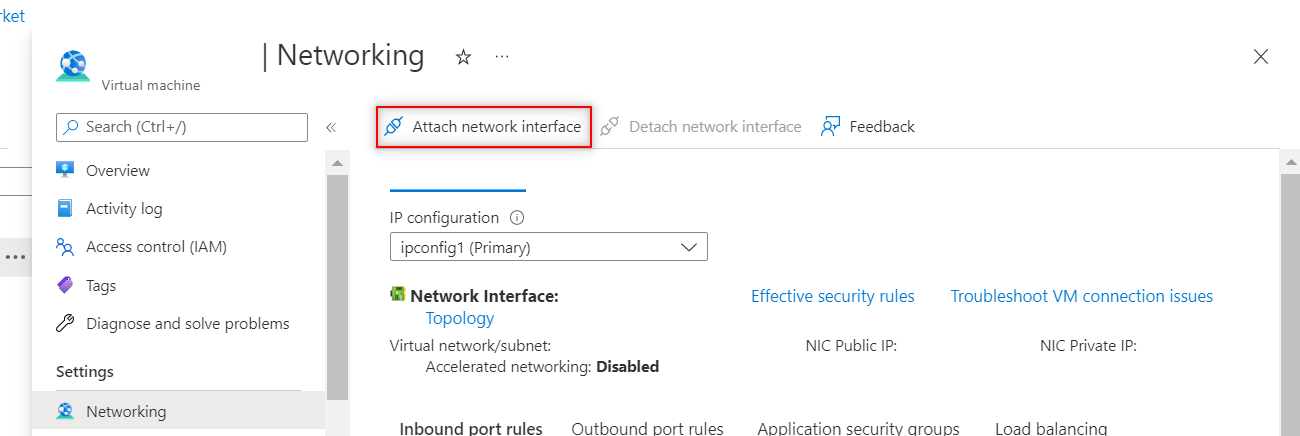
To prepare the network interface for custom VM:
- Shutdown the FortiSandbox VM instance from the Azure Portal.
- The FortiSandbox instance uses port2 to communicate with local Windows or Linux clones. For information, see To create a network interface in Azure in Create network interfaces.
- Attach this network interface to FortiSandbox VM instance as FSA Port2.
- Start the FortiSandbox VM instance from Azure Portal
- On the FortiSandbox GUI, go to System > Interfaces to verify that the network interface is attached.
To prepare the environment for installing the custom VM:
- Check your Azure Config for the FortiSandbox firmware image storage account.
- Go to Resource group > Storage account > Access keys to find your blob key.
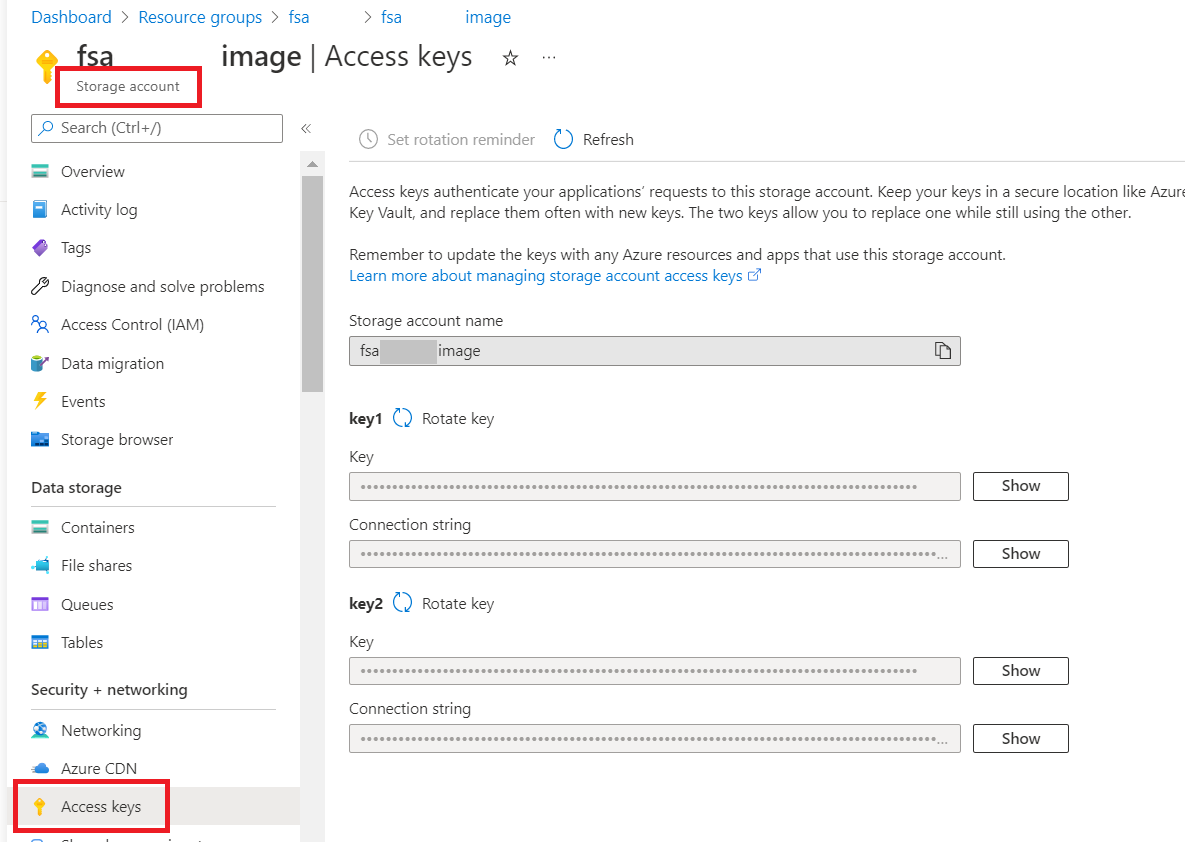
- Create a storage blob for the custom VM image.
To install a custom VM using CLI:
- Go to the FortiSandbox firmware CLI.
- Import the VHD image using the
azure-vm-customizedCLI command. For more information about the vm-customized command, see the FortiSandbox CLI Reference Guide in the Fortinet Document Library.
|
|
|
To install the Azure custom VM from a blob:
- Install the Azure custom VM with the CLI command:
azure-vm-customized - Install the VM from a blob as the default type.
azure-vm-customized –cn -tblob -f[blob container name] -b[VM_image_name.vhd] -vo[OS type] -vn[VM name]
To install the Azure custom VM from disk:
- Install the Azure custom VM with the CLI command:
azure-vm-customized - Verify that your disk is under the same resource group as FortiSandbox and related resources.
- Install the VM from disk with the
-toption.azure-vm-customized -cn -tdisk -b[VM_image_disk_name] -vo[OS type] -vn[VM name]
Test FortiSandbox instance with a file scan:
To verify the configuration is successful, perform an on-demand file scan with a Windows VM clone.
- On the FortiSandbox GUI, go to Scan Policy and Object > VM Settings and change Clone # to
1. Expand the clone number after vminit is completed.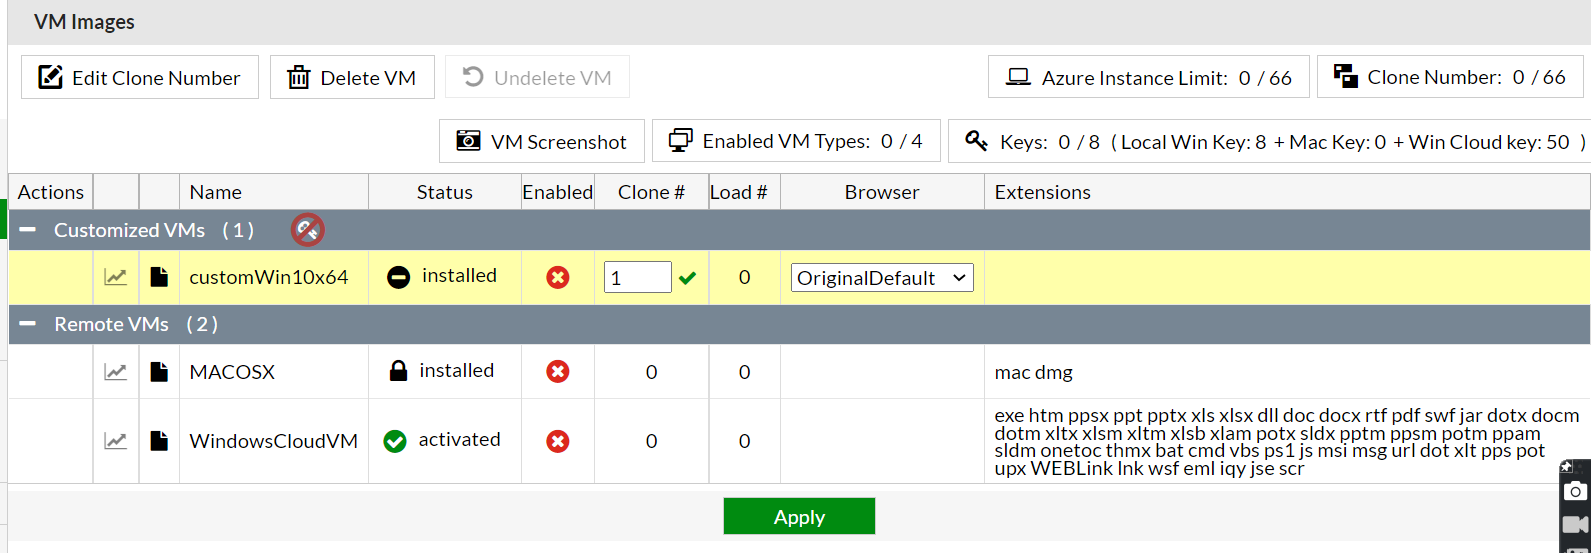
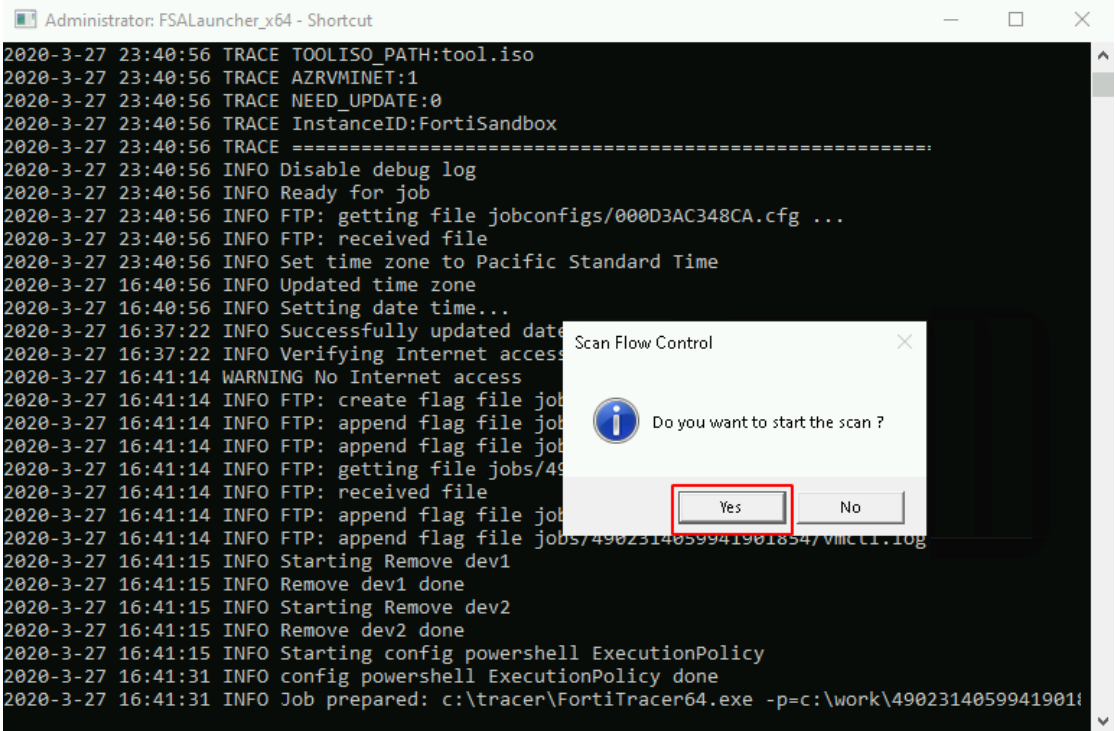
- In a new CLI window, check the VM clone initialization using the command:
diagnose-debug vminit - After vminit is done, on the FortiSandbox GUI, go to the Dashboard to verify there is a green checkmark beside Custom VM.

- To associate file extensions to the custom VM, go to Scan Policy and Object> Scan Profile and click the VM Association tab.
- Test the installation:
- Go to Scan Job > File On-Demand > Submit File.
- Select the file and click Submit. For example, select Sample.pdf. If the file you send to FortiSandbox is not harmful, the rating is Clean.

- When the scan is finished, click the View File icon to view job details.

- (Optional) Interaction with a custom VM clone during scan:
- Go to Scan Job > File On-Demand or URL on-Demand and click Submit File or Submit File/URL.
- Enable Force to scan the file inside VM or Force to scan the url inside VM.
- Select Force to scan inside the following VMs and select the custom VM.
- Click Submit.
- Go to Scan Policy and Object> VM Settings and click VM Screenshot.
- When the icon in the Interaction column is enabled, click the icon to establish an RDP tunnel.

- Click Yes to manually start the scan process with VM Interaction.
- When the FortiSandbox tracer engine displays the PDF sample, you can click Yes to manually stop the scan process.
- When the scan is finished, go to the job details page to view the scan results.