


Set up a local custom Windows VM
Create custom VM for AWS
To create a custom Windows VM for AWS, follow steps in Custom VM Guide which can be found in the Fortinet Developer Network or is available on request from Customer Support.
Prepare the network interface for custom VM clones
The FortiSandbox instance uses port2 to communicate with local Windows or Linux clones. If you did not create an eth1 in Deploy FortiSandbox on AWS (BYOL/On-Demand) > Configure the instance, you should create a new network interface under a local VM clone communication subnet and assign a private IP of this subnet to it.

After the interface is created, reboot the instance and go to System > Interface to verify the network interface is attached.

Create a NAT gateway
To create a NAT Gateway:
- Go to Virtual Private Cloud > NAT Gateways and click Create NAT gateway.
- Entre the following information, and click Create NAT gateway.
Name Optional. Subnet Choose your management interface subnet (the one port1 is in). Connectivity type Choose Public. Elastic IP allocation ID Click Allocate Elastic IP and leave the optional bar empty as default.
Update the route table
- Go to Virtual Private Cloud > Route Table and choose the Route Table associated to the subnet of FortiSandbox port2.
- Go to Routes > Edit routes > Add route and enter the following information:
Destination Enter 0.0.0.0/0.Target Select the NAT gateway you created in the previous step. 
- Click Save.
Install the custom VM using the CLI
After the custom VM image is created offline, it should be installed to AWS with the CLI. For details of using FortiSandbox CLI, see Access FortiSandbox CLI.
|
|
Do not use the |
To install and enable a custom VM on AWS:
- Go to the FortiSandbox firmware CLI.
- Import the VHD image using the CLI command
vm-customized.For more information about the
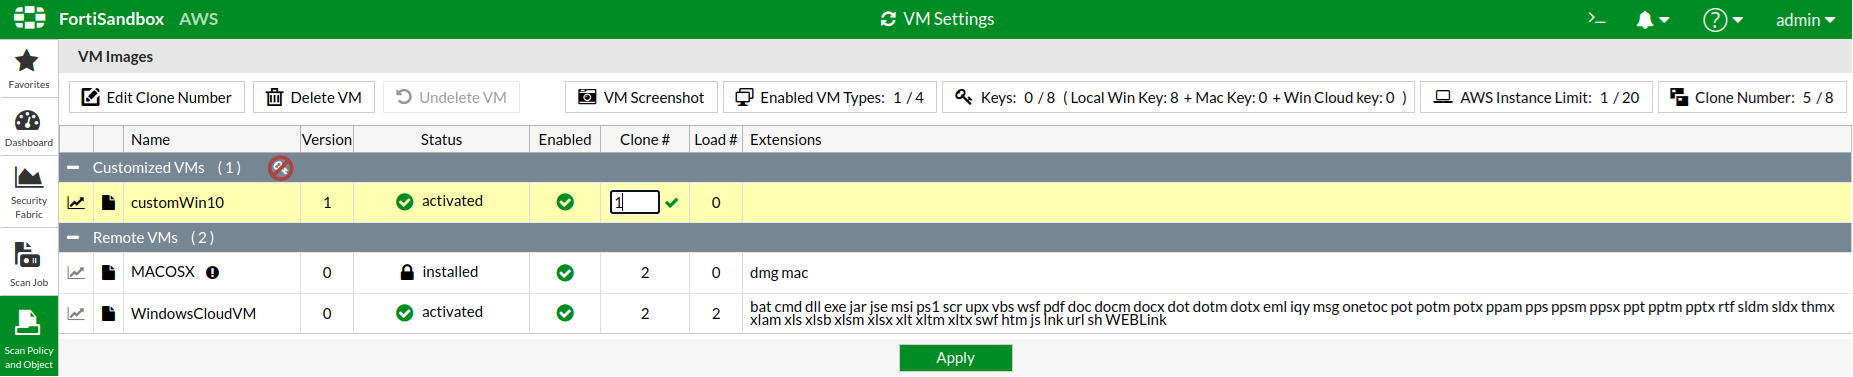
vm-customizedcommand, see the FortiSandbox CLI Reference Guide in the Fortinet Document Library. - In the FortiSandbox GUI, go to Scan Policy and Object > VM Settings and change Clone # to 1 or higher.
- In a new CLI window, execute
diagnose-debug vminitcommand. - In the FortiSandbox GUI, go to the Dashboard to verify there is a green checkmark beside Windows VM.

- To associate file extensions to the custom VM, go to Scan Policy and Object> Scan Profile to the VM Association tab.