


Site Management
You can manage sites for presence analytics by locating sites on Google maps integrated UI. Once created, the site can be managed by adding buildings, floors, and demarcating floors into areas. You can upload floor maps and place access points and hardware assets on the maps.
- Navigate to Admin > Site Management and search for the geographic location of the site on the Google map and select it.
- Click the
 (Add Building) icon on the right side of the map, the mouse pointer turns into a + symbol. Click on the selected site to add a building.
 - Modify the existing default values and enter a unique Name and Description for the building and site. You can optionally disable the GDPR page that contains the consent details included in the portal, see Adding a New portal. Click Save.
Note: You can enable/disable the GDPR only while creating a site. To modify the GDPR setting of an existing site, re-create the site (delete and create again); this leads to data loss.
The created site with the building details is displayed on the left side menu.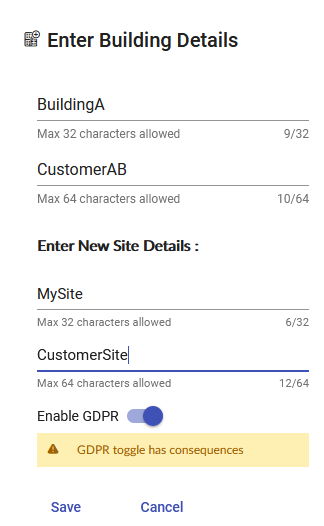
- Click on Add Floor to upload the floor map for the building.
- Enter the floor details and browse to the map. Click Add Floor.
The floor map is displayed. - Adjust the two red pointers on the floor maps and position them across a known distance and specify the Selected Distance (feet or meter). This is the reference distance based on which the floor length and width are calculated. Click Save.

-
7. Click on the (polygon) icon and mark an area on the floor map by drawing a polygon anti-clockwise. Click Finish.
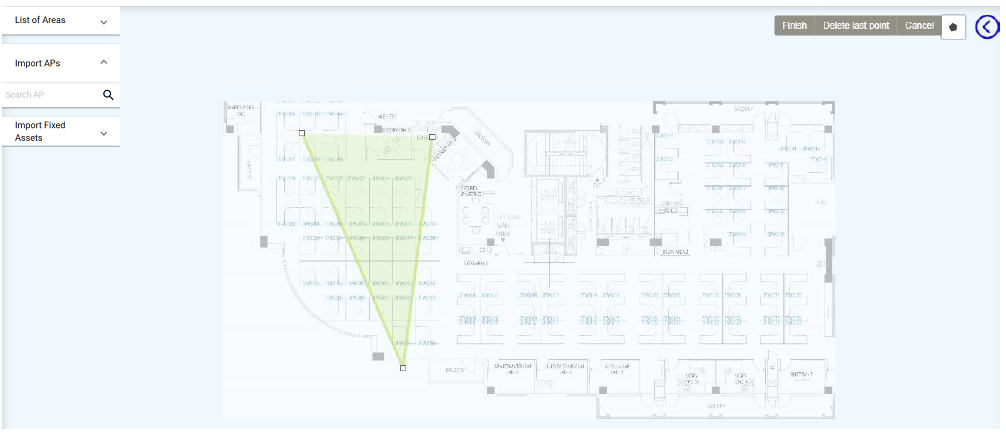
- Enter unique area Name and Description.

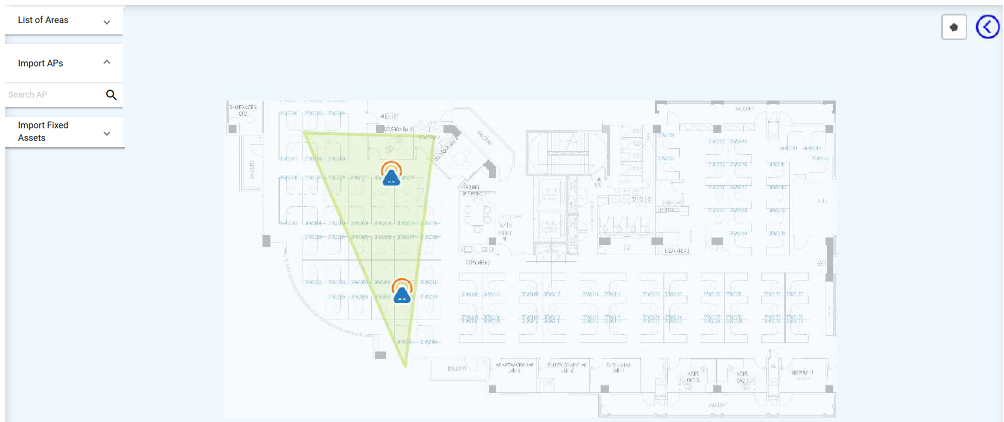
You can create multiple areas on a floor as per your requirement. - Select a specific area on the map and click on Import APs, search for the AP name and place the listed access points on the marked polygon (area) on the floor.
You are prompted to enter the minimum RSSI value and required EIRP (TX power) of the access point.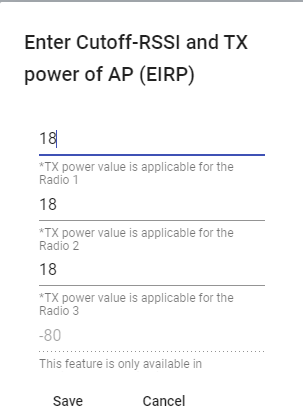
Hover over the site to view and edit the MAC address, Tx power, and minimum RSSI of each radio or delete the AP from the site.

To include Tx power in the ID packets, the enforcement devices and access points must have the supported firmware version.
- Dynamic changes to the Tx power on the FortiPresence GUI takes immediate effect and is overidden when the next ID packet arrives after an hour.
- Dynamic changes to Tx power on the enforcement device (FortiWLC, FortiGate, and FortiAP Cloud) takes effect within 3 hours.
Add any other fixed assets, for example, printers, cameras, if required.
Go to Location > Floor Analytics to view the floor map with the APs.
Notes:
- All access points are listed here only when the location services is configured. See Configuring Location Services.
- You can view the access points in Admin > Settings > Discovered APs.