


Set up SSO Configuration for SAML + ADFS 3.0
ADFS Configuration for SSO involves a couple extra steps compared to our regular SAML configuration. This article will guide you through the process.
Versions:
-
Windows Server 2012
-
ADFS 3.0
Obtaining the cert
Open the ADFS Management tool. On the left, expand AD FS and Service; then, double click on the Token-signing cert.

Under the detail tab, click Copy to File.
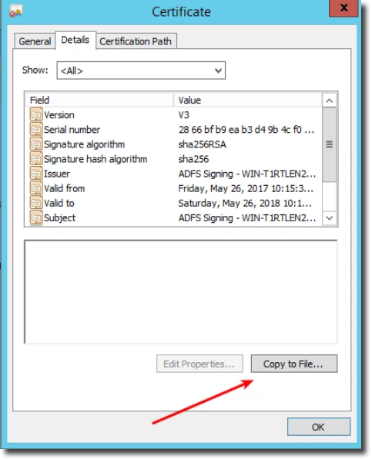
Export the cert in the Base-64 Encoded X.509 (.CER)

Open the FortiMonitor control panel and add the EntityID, Login URL and Login Binding to your SSO configuration - you can learn more about that in Single sign-on (SSO). Take note of the username field value and the URL fragment, as we are going to use those fields to setup our ADFS configuration.
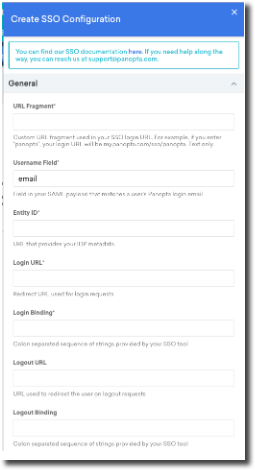
Paste the certificate we just exported into the certificate input, within the Certificate tab of the slide-out pane.
FortiMonitor as a Service Provider
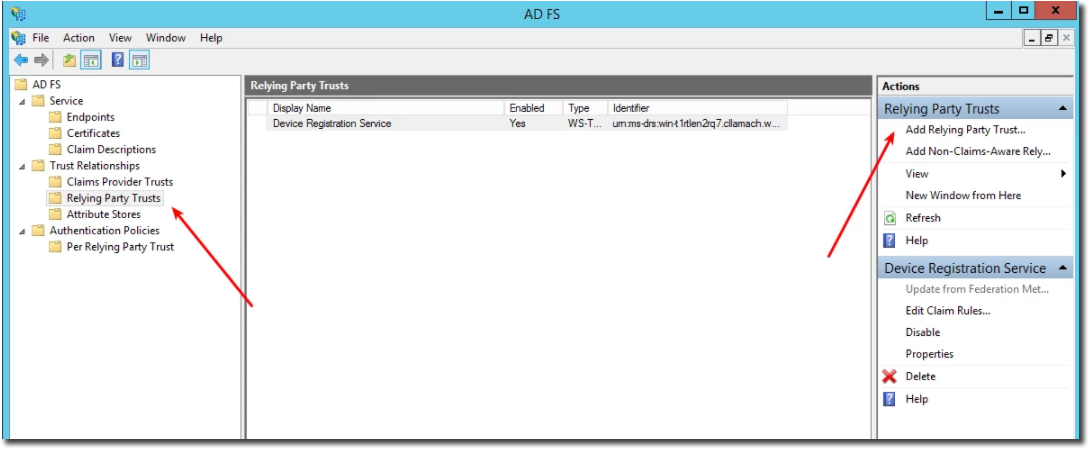
To configure FortiMonitor as a Service Provider for ADFS, first go to Relaying Party Trusts in the Trust Relationships of the ADFS Management console and add a new Party Trust.
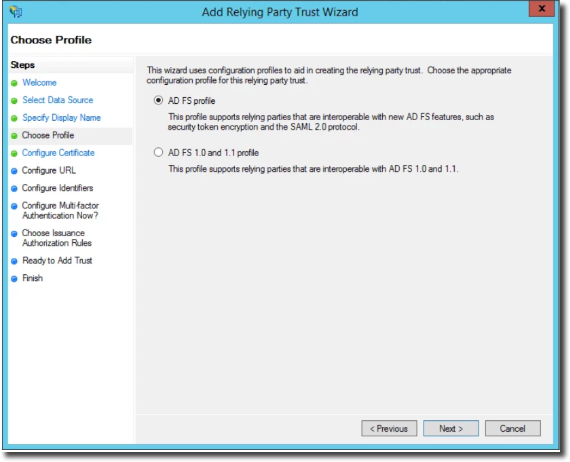
Select Enter data.. manually.

Select AD FS profile.
Select Enable support for SAML 2.0 protocol. The URL is http://my.panopta.com/sso/{url fragment}, where the URL fragment is the one you entered in your SSO Configuration in the FortiMonitor Control Panel.
New users should use fortimonitor.forticloud.com for the SSO URL. For long time customers of Panopta, continue using my.panopta.com.

Add the Relaying Party Trust Identifier. The URL will be the URL you entered the previous step, with /metadata at the end of it, in the form of http://my.panopta.com/sso/{url fragment}/metadata.
New users should use fortimonitor.forticloud.com for the SSO URL. For long time customers of Panopta, continue using my.panopta.com.

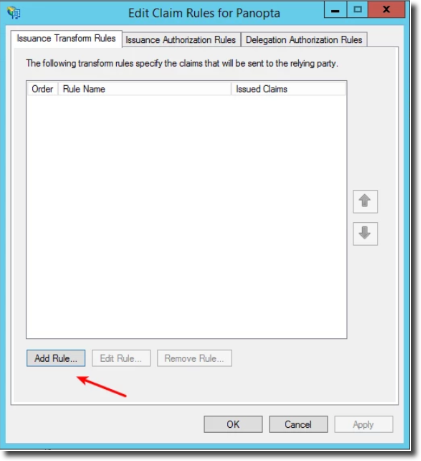
Leave multi-factor authorization off and allow all users access to the relaying party. After you finish, the modal is going to ask you to open the Claim Rules settings. Say yes. We need to configure 5 rules to send the required information to the Panopta Service Provider.
Click on Add Rule.
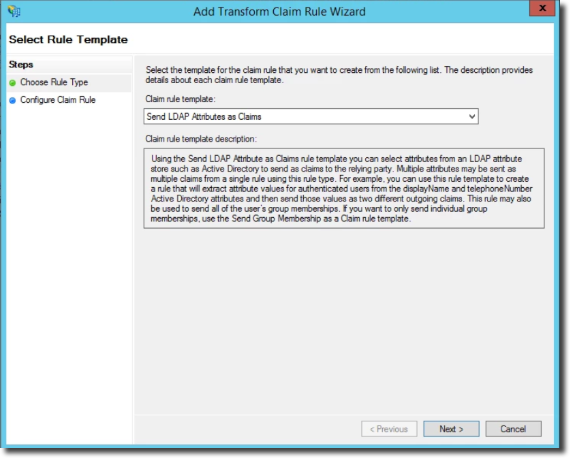
Select Send LDAP Attributes as Claims.
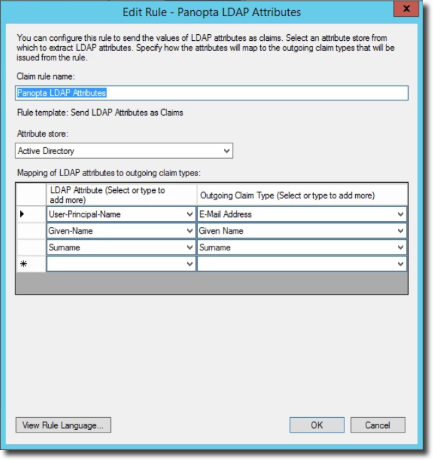
Choose a name for your rule - anything is fine. Select Active Directory as the Attribute store and ensure your rule is configured as seen in the below image.
Ensure Email Address is correctly matched to your Active Directory.
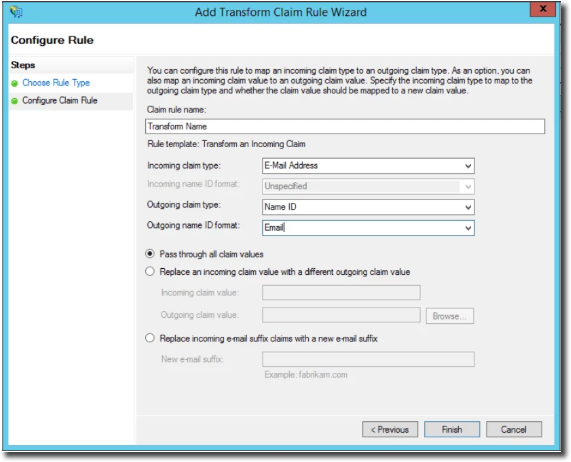
Add a second rule but this time select Transform an Incoming Claim.

Select Email Address as the Incoming claim type, Name ID as the outgoing claim type, and enter Email in the Outgoing Name ID format input.
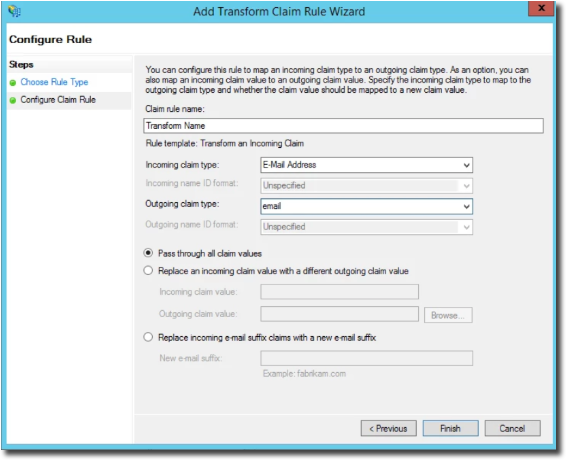
Add a second transform Rule, this one setting Email Address as email. This email must match the username field value in our Panopta configuration.
Add a third transform rule, setting the Given Name as first_name.

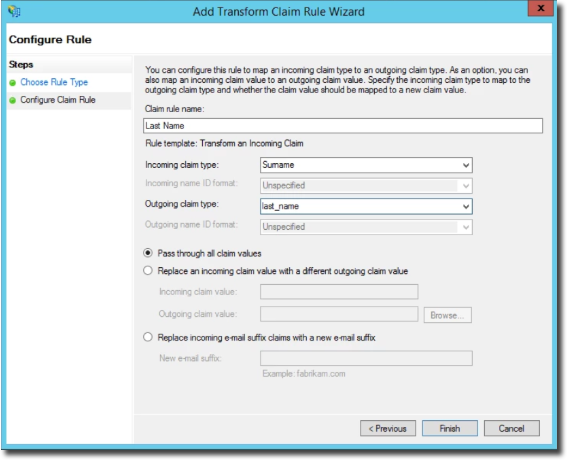
Add our final rule, setting the Surname as last_name.
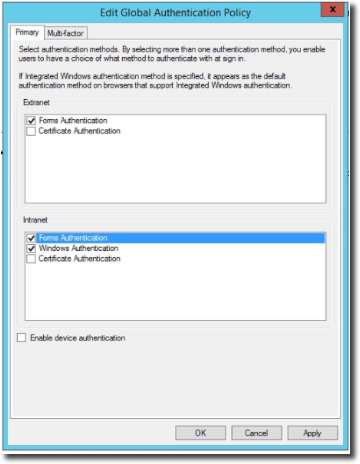
Next, ensure you have Form Authentication set in the Authentication Policies.
Go to Authentication Policies in ADFS Management and click edit.

If you are using testing or an intranet, enable Form Authentication.
Restart your ADFS Service after all the changes are made.
Go to your Panopta SSO login URL and you should be greeted with ADFS login screen.
Enter your credentials and sign in - you should then be redirected to Panopta.