


OnSight AMI installation
The FortiMonitor OnSight AMI allows you to deploy and run an OnSight from an AWS instance. The following sections list the resource requirements and deployment steps.
Resource requirements
-
Minimum of a t3.medium instance - as your monitoring expands, we recommend 1 core + 1 GB Ram per 1,000 checks
-
Network access to packages.panopta.com (165.227.86.161 and 162.243.0.67)
OnSight installation
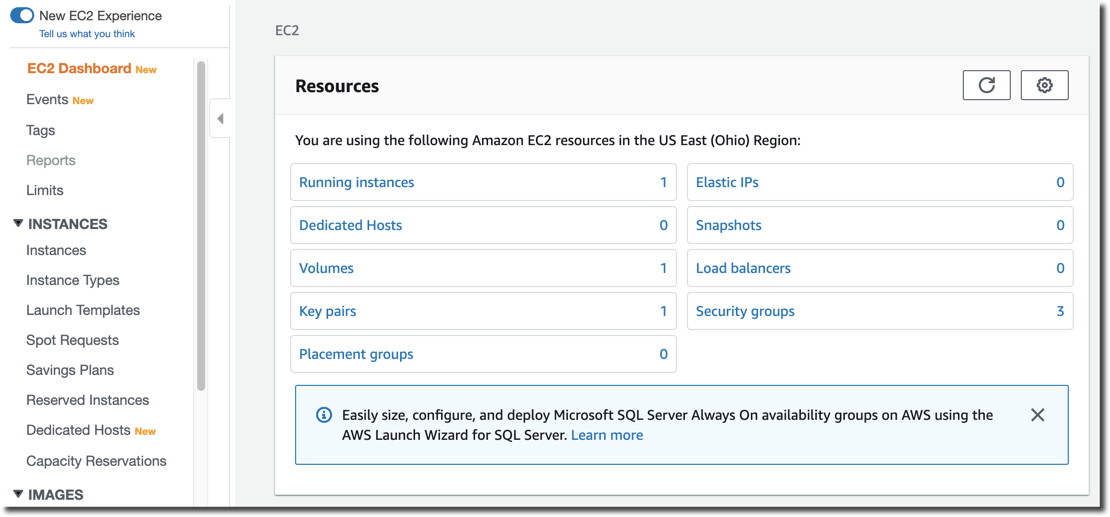
1. Log in to your AWS account and switch to the EC2 console by selecting EC2 from the splash screen or from under the Services navigation menu.
2. Switch to the AWS Marketplace by clicking Launch Instance, and then selecting the AWS Marketplace tab.
3. Search for FortiMonitor then select FortiMonitor OnSight for AWS.
4. Review and accept the subscription terms. The configuration page will open.
5. Click Continue to Launch. The following page will allow you to review your configuration and choose how you wish to launch the software.
6. Select your instance size - a t3.medium is sufficient to start out.
As your monitoring expands, we recommend 1 core + 1 GB Ram per 1,000 checks.
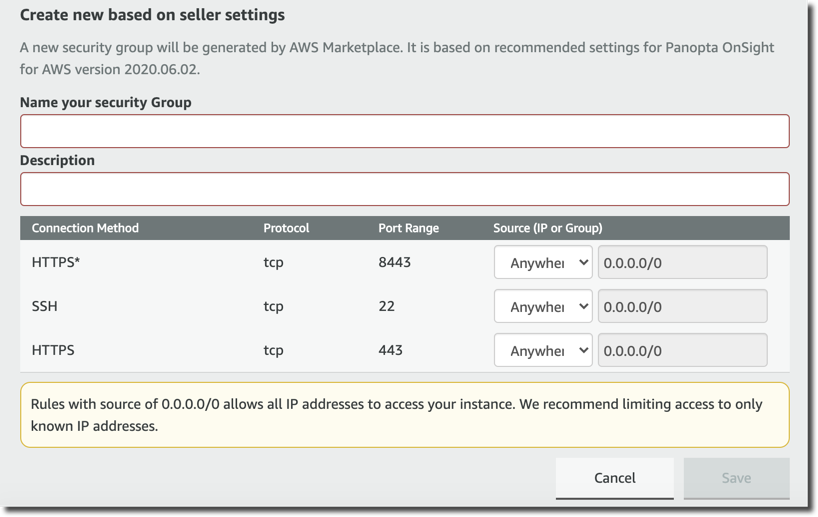
7. Under Security Group Settings, click Create New Based on Seller Settings.

The only ports that need to be open are SSH, HTTPS and port 8443/TCP.
|
Type |
Protocol |
Port range |
Source |
|---|---|---|---|
|
SSH |
TCP |
22 |
This IP range should be limited to only clients where you will be SSHing to the OnSight from, such as a Jump Server. |
|
Custom TCP Rule |
TCP |
8443 |
This IP range should be limited to the other servers that will be using the OnSight to proxy agent data through (if any). |
|
HTTPS |
TCP |
443 |
This IP range should be limited to only clients where you'll be sshing to the OnSight from, such as a Jump Server. |
8. Select your key-pair from the dropdown, launch the instance, and then wait for it to boot.
Register the OnSight
-
SSH into your newly created OnSight vCollector instance using the user ubuntu and the key-pair you selected in the previous step.
-
Run updates to pick up any recently released OS patches by running
sudo apt update; sudo apt upgrade. -
Reboot the server by running
shutdown -r now -
Register the OnSight by running
sudo onsight register. You will also need your Customer Key. To obtain your Customer Key, visit the Control Panel and click your avatar then select My Account.
This will add the appropriate repositories to the VM and begin downloading and configuring dependencies. This process should only take 2 - 3 minutes. Once the installation has completed, you will see a message similar to the following: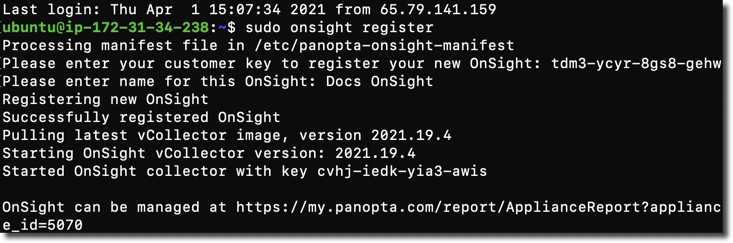
The OnSight vCollector can be managed from the Control Panel. Follow the link outputted at the bottom of the installation success message.