


Incident Hub
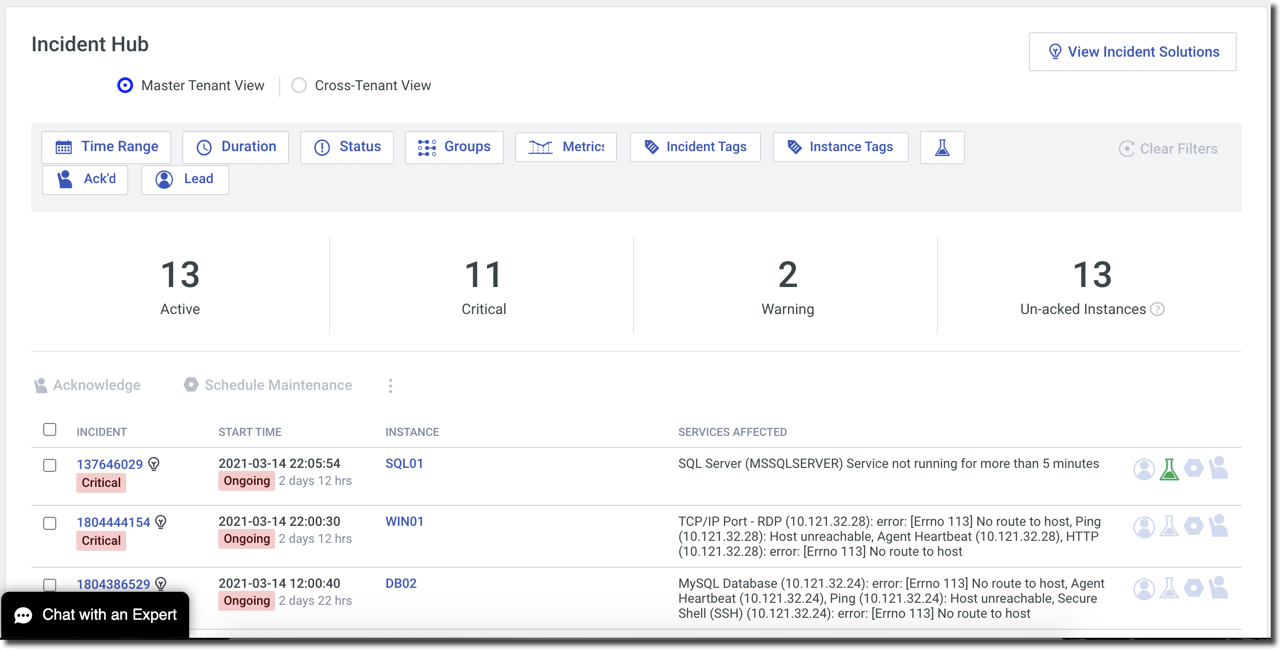
The Incident Hub provides teams with a single location to view and manage incidents. A main component of the Incident Hub, by default, shows all of the active incidents in your infrastructure. This can be further refined by using filters.
From this page, you can:
These are further detailed in their respective sections below.
To go to the Incident Hub, select Incidents > All Incidents from the navigation menu.
Filter incidents
When you open the page, only the active incidents are displayed. You can scope the results to specific incidents using a variety of filtering options.
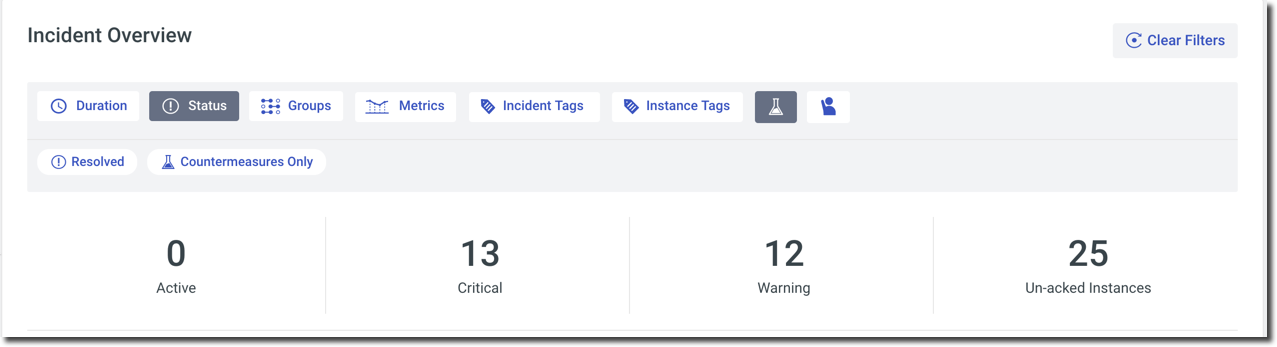
These filters are described in the following table.
|
Filter |
Description |
|---|---|
|
Time Range |
Filter the results by time range. Values:
|
|
Duration |
Filter the results by how long an incident has been occurring. Values:
|
|
Status |
Filter the results by the current status of an incident. Values:
|
|
Groups |
Filter the results by instance group. Clicking the Groups filter will provide you with a list of all the instance groups in your infrastructure. Select a single group or All servers. |
|
Metrics |
Filter the results by metric. Click the Metrics filter to select or more metrics to include in the results. |
|
Incident Tags |
Filter the results by Incident Tags. |
|
Instance Tags |
Filter the results by Instance Tags. |
|
Severity |
Filter the results by severity: Values:
|
|
CounterMeasures Only |
Clicking the CounterMeasures filter will only include incidents with active CounterMeasures. |
|
Ack'd |
Filter by acknowledging user or by acknowledge status. Values:
|
|
Lead |
Filter by incident lead or by lead assignment status. Values:
|
To remove a filter, click x on the name of the applied filter. You can also clear all the filters you applied and revert back to the default (show only the active incidents) by clicking Clear Filters.
View incident details
Opening or clicking an incident ID opens the incident's details page which shows relevant information that can help you find the root cause of an incident and track its status. See View incident details for more information.
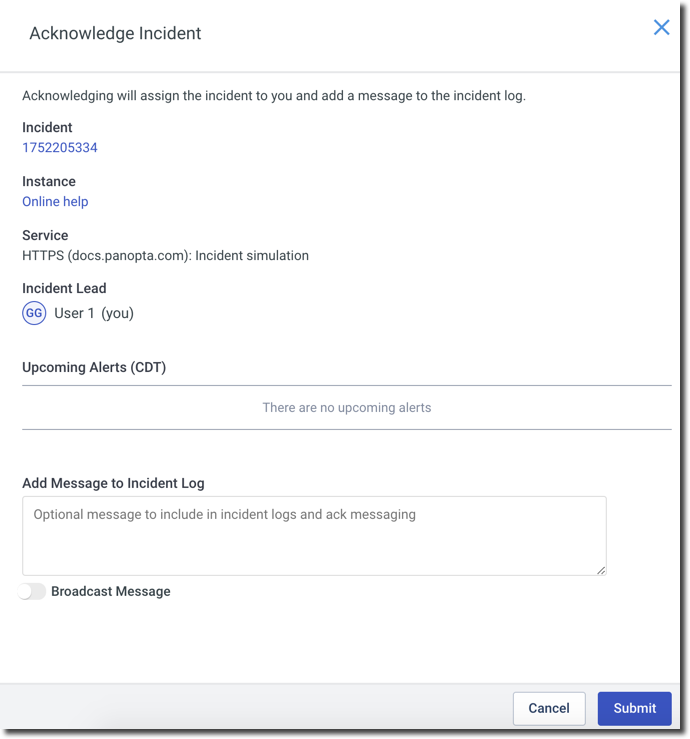
Acknowledge an incident
Acknowledging an incident marks the incident with your username and also sets you as the Incident Lead. The following additional options are available:
-
Change the Incident Lead
-
Add a message to the incident log
-
Send a message to all configured users and integrations in the Alert Timeline
-
Delay further alerts for a set amount of time
-
Cancel all alerts
For more information, see Respond to an incident and delay further alerts.
To acknowledge one or more incidents, select the checkbox of the incident or incidents then click Acknowledge.
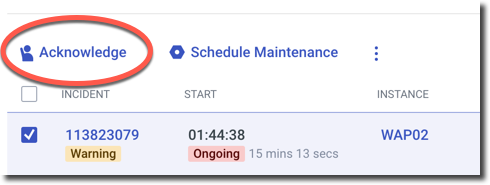
You can also acknowledge a single incident by clicking the Acknowledge icon of an incident as shown below.
Set an Incident Lead
The Incident Hub makes it easier for you to see which incidents a team member is working on and which incidents are currently unassigned. Assigning an incident to a team member designates that team member as the Incident Lead. Also, note that the user who acknowledges an incident is automatically assigned as the Incident Lead.
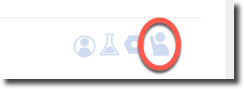
To set an Incident Lead, perform the following steps:
-
Select the Incident Lead icon of the incident that you want to assign.

-
Select a FortiMonitor user to designate as the Incident Lead.
Start a maintenance
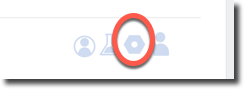
To start maintenance on one or more affected instances, perform the following:
-
Select the checkbox of the incident or incidents then click Schedule Maintenance.

-
From the options, select Immediate or Custom.
You can also start maintenance on a single incident by clicking the Schedule Maintenance icon of an incident as shown below.
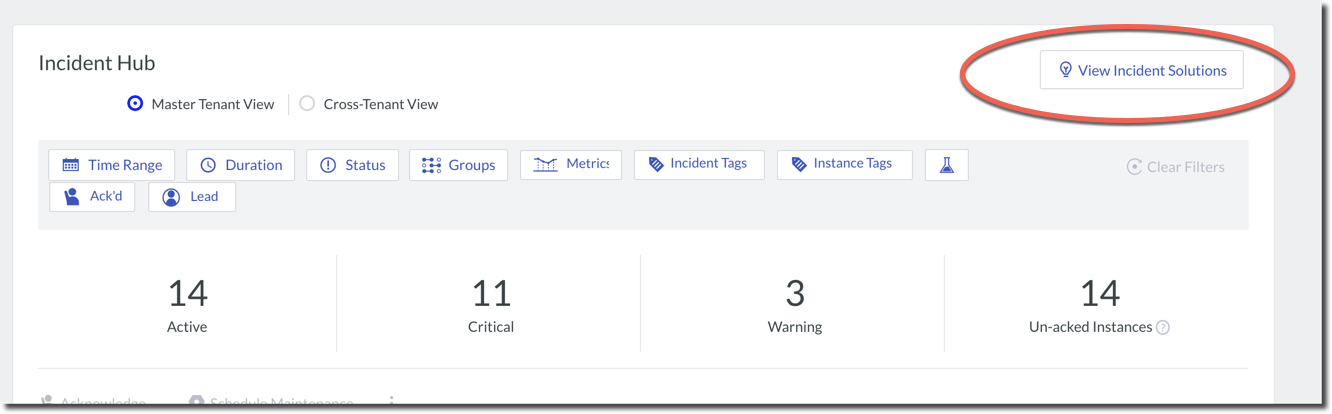
View Incident Solutions
Incident Solutions provide a mechanism to document and disseminate the steps taken to respond to an incident, including details captured during triage and diagnosis phases and the steps to ultimately resolve the incident. For more information, see Incident Solutions.
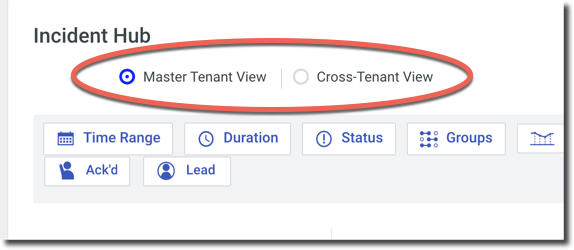
Switch between Master tenant and Cross-tenant views
This option is for Multi-tenant accounts only.
If you are on a Master tenant account, you have the option to view and act on all of the incidents across your sub-tenants by selecting Cross-Tenant View.
Perform other actions
Additional actions can be performed on one or more incidents by clicking the 3-dot menu. These actions are detailed in the following table.
|
Action |
Description |
|---|---|
|
Escalate CMs |
Immediately execute the next CounterMeasure action, bypassing the configured delay. |
|
Delay CMs |
Delay the next CounterMeasure action for a specified amount of time. |
|
Escalate alerts |
Immediately send an alert based on the next event, overriding the configured amount of time in the Alert Timeline. |
|
Delay alerts |
Postpone the next event on the Alert Timeline for a specified length of time. |
|
Cancel alerts |
Cancel succeeding alerts. No further alerts will be sent. |
|
Exclude from Availability |
Exclude one or more incidents from availability calculation. |