


Single sign-on (SSO)
SSO allows your organization to utilize it's internal authentication tool to authenticate with and log in to FortiMonitor. This guide will walk you through integrating with a generic SSO provider, such as Simple SAML. You can also find docs specifically for ADFS and Okta.
Control Panel Configuration
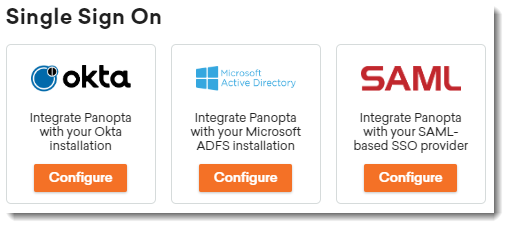
Navigate to the Integrations page by selecting Settings from the global navigation bar, followed by selecting Integrations. Here, you will find the Single Sign On section. Select Configure on the SAML card.
General
|
Field |
Description |
|---|---|
|
URL Fragment |
Customer-provided string that will determine the login URL for your FortiMonitor account, the format of For example, if you were to enter Note: New users should use fortimonitor.forticloud.com for the SSO URL. For long time customers of Panopta, continue using my.panopta.com. |
|
Domains |
Register domains tied to an SSO configuration to allow first time users to log in. |
|
Username |
Field in your SAML payload that matches a user's FortiMonitor login email. This is an email for most customers. |
|
Entity ID |
URL that provides your IDP metadata. |
|
Login URL |
The URL we redirect the user to when the user arrives at your FortiMonitor SSO login. For instance, if a user visits your FortiMonitor SSO URL which is built in the |
|
Login Binding |
This is a colon separated sequence of strings. For example, |
|
Logout URL (optional) |
URL to redirect the user upon logout request. |
|
Logout Binding |
This is a colon separated sequence of strings. For example, |
Certificate
A valid x509 certificate. Ensure it is copied with out extra whitespace.
User Configuration
|
Field |
Description |
|---|---|
|
Prevent non-SSO logins |
Enabling this option prevents users from logging in to FortiMonitor with their email address and password. This setting can be overwritten at the account level. To override the setting, see Mixing login types. Note: Leave this box unchecked until you have confirmed that your SSO configuration is working properly. |
|
New User Notifications |
Select the user account to notify when an SSO user signs on for the first time to FortiMonitor. |
|
Auto Create Users |
Leave this box unchecked if you want to require admin approval before a user can use FortiMonitor. Once a user logs in for the first time, those selected in the You can view all users who are waiting for approval under the "Pending" users tab on the Users and Groups page. If you prefer to let users immediately begin using FortiMonitor upon login, check this box. |
|
Default Roles for New Users |
There are two options when the Auto Create Users option is enabled:
|
Mixing login types
Sometimes it is valuable to allow non-SSO users to still log in to your company's FortiMonitor account - especially if you leverage outside resources. To allow certain users to still login via email and password, check the "Allow Non-SSO Login" checkbox. This option can be found by editing the user - go to Settings > Users, Groups & On-Call, then edit the desired user. The option is on the first pane.

SSO configuration for Multi-tenant users
If you are a multi-tenant user, you have the option to apply your SSO configuration to all sub-accounts. You can find the following option under the User Configuration module on your master tenant account:
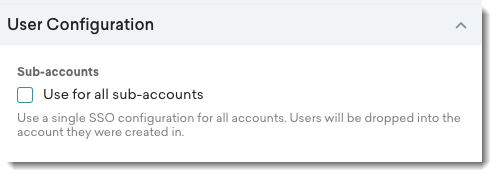
Select the Use for all sub-accounts option to use a single SSO configuration for all your sub-accounts/tenants. Settings configured in the master tenant account such as New User notification, Default Timezone, and Auto Create Users are also applied to all other tenants. All created users are automatically added to the correct tenant.