


Create an Alert Timeline
To create an Alert Timeline, perform the following steps:
-
From the navigation menu, select Add > Alert Timeline.
-
Start by naming the timeline and giving it a description. You have the option to copy the timeline from another if you already have one created, this is helpful if you’re looking to build off another for special cases.

You will then see a page with a blank timeline.

-
Select Add New Alert Event. A modal will appear that allows you to configure the details of that event.

The first thing to decide is how long after an outage starts do you want to be notified. We generally suggest two minutes as the minimum to avoid getting notified about short-lived outages. We also suggest setting multiple events on timelines to act as an escalation in case the first alert goes unnoticed or is forgotten. -
Next, pick some combination of users, groups, on-call schedules, and integrations to add to that event. Because you can define multiple events for escalations, you can pick the appropriate level of noise for each event. For individual users, you can pick between email, SMS, phone call, or mobile push notification.

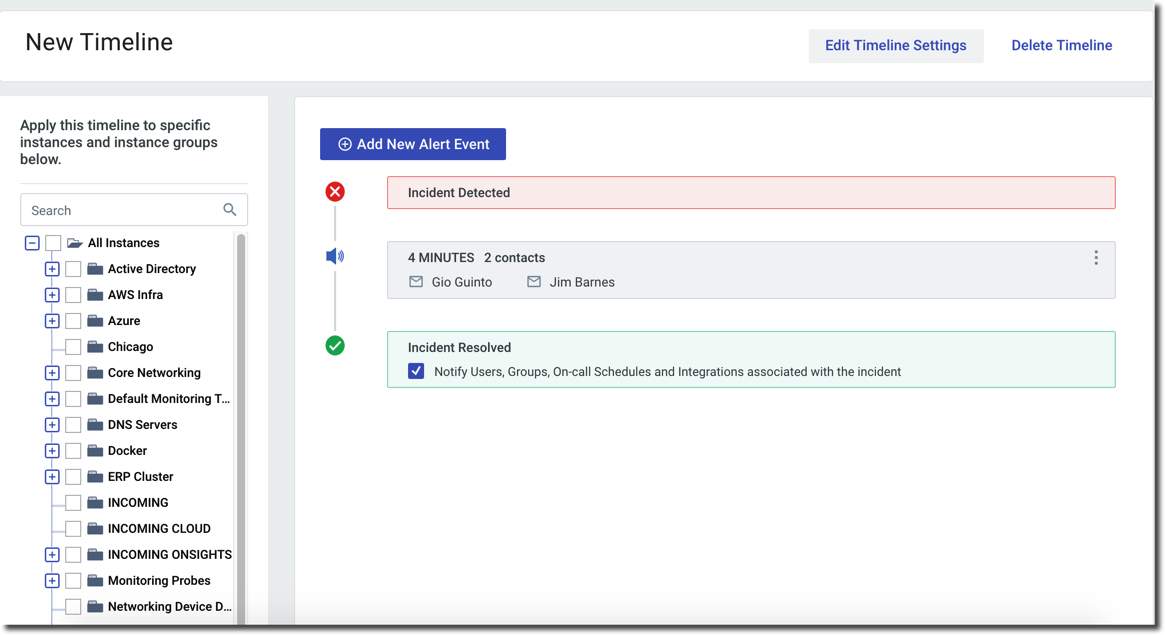
The first alert on your timeline may look something like this.
-
At this point, you can build escalation into your alert timeline by adding another event with different alert types, perhaps something more aggressive than an email, like an SMS or voice call.
-
On the left side of the page, you can see the infrastructure tree. From here, you can select the servers you’d like to assign this Alert Timeline to.
-
Select Save Changes after you select the servers.
You can now see the Alert Timeline you created on the Details tab of the Instance Details page. You can also edit the alert timeline from here by clicking directly on the Alert Timeline.