


Adding a disk to the FortiManager-VM for logging
You must add another disk to use FortiManager as a log disk.
To add a disk to the FortiManager-VM for logging:
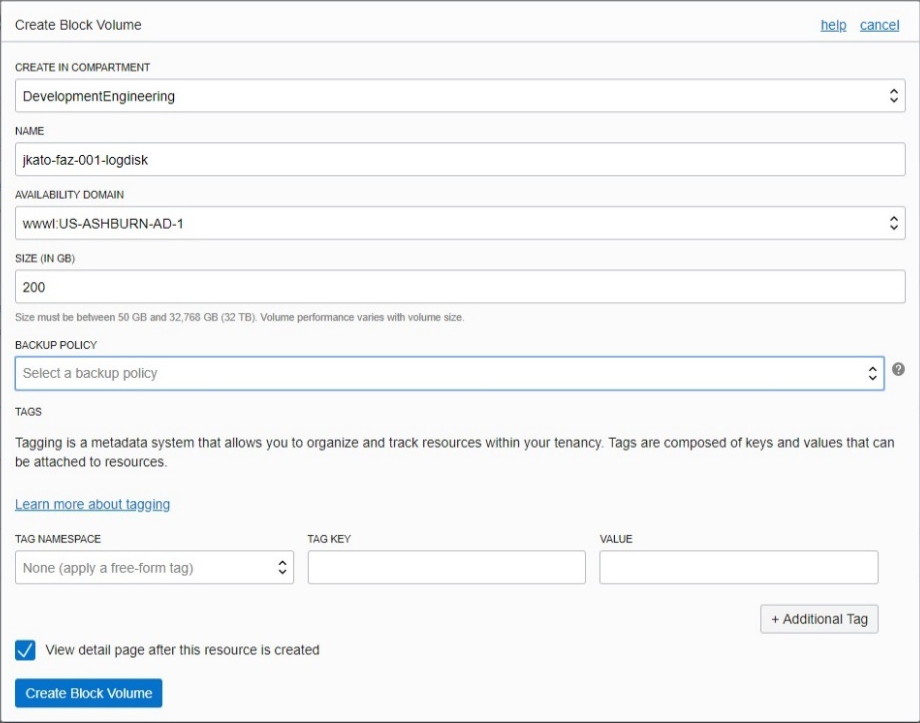
- Click Create Block Volume and configure as shown. The disk size depends on the ordered license. The example uses 200 GB.
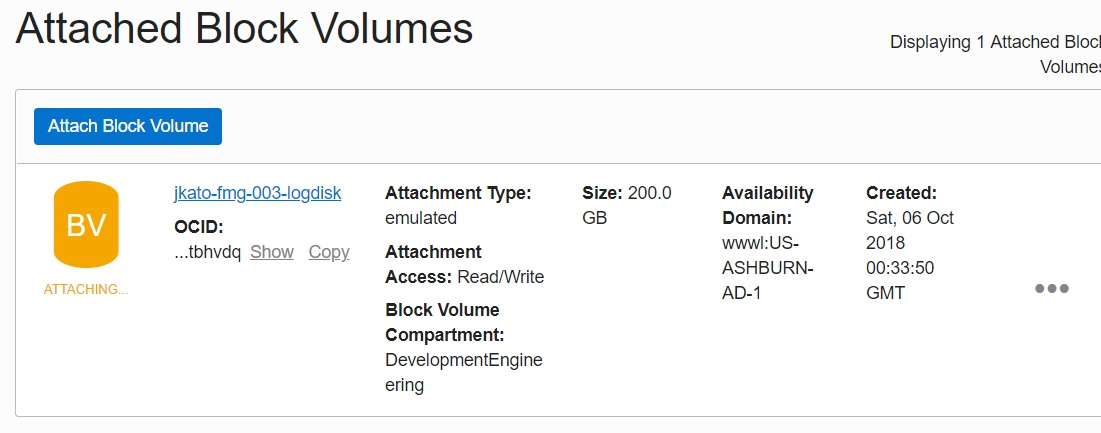
- Once provisioned, return to the FortiManager instance. Click Attach Block Volume.

- Under Choose how you want to attach your block volume, select EMULATED.
Under ACCESS, select READ/WRITE.

- Click Attach.
- After attaching the block volume, ensure you reboot (stop and start) the FortiManager instance. Otherwise, the added disk is not recognized.
- After attaching the disk and reboot the instance, log into the FortiManager-VM management GUI. It may take some time before you are able to connect. You will see that the disk was successfully added. You can check it by running the CLI command
exec lvm info. The added 200 GB is shown as Used.
If the status is Unused, enter
exec lvm startin the CLI to start LVM disk management. Enteryto continue. The system reboots.After rebooting and logging into FortiManager, the disk should appear as Used. To add additional disks, use
exec lvm extend <disk>as shown in steps 4 to 6 here. Check the disk space was added on the Dashboard.