


Launching the FortiManager instance
To launch the FortiManager instance:
- Click Launch Instance.

- In the NAME field, enter the desired name to identify the instance by.
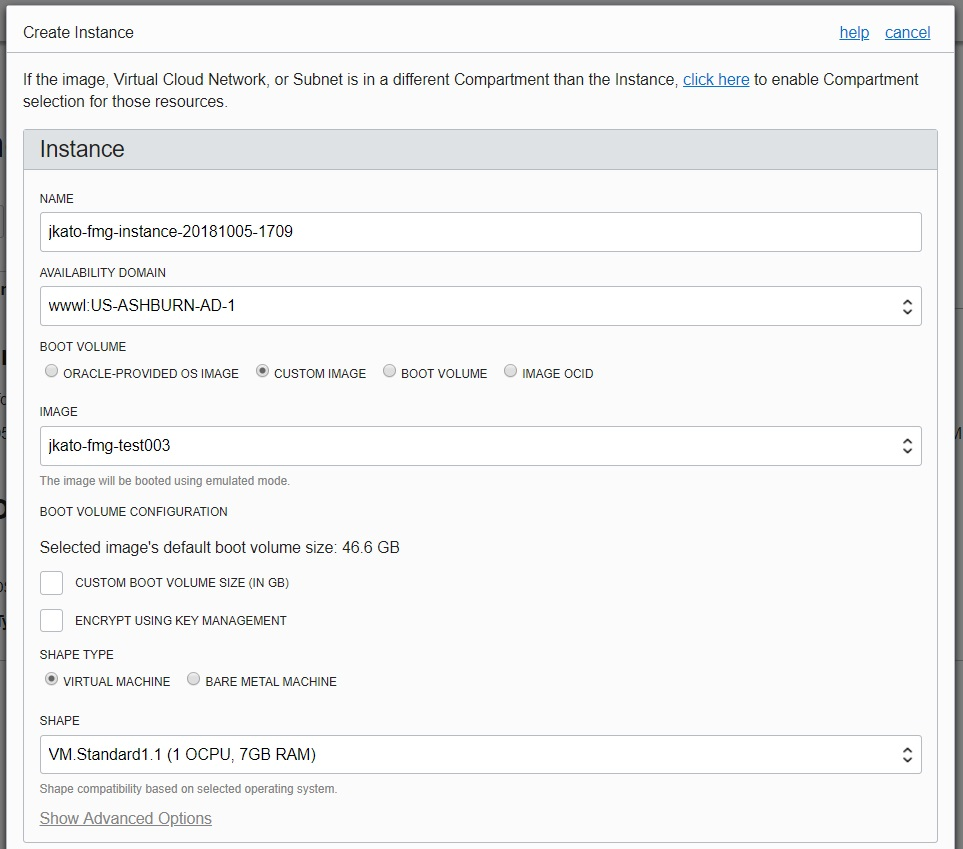
- In the AVAILABILITY DOMAIN field, select the desired domain.
- Under IMAGE SOURCE, select CUSTOM IMAGE, then select the image you imported earlier.
- Under SHAPE TYPE, select VIRTUAL MACHINE.
- In the SHAPE FIELD, select one of the following supported instance shapes. Other instance shapes are not supported:
- VM.Standard1.1
- VM.Standard1.2
- VM.Standard1.4
- VM.Standard1.8
- VM.Standard1.16
- In the VIRTUAL CLOUD NETWORK field, select a network to launch the instance.
- In the SUBNET field, select a subnet on the Internet-facing side of the network.

- Ensure ASSIGN PUBLIC IP ADDRESS is selected so you can access the FortiManager over the Internet. This can be disabled once everything has been configured as desired.
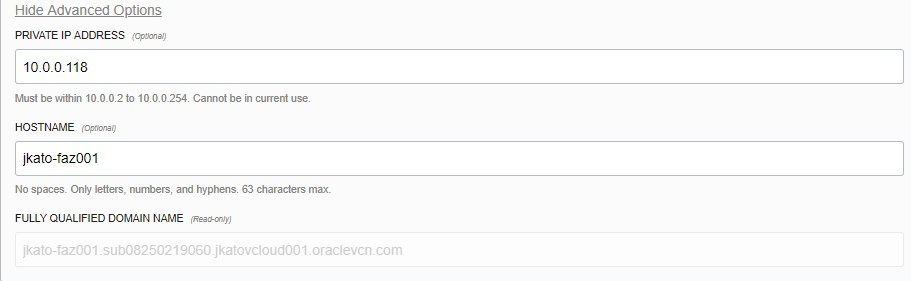
- Click HIDE ADVANCED OPTIONS.
- In the PRIVATE IP ADDRESS field, specify a static IP address within the selected subnet.
- In the HOSTNAME field, enter the desired name.
- Click Create Instance. Wait until the PROVISIONING… status changes to RUNNING. You can also check the FortiManager’s public IP address in this screen once it becomes available.

At this stage, FortiManager deployment is not complete. You also need to add a storage volume as a system log disk and attach it to the FortiManager instance once it starts running.
